Gluten Free Sourdough Discard Pancakes

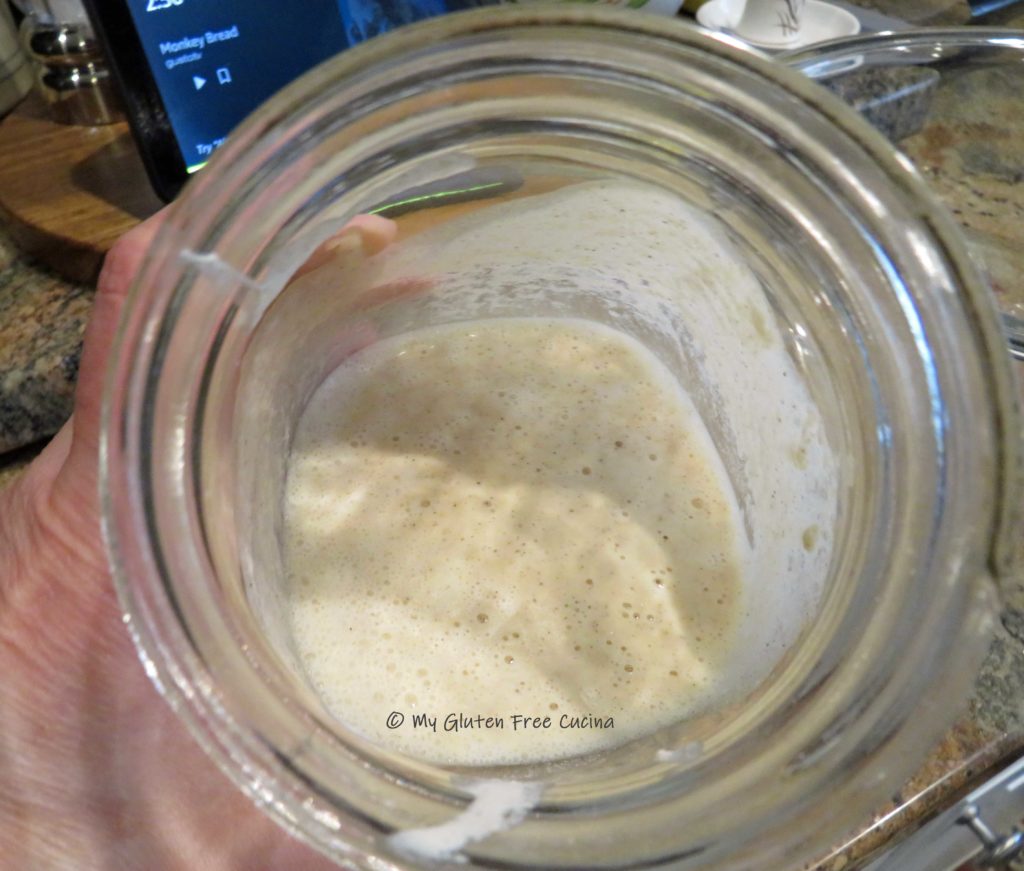
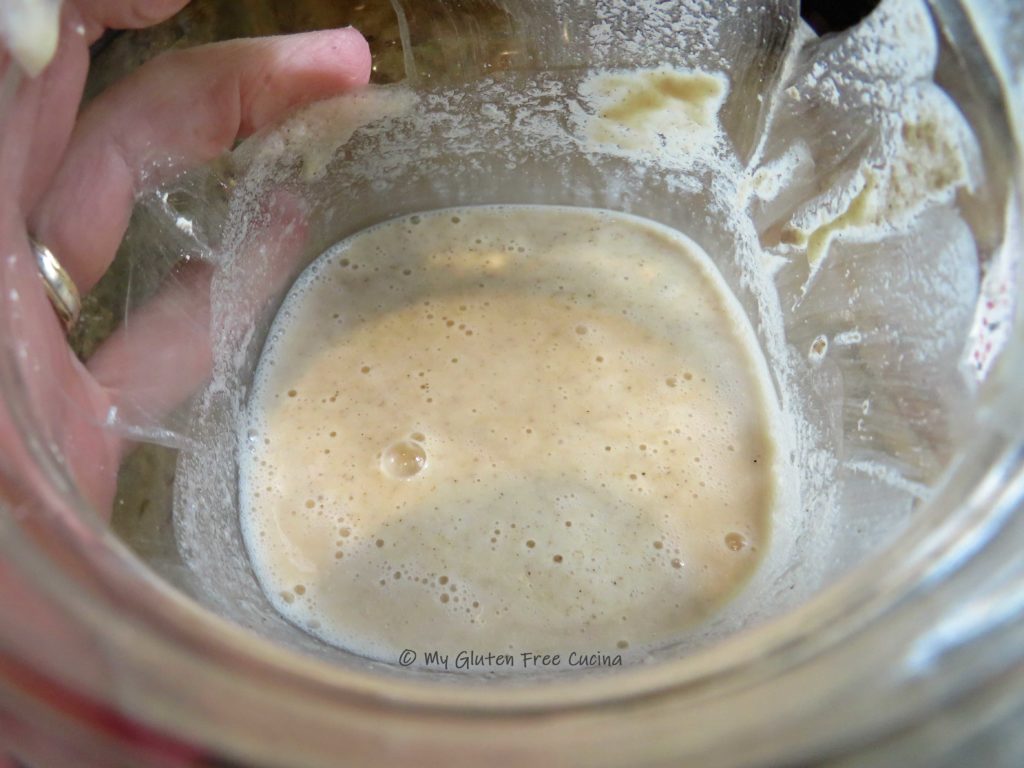
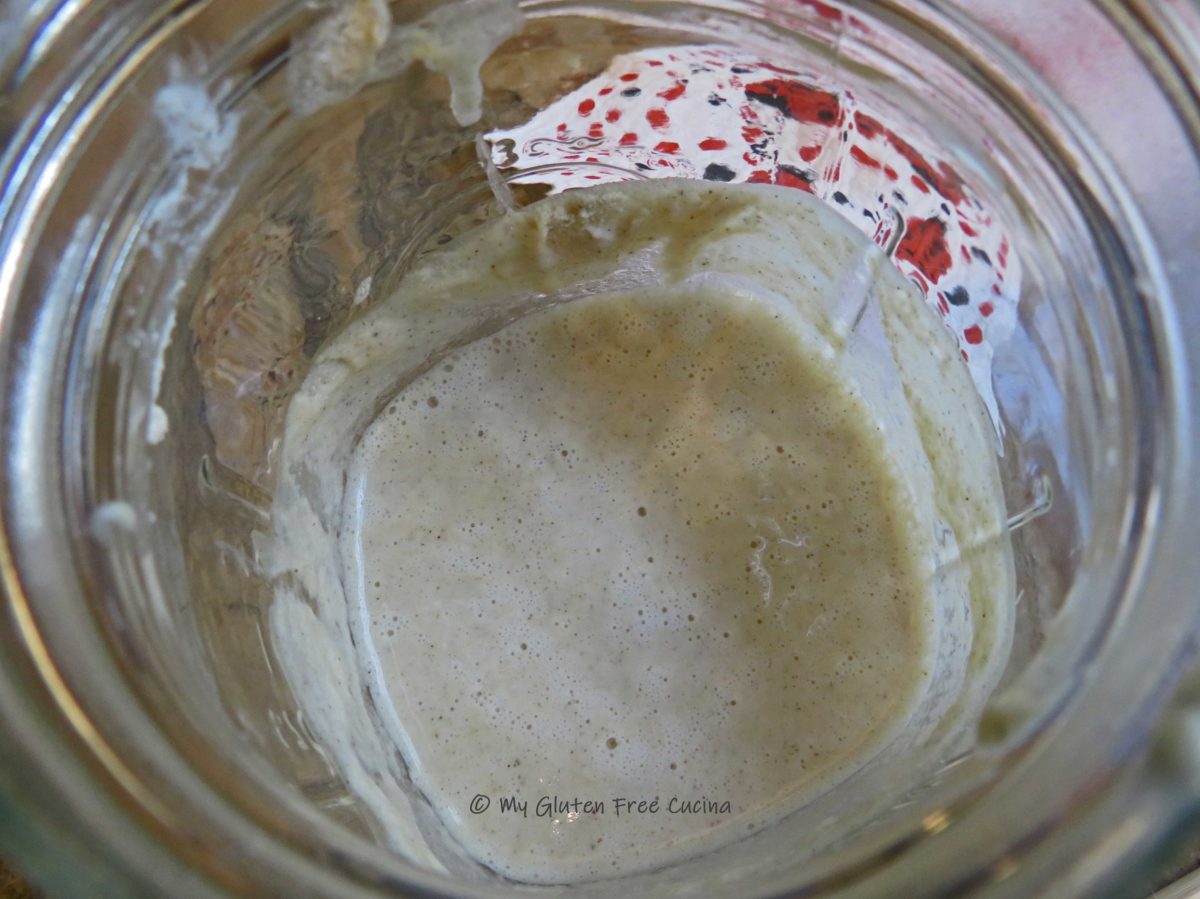
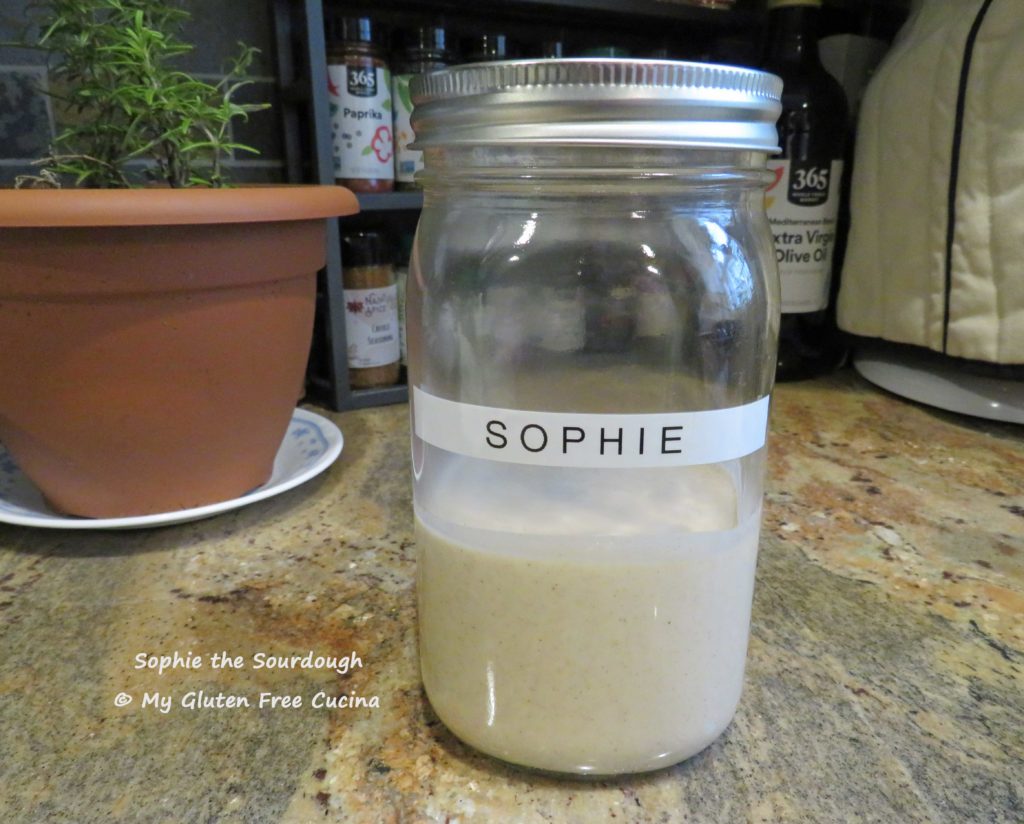
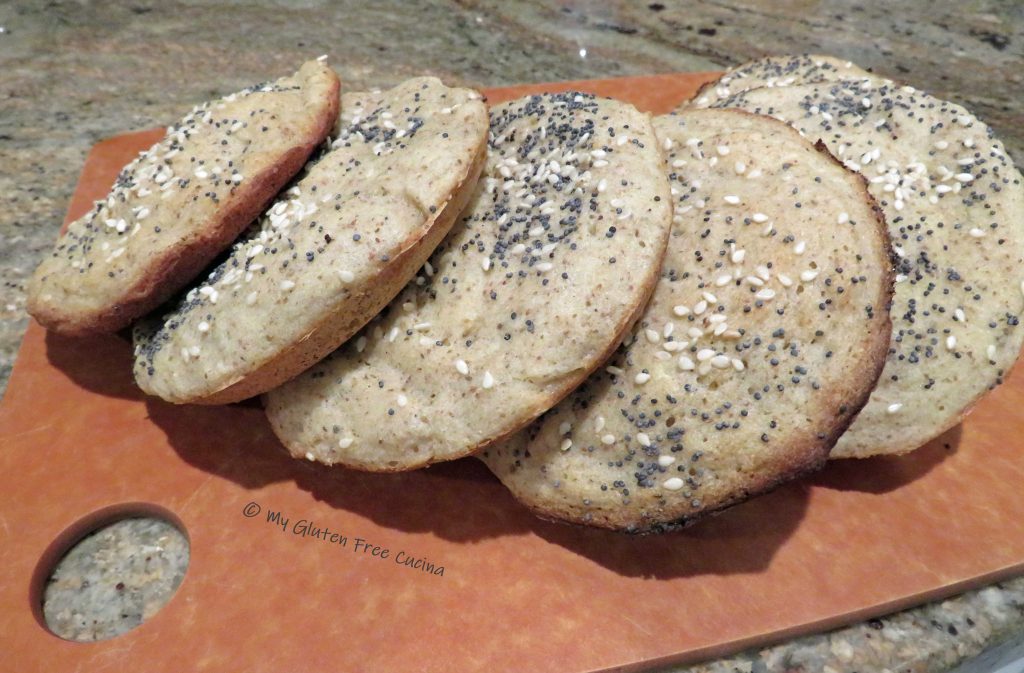
My gluten free sourdough starter Sophie is getting more bubbly each week.  She turned one month old recently, and I was getting ready to bake another loaf of bread in the morning.  But first she had to be fed a couple of times, and there was the inevitable discard.  You know I don’t want a bit of this magical culture go to waste, so I thought I would test a small batch of Sourdough Discard Pancakes.

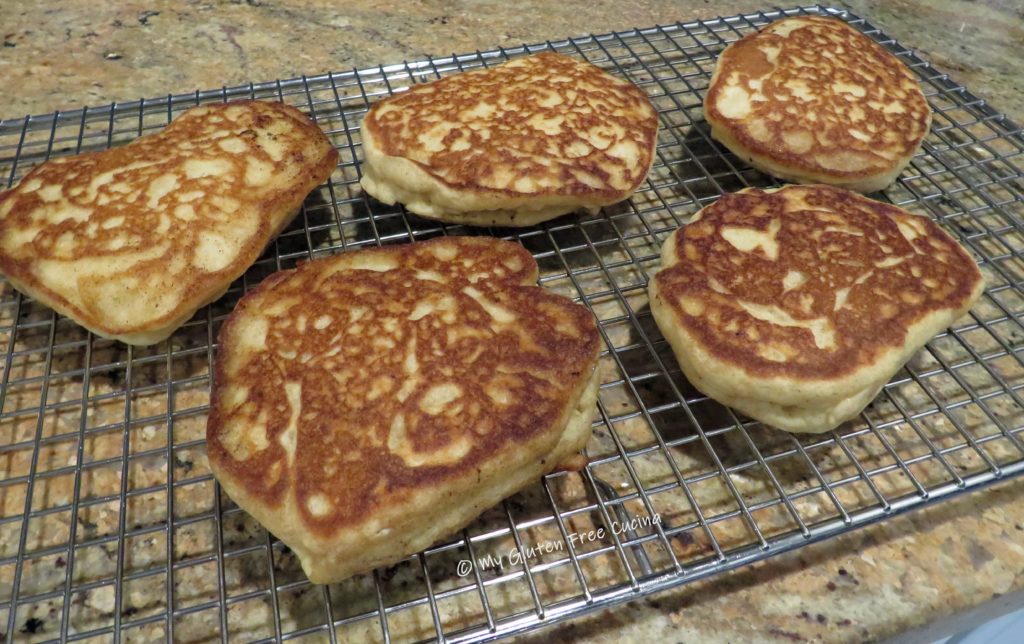
It was my first-time making pancakes with sourdough and I was pleasantly surprised.  The familiar sweetness of pancakes with just the right amount of savory sourdough flavor, who knew?  Using the sourdough discard seemed to give my pancakes an extra high rise too.  These pancakes were hearty and filling, guaranteed to satisfy big appetites.

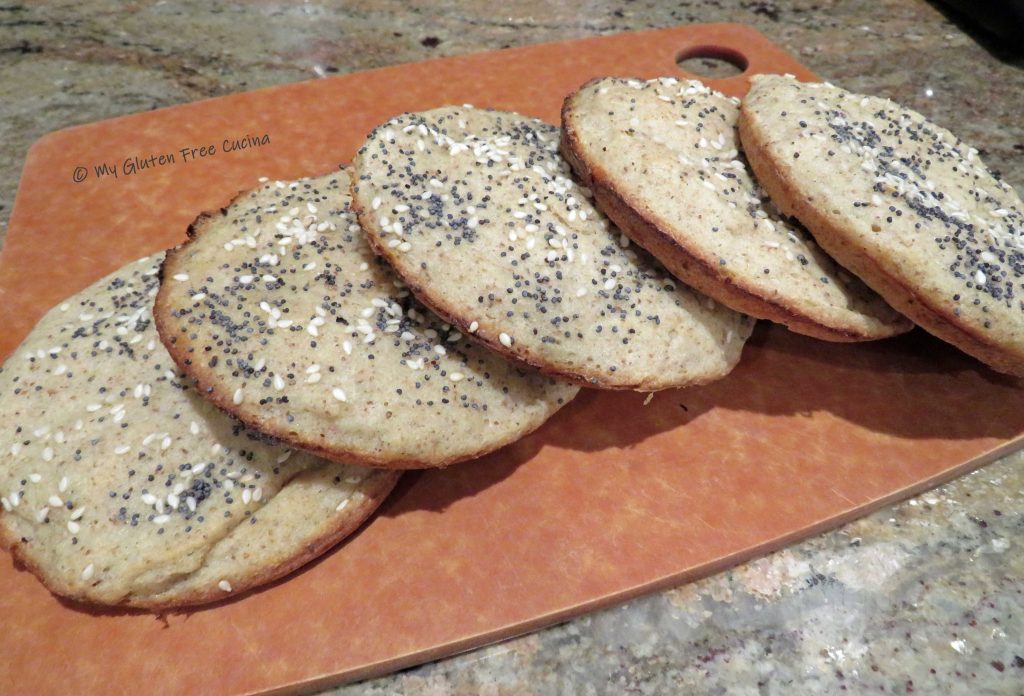
I made 5 pancakes with my test batch, about 1/3 cup batter each.  Double the recipe for a family breakfast.

Ingredients:

  • 2 tbsp. melted butter plus more for the griddle
  • 2 tbsp. sugar
  • 1/4 cup sourdough discard
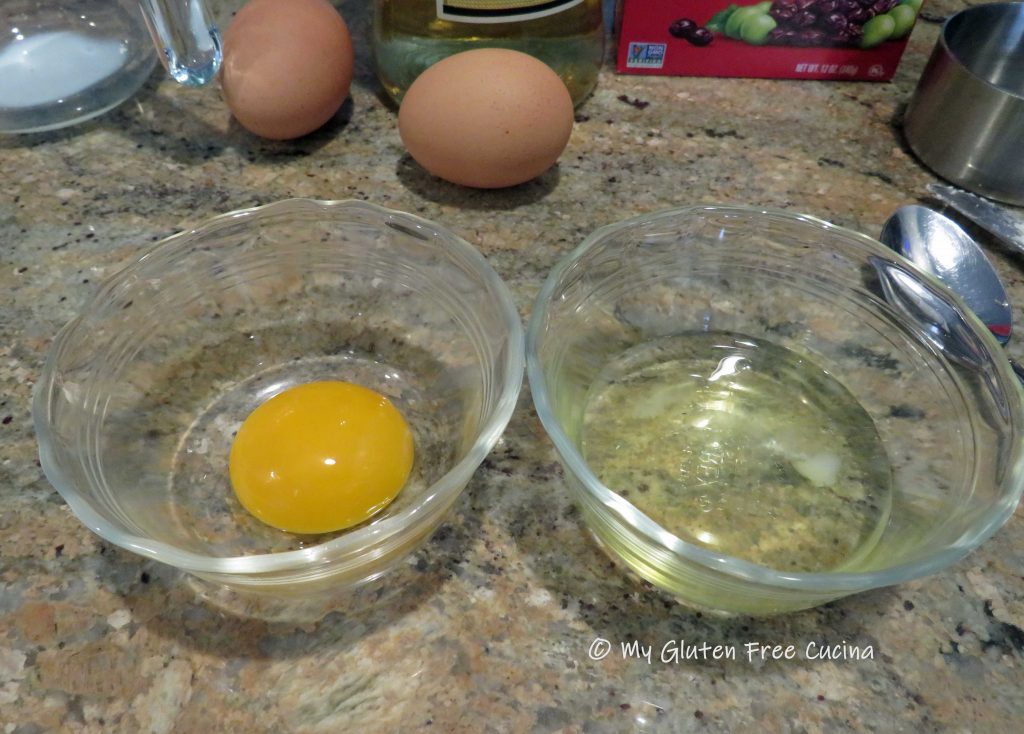
  • 1 large egg
  • 1/2 tsp. vanilla
  • 2/3 cups milk (I used 2%)
  • 120g. gluten free all-purpose flour (about 3/4 cup)
  • 1 tsp. baking powder
  • 1/2 tsp. baking soda
  • 1/2 tsp. salt

This post contains affiliate links.

Preparation:

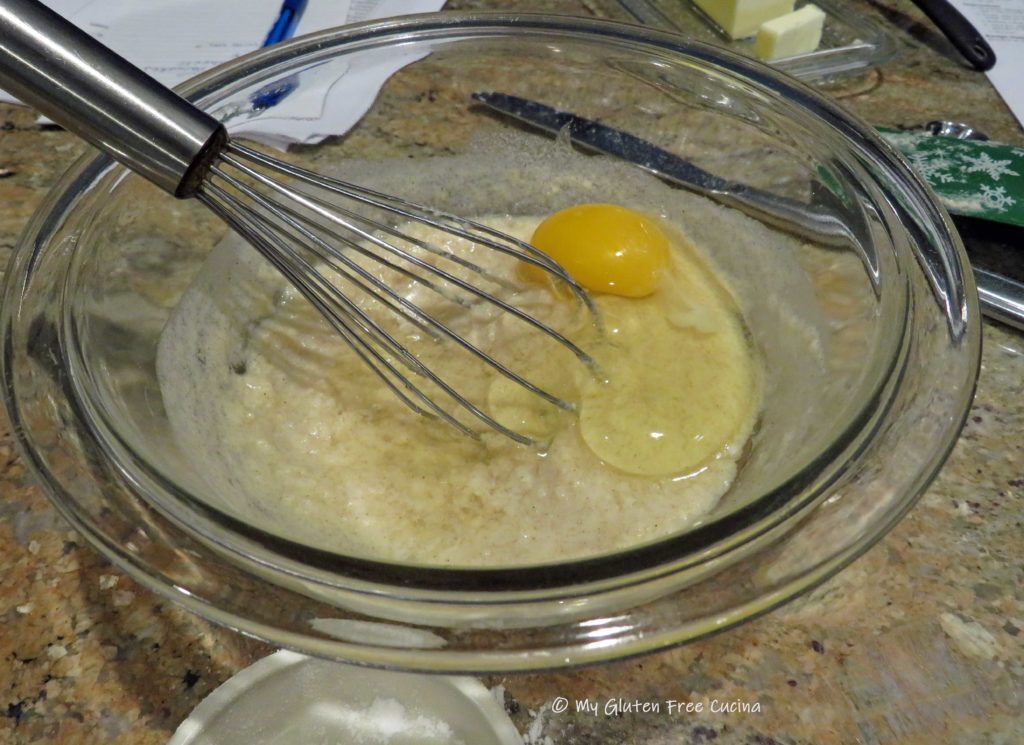
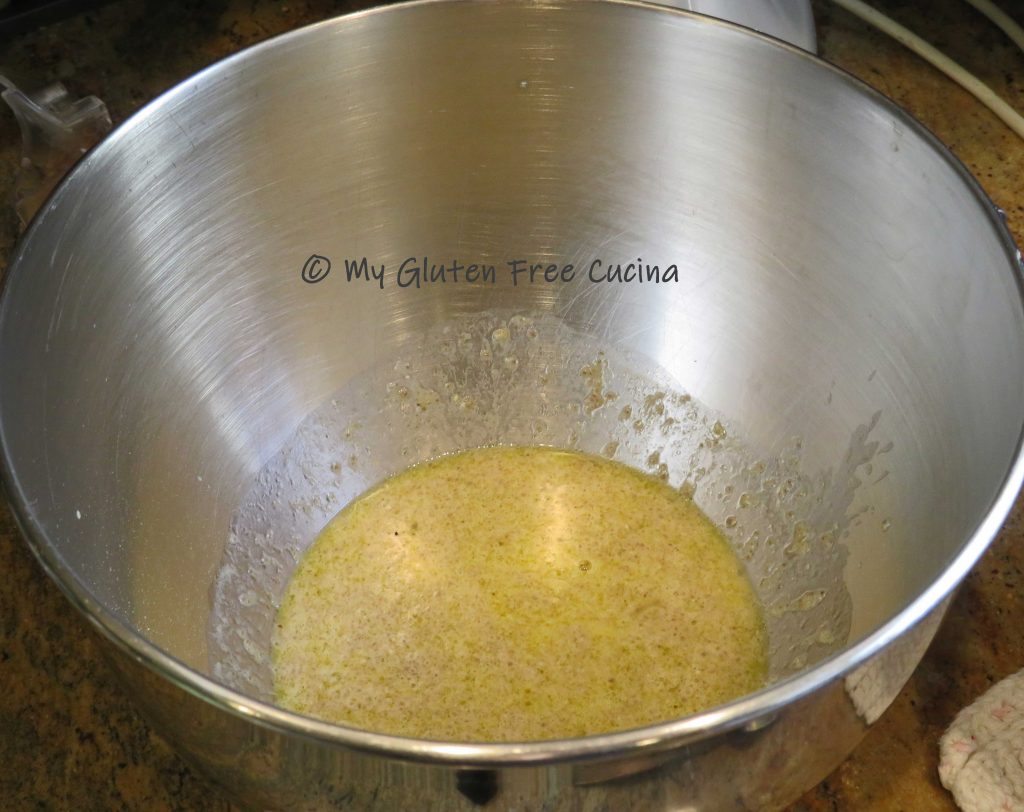
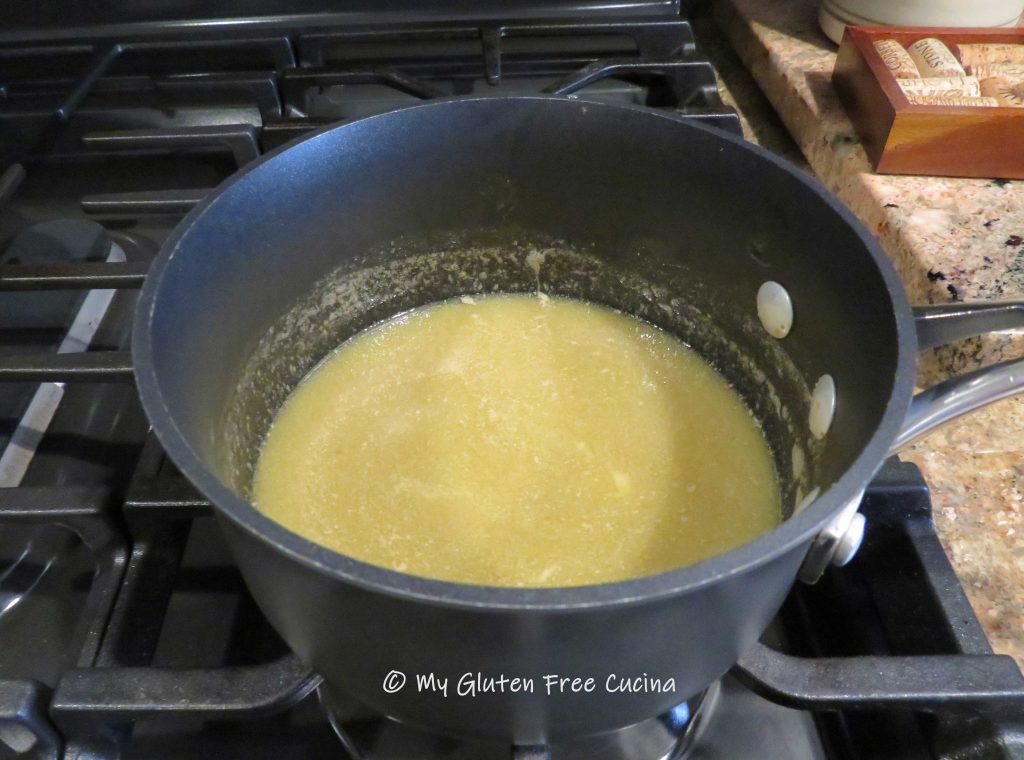
Melt the butter in the microwave and set it aside to cool while you gather the other ingredients.

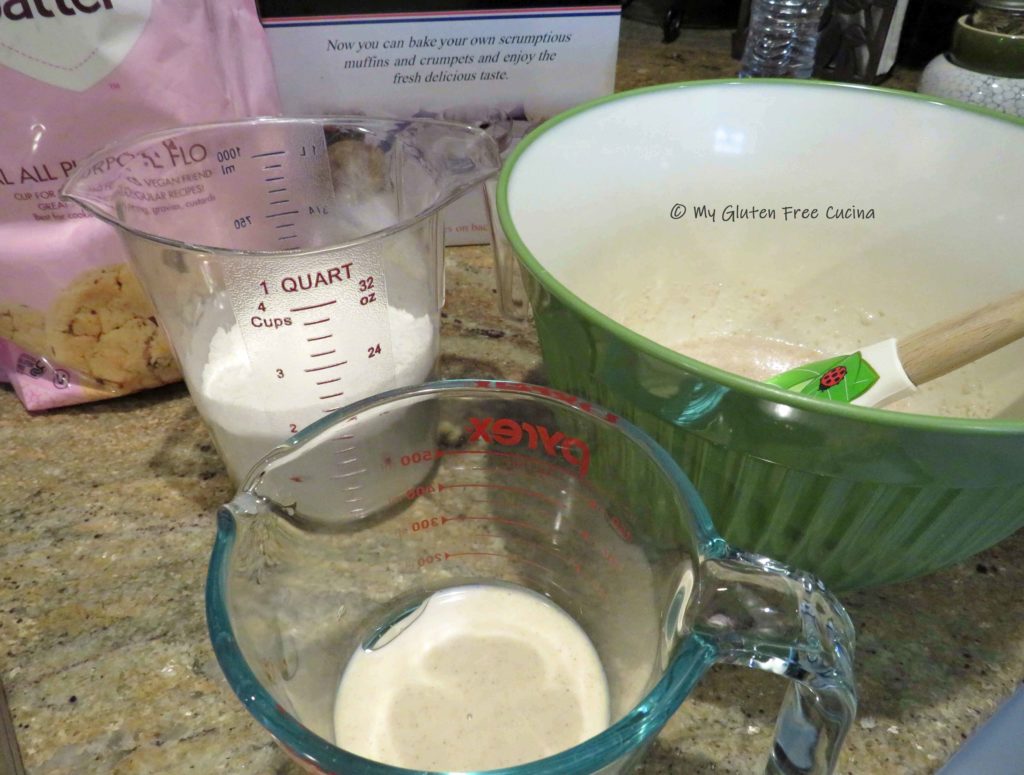
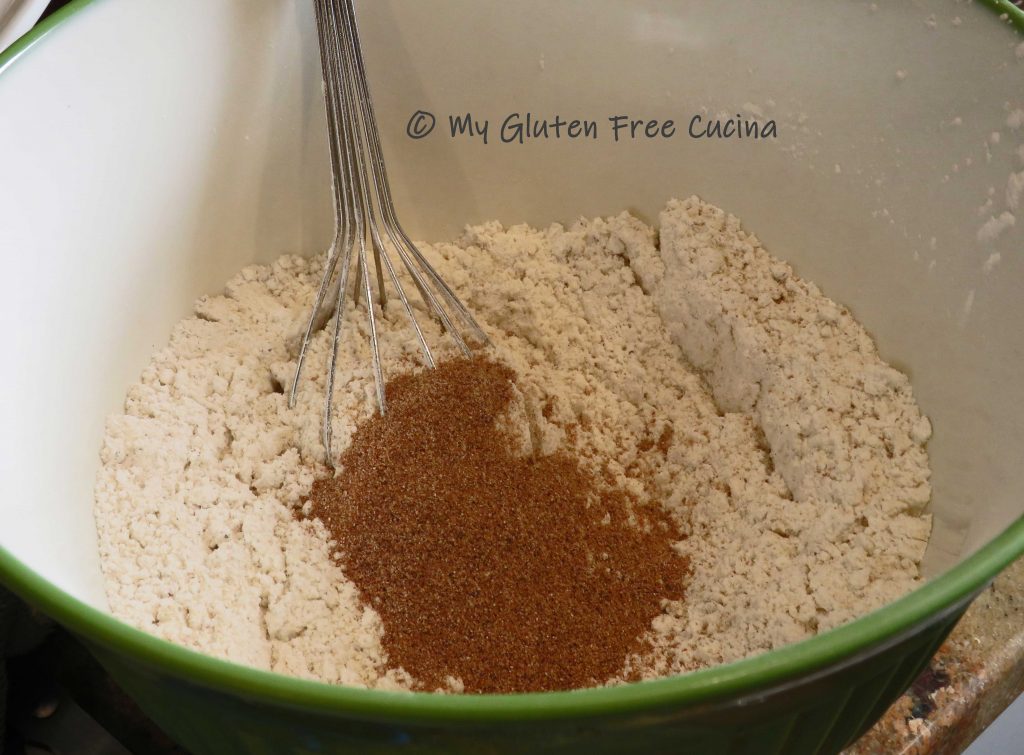
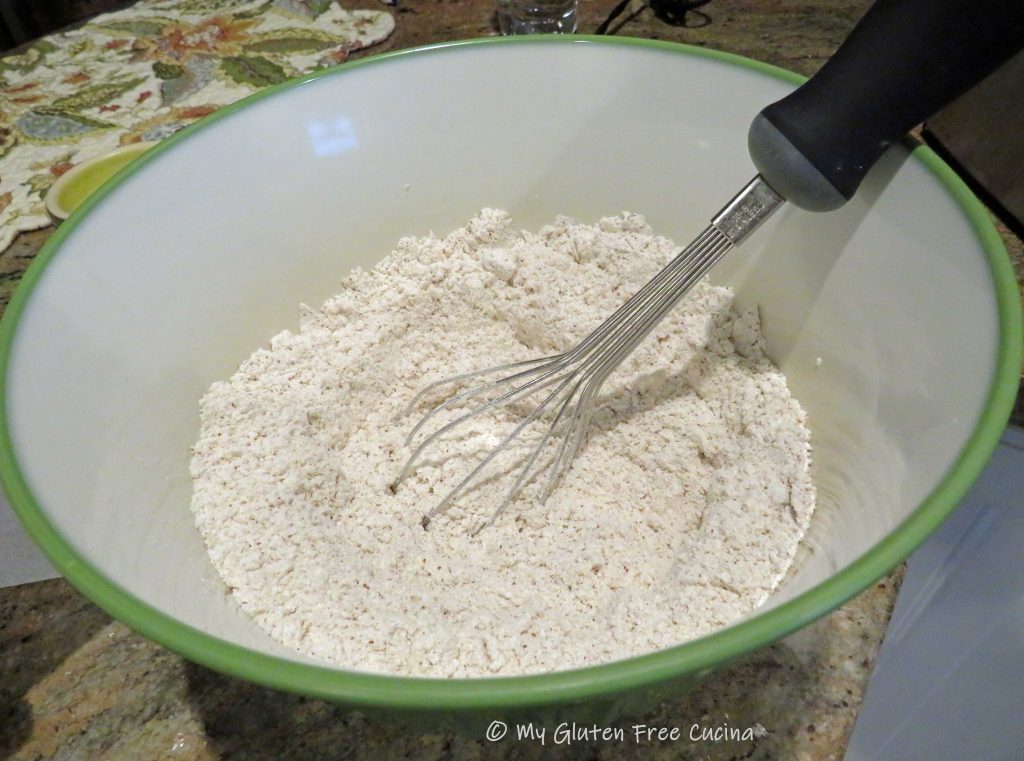
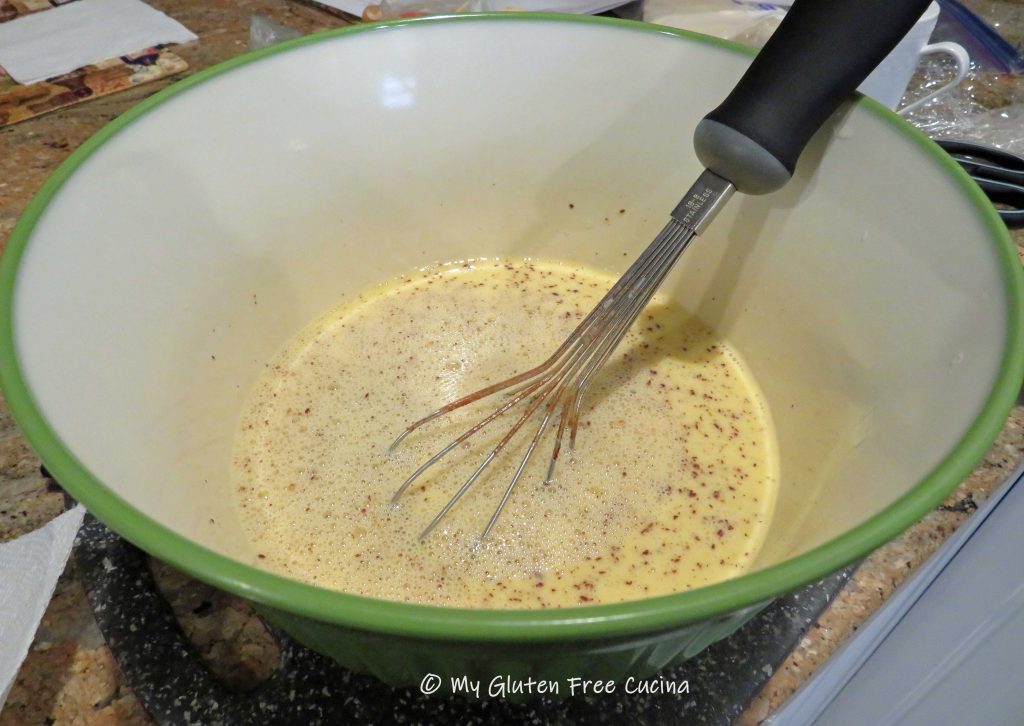
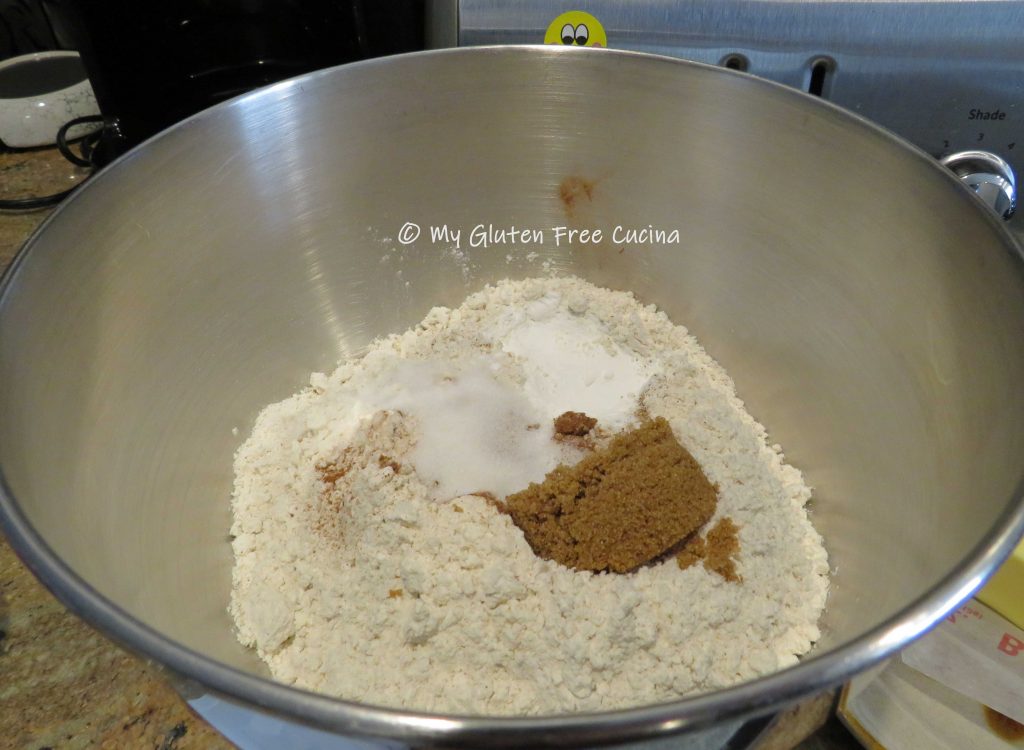
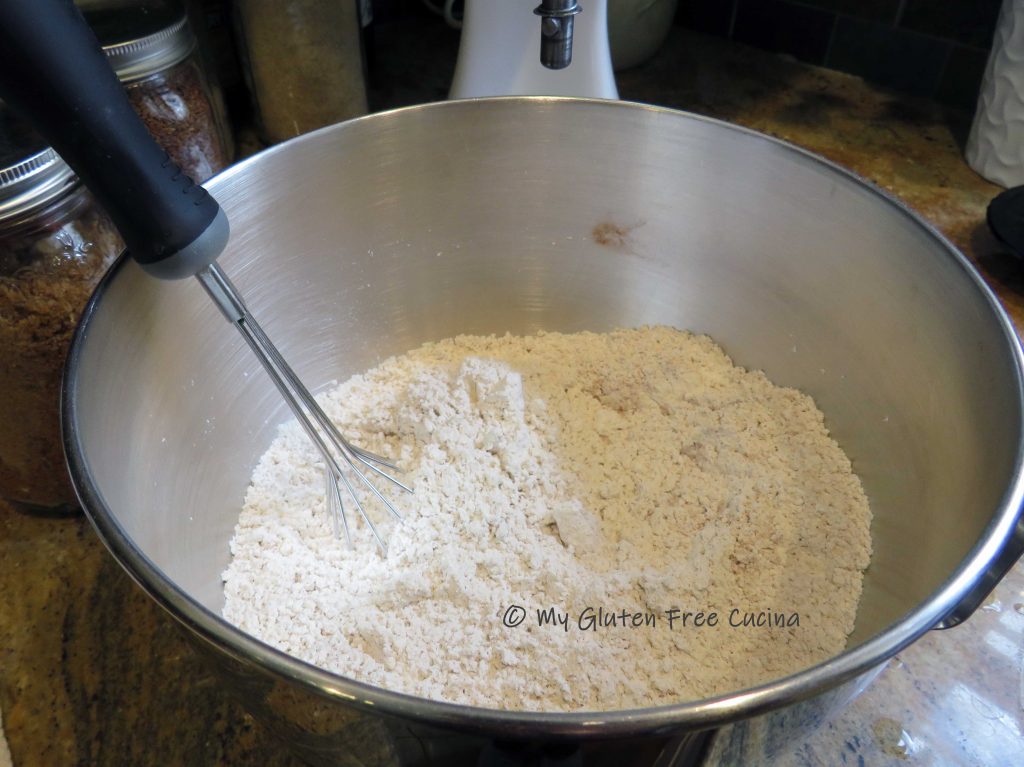
Combine the first 5 ingredients, butter through vanilla in a small bowl.  In another bowl, whisk together the flour, baking powder, baking soda and salt.

Use a batter whisk to stir the wet and dry ingredients together with 2/3 cup milk.  If the batter is too thick, you can add a little more milk, 1 tbsp. at a time to reach the right consistency.

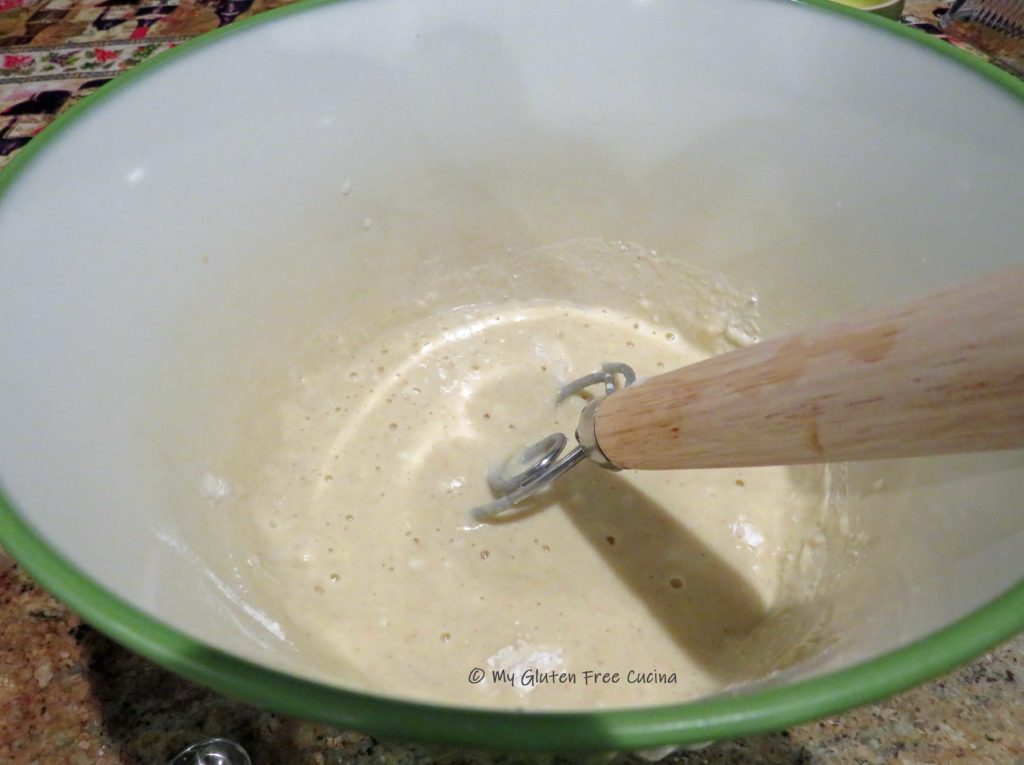
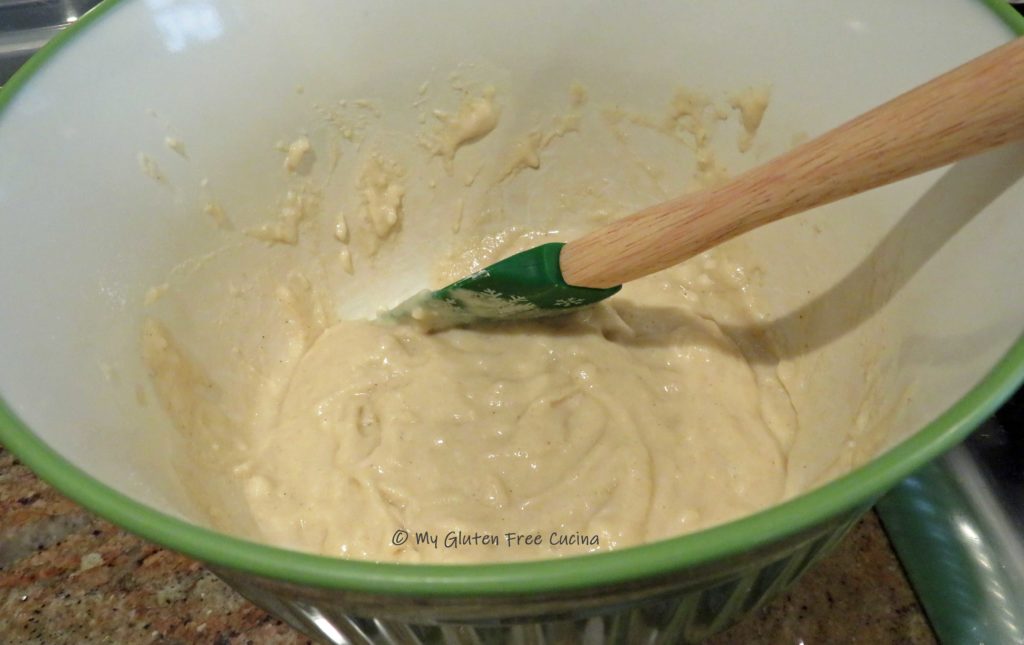
Preheat your griddle or nonstick skillet for 10 minutes and let the batter rest.

Hint: Do you know why they say the first pancake always comes out a little weird?  It’s probably because the griddle wasn’t hot enough. 

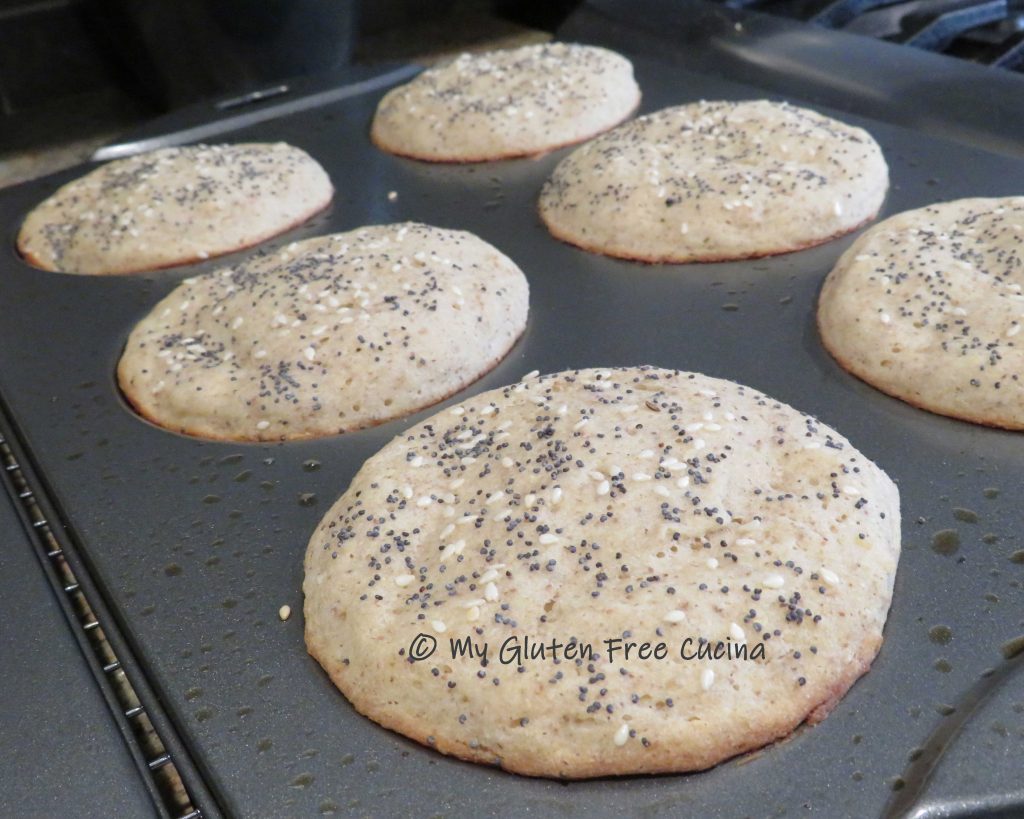
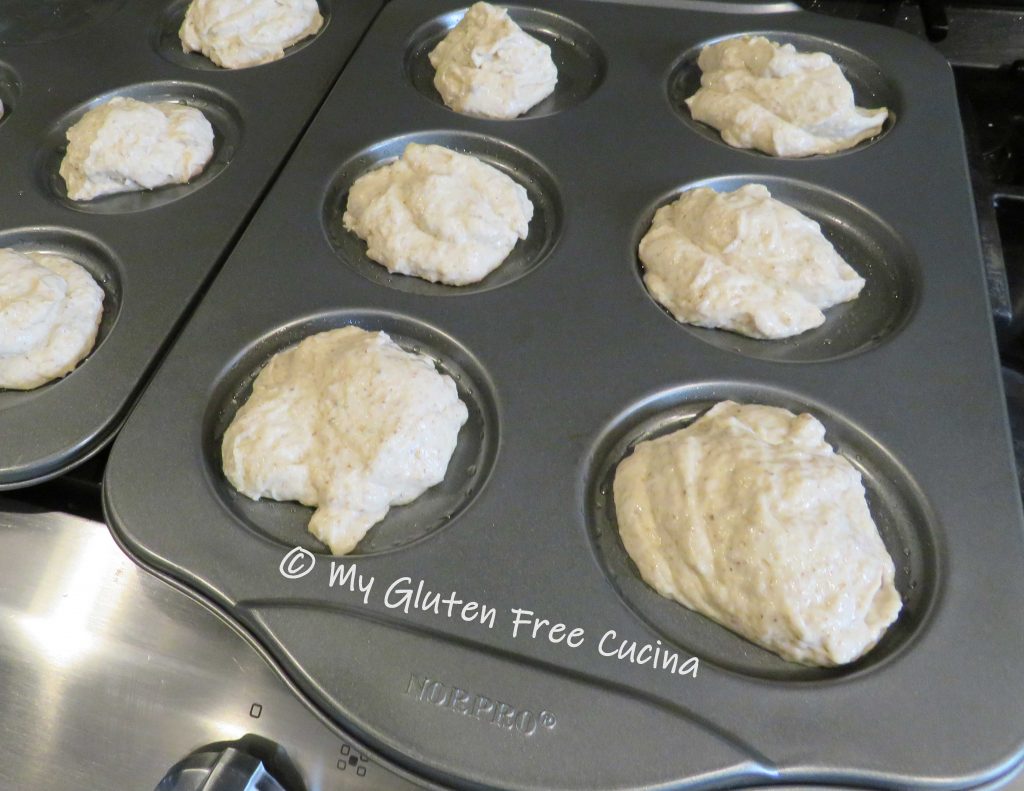
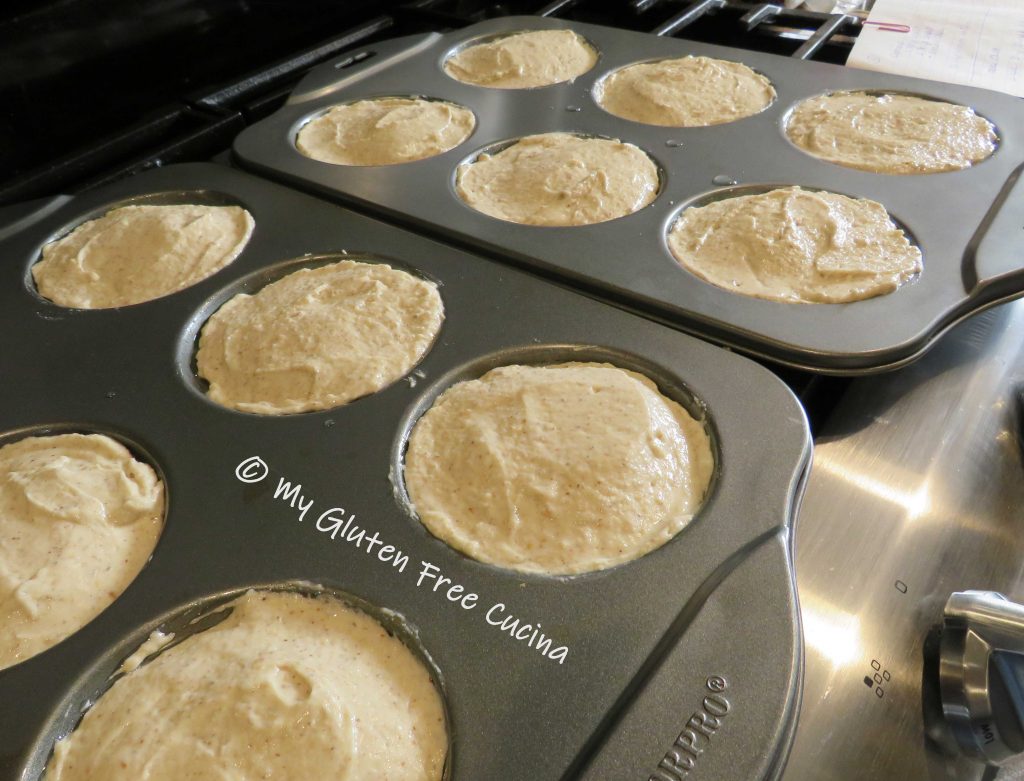
When you are ready to begin, butter the griddle or skillet generously and begin spooning out your pancakes.  I like a nice big pancake, so I scooped the batter out with a 1/3 cup measuring cup.  You can make your pancakes as large or small as you like.

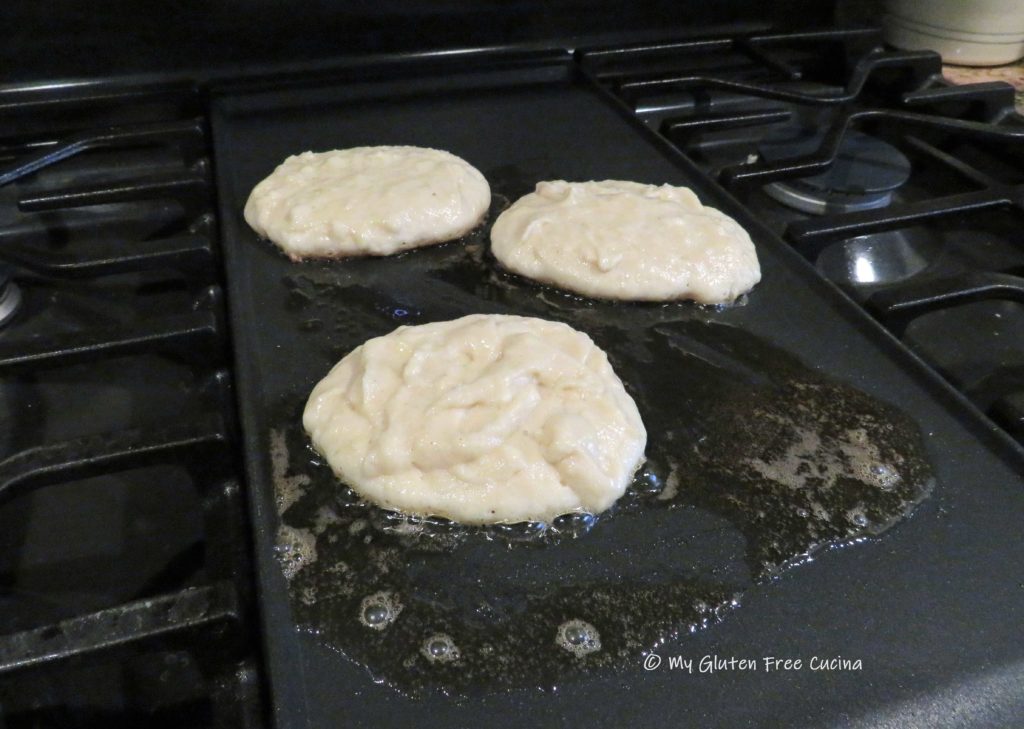
Keep a close eye and be ready to flip the pancakes over as soon as the bottom is set, time will vary depending on how large you make the pancakes.

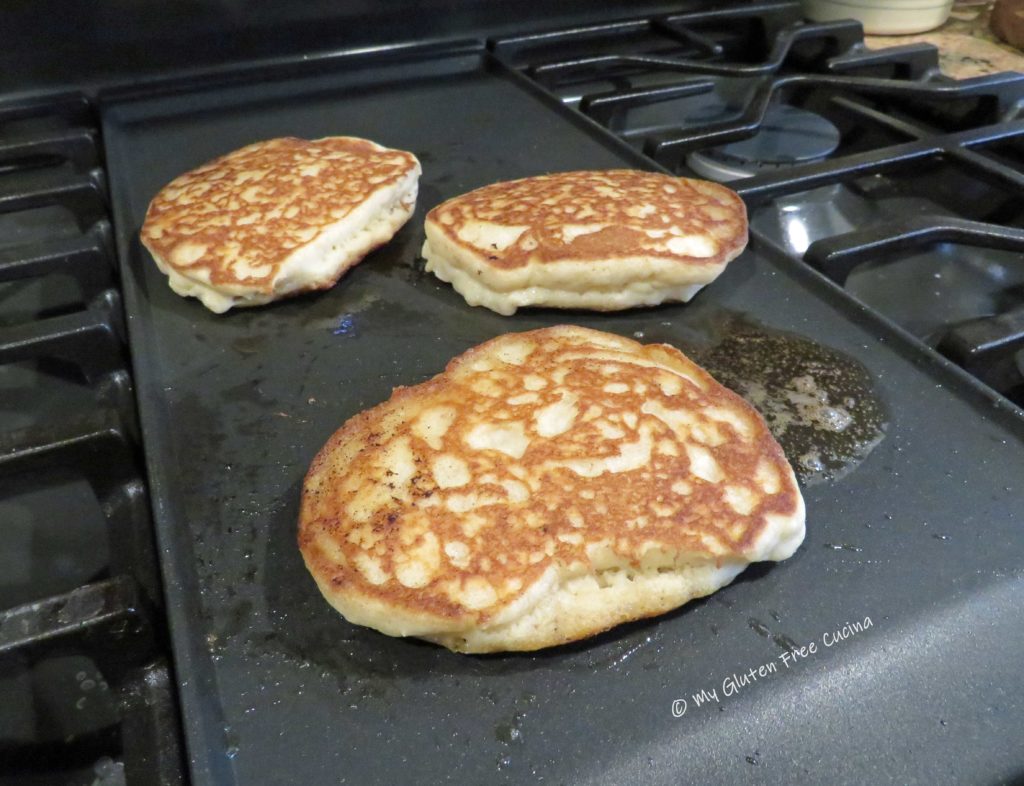
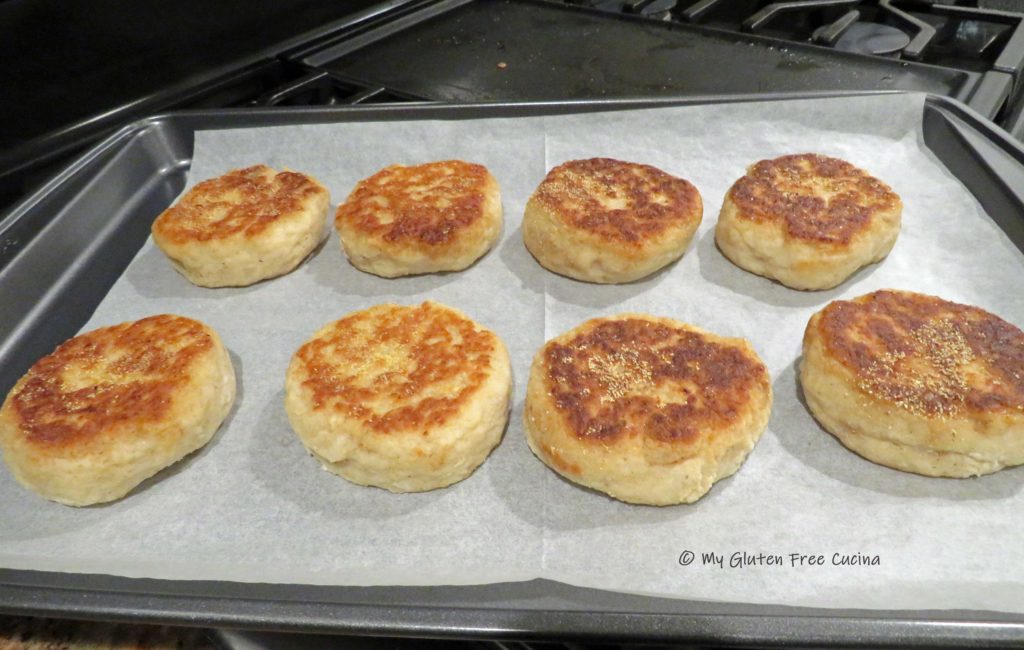
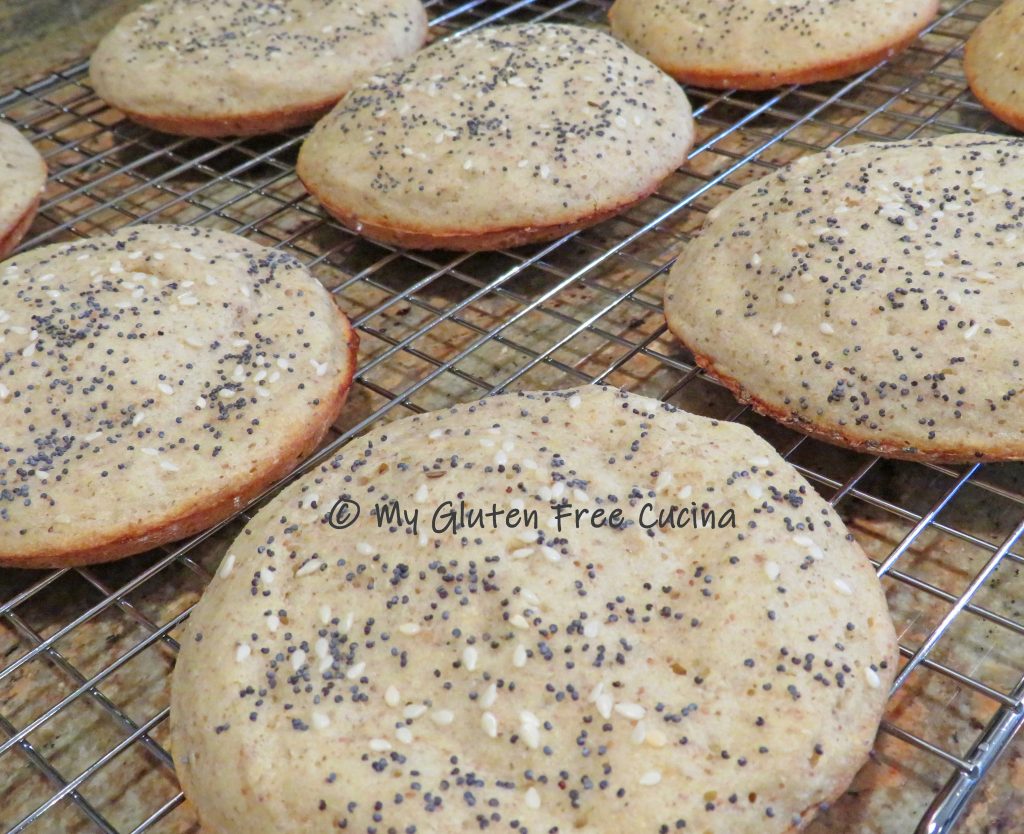
You should get a nice rise as soon as you flip them over.

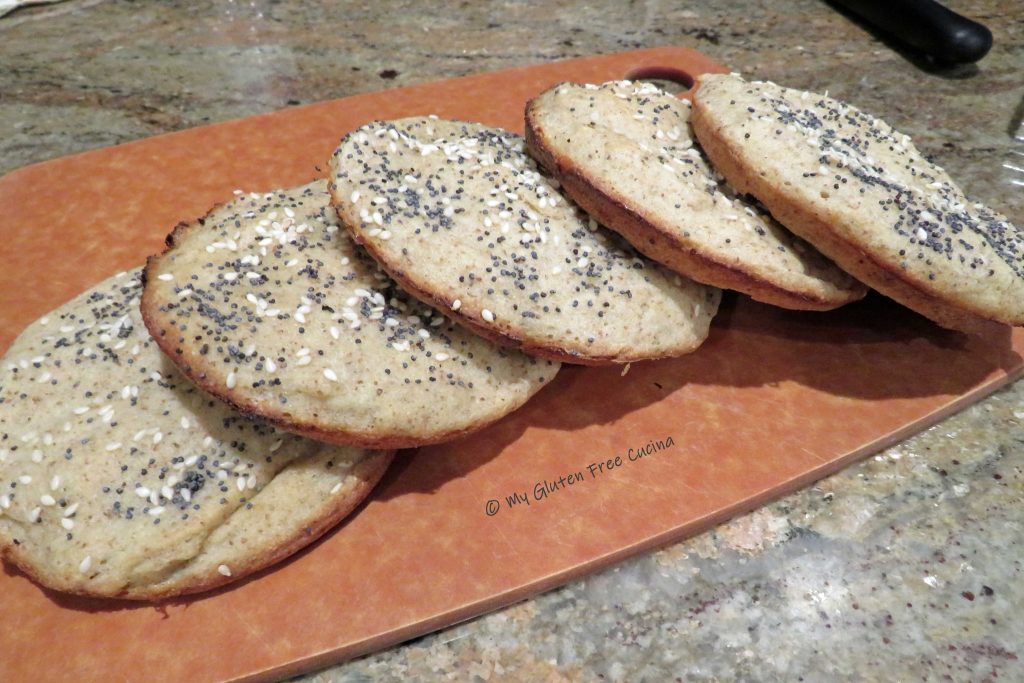
When the second side is set check the center for doneness with a toothpick.  I had to flip mine another time or two.

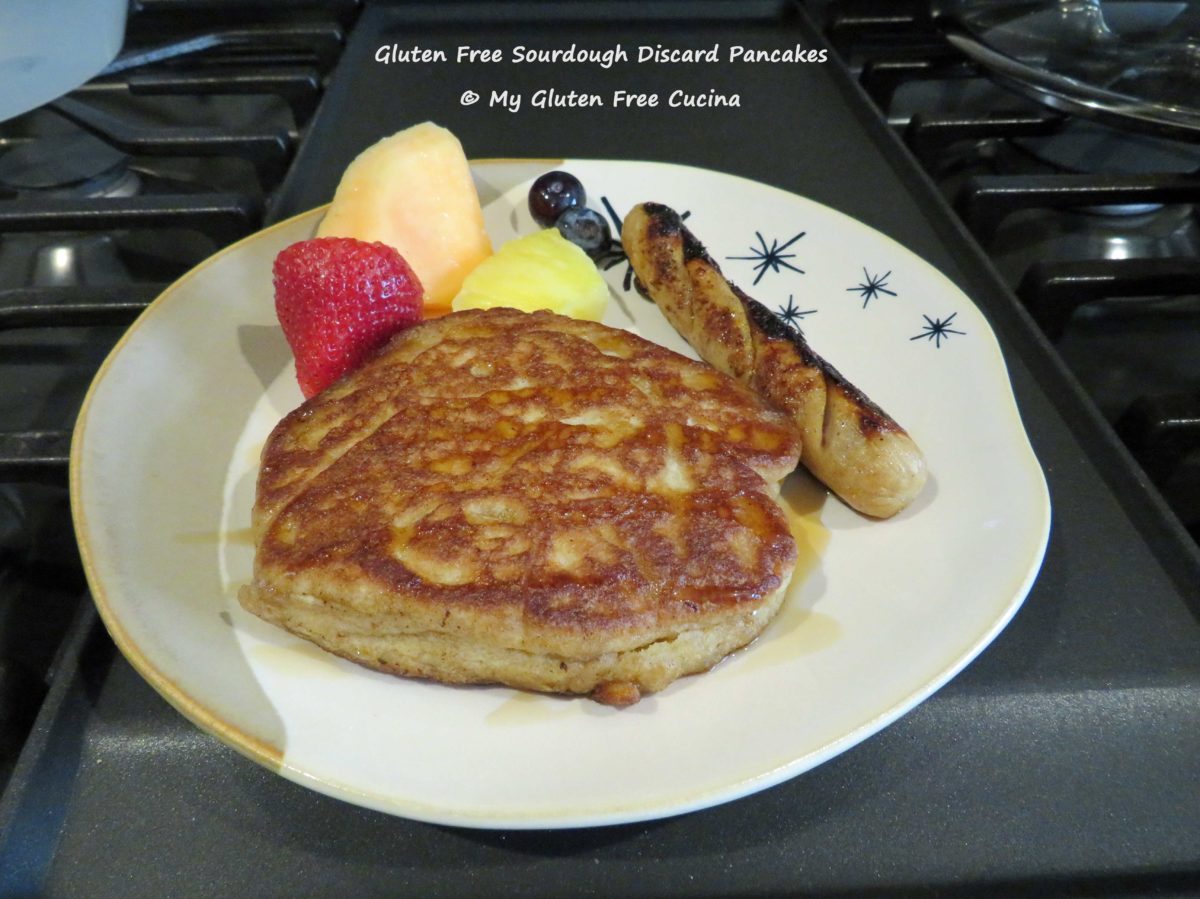
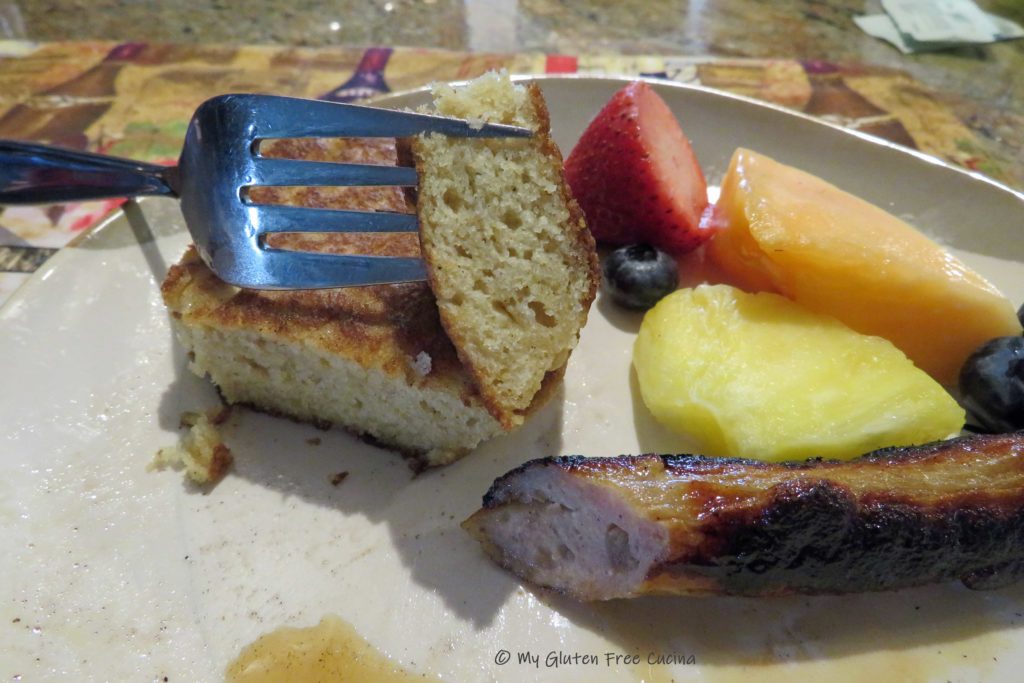
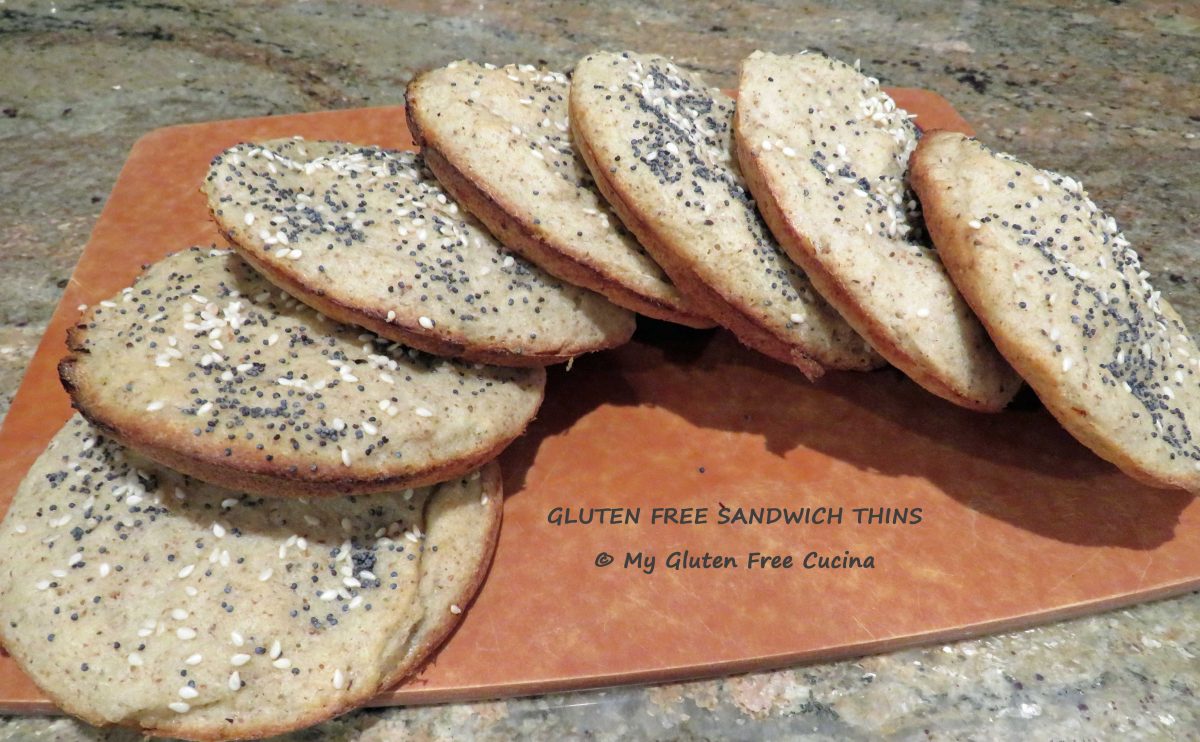
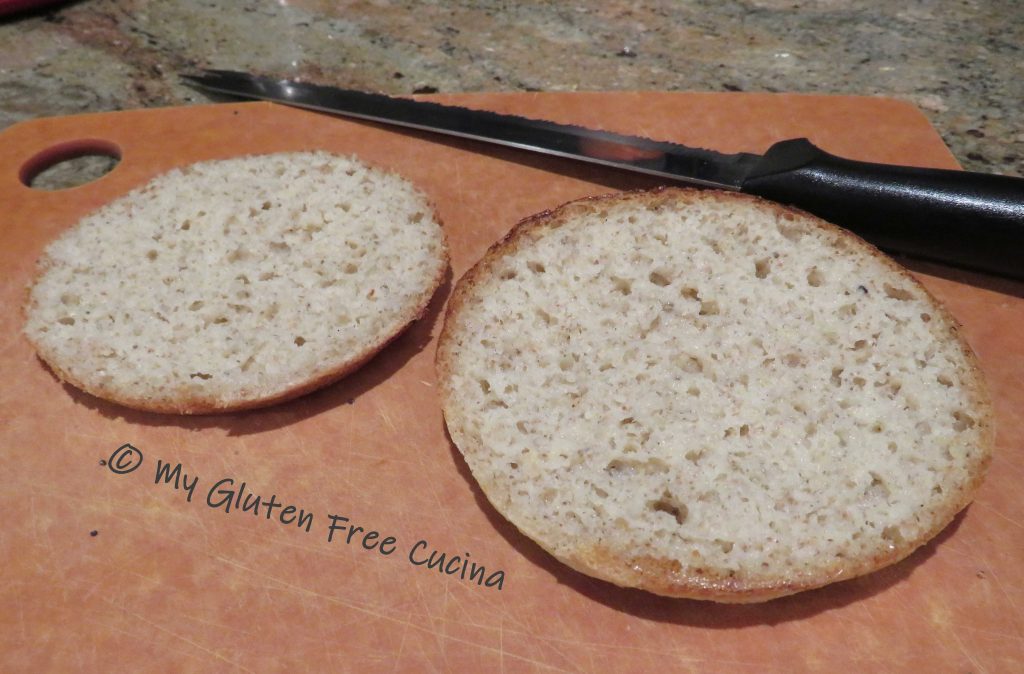
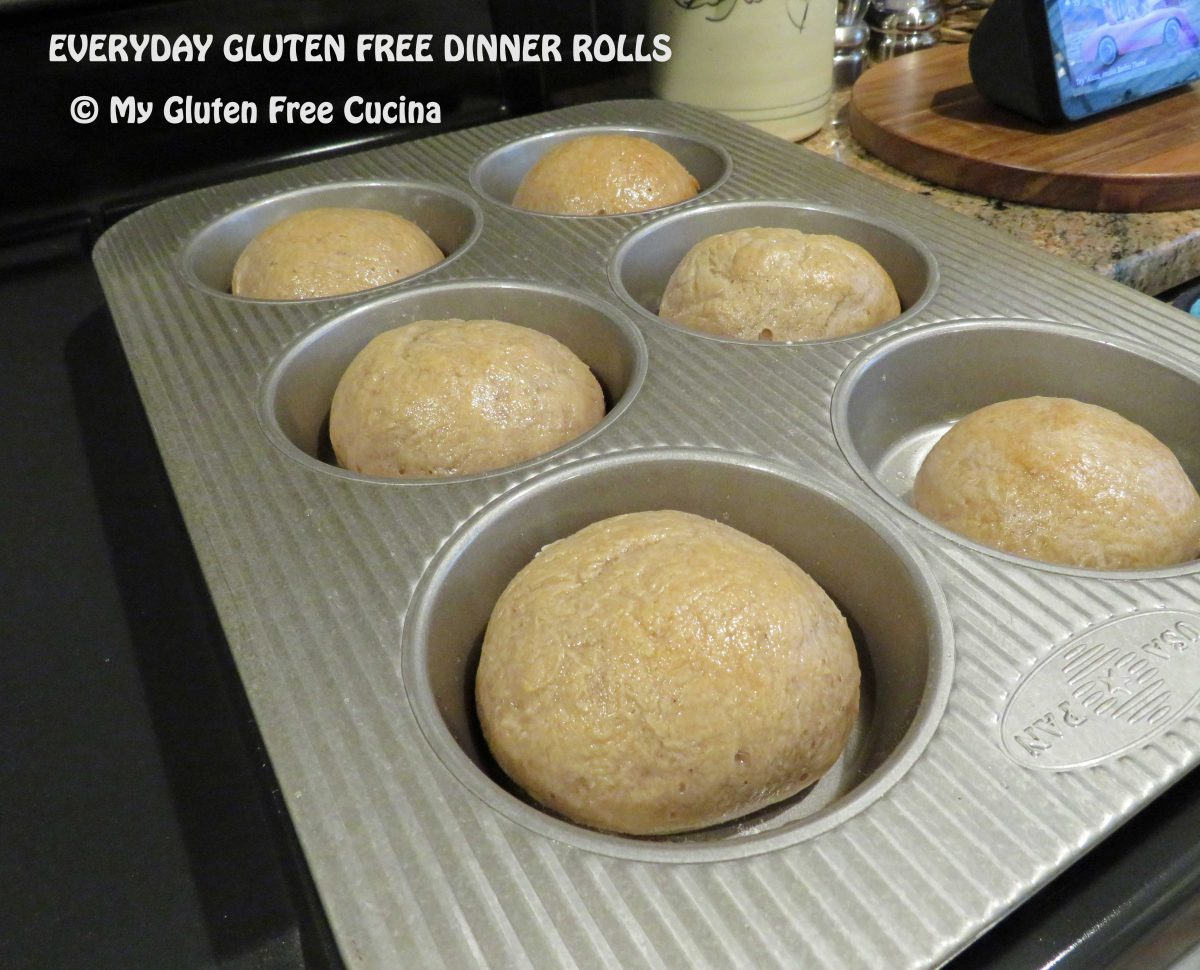
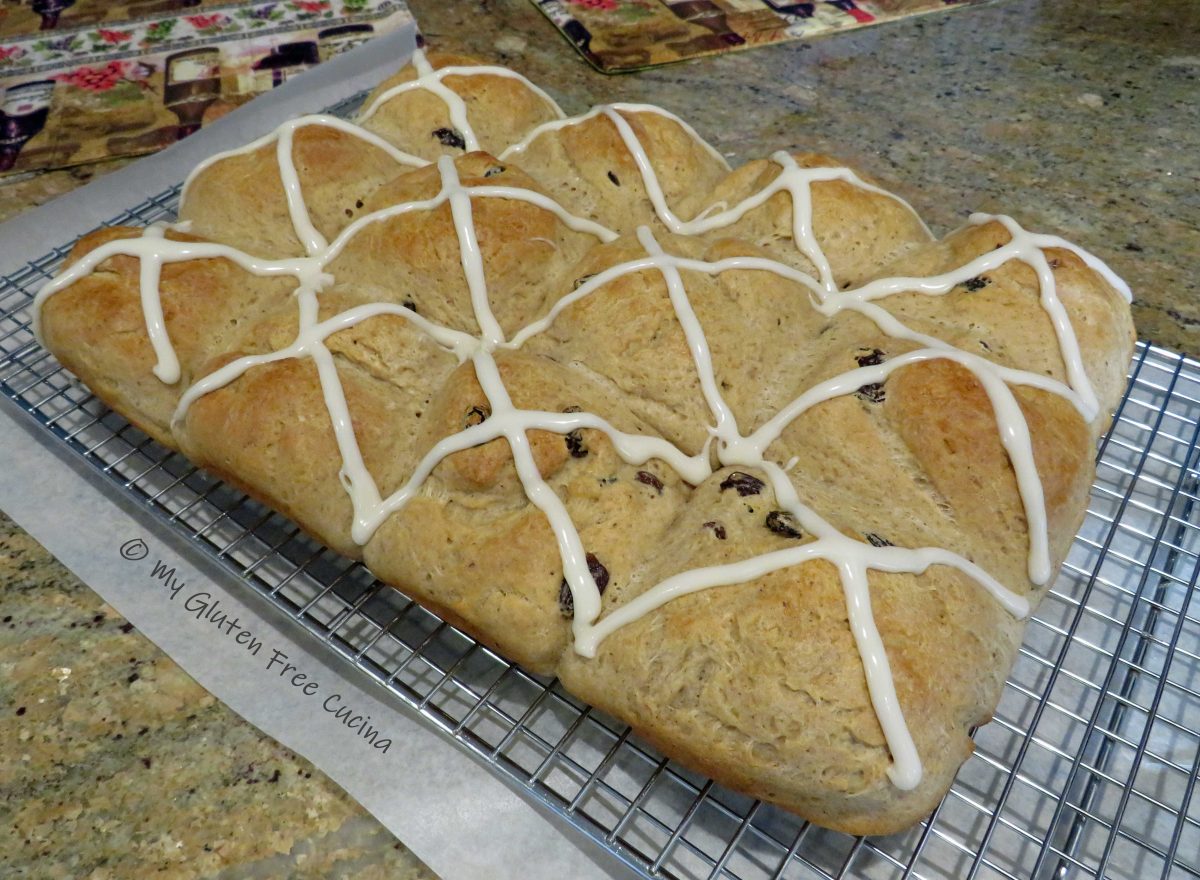
Here’s breakfast!  This was a delicious and filling pancake; one was more than enough for me.  Look how thick it is!

Once they were cooled to room temperature, I wrapped the rest of the pancakes individually in plastic wrap and placed in a freezer safe bag.  They will keep for a couple of months in the freezer (at least) and can be defrosted and reheated in the toaster or the microwave.

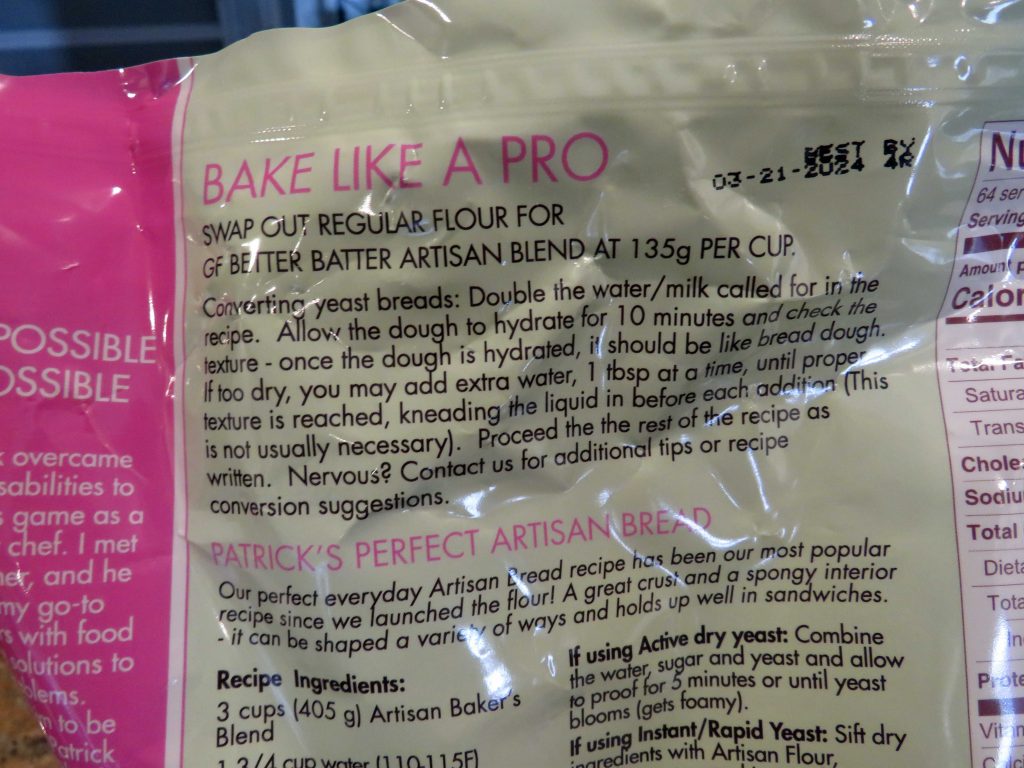
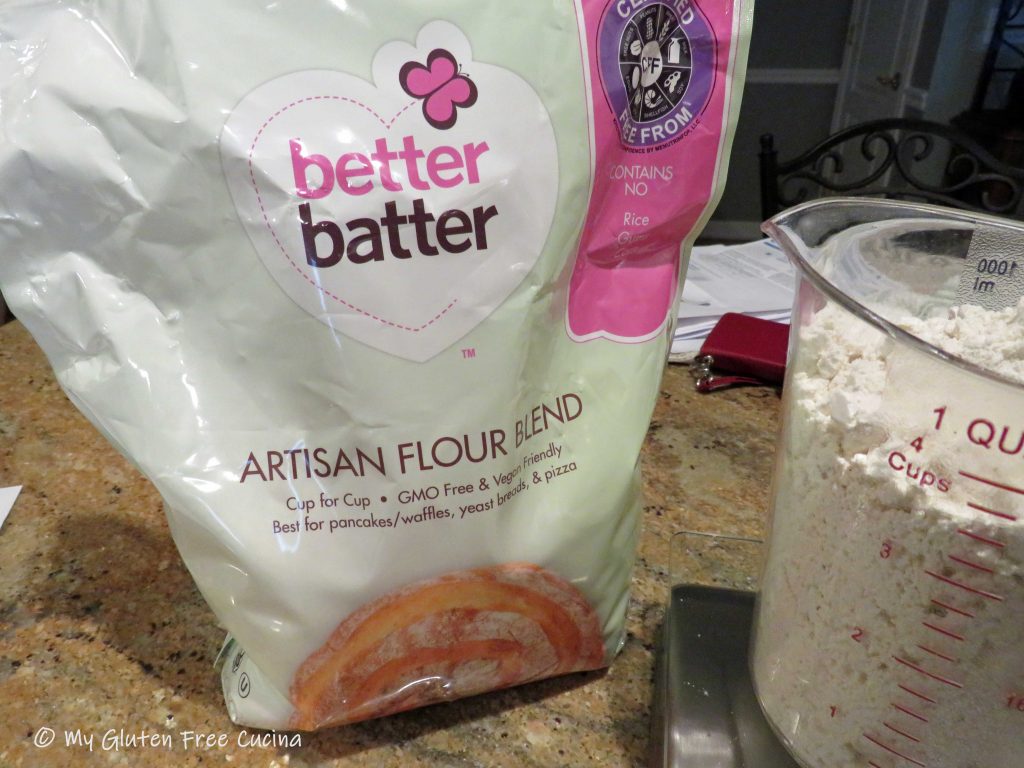
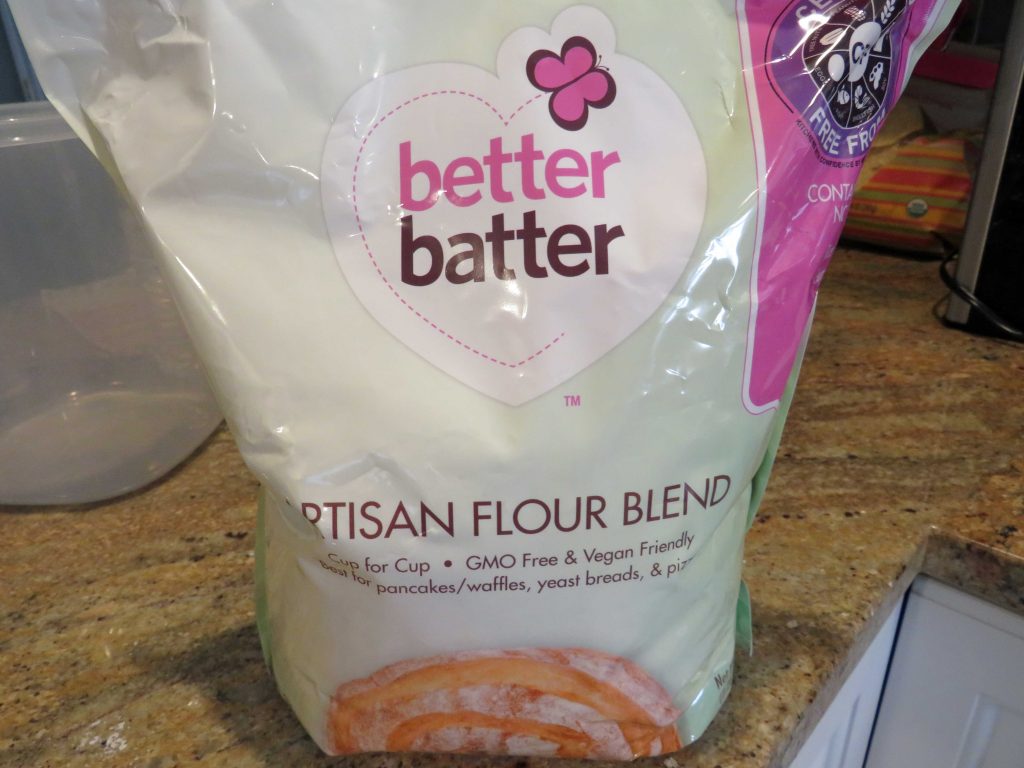
Notes ♪♫ I used and recommend Better Batter Original Gluten Free Flour in this recipe.  It is a high-quality flour that will change the way you bake!

Use this link to shop Better Batter and remember to use my code MGFC30 at check out for 30% off your full price purchase.   

Print This Post Print This Post


Gluten Free Sourdough Discard English Muffins

The Adventures of Sophie the Sourdough

Recipes for sourdough discard are as plentiful as there are sourdough bread recipes.  These Sourdough Discard English Muffins were my first experiment using discard, as Sophie, my gluten free starter continues to develop.

So, what exactly is sourdough discard?  In simple terms, when feeding a new sourdough starter, you will be adding flour and water at least twice per day.  As your starter grows, part of the process requires that you discard some of the mixture.  This keeps the starter at a reasonable quantity while feeding the organisms that will eventually produce that wonderful sourdough flavor.

Even after your starter is well established and living in the fridge, you will still need to feed it regularly, and unless you are a prolific baker there will always be “discard”.

It’s all part of baking with sourdough, but that doesn’t mean your excess starter needs to be thrown in the trash.  I mean just look at those English Muffins!  I knew when I made this batch that Sophie and I were going to have some incredible BREAD adventures this year.

In some cases, recipes made with discard like this one are actually “sourdough enhanced”, meaning that they use the sourdough discard along with traditional leavening ingredients such as commercial yeast and/or baking powder.  When I first made these English Muffins, Sophie was about a week old.  Not mature enough to raise a loaf of bread by herself yet, but ready to enhance the flavor!  If you love bread like I do this recipe will make you very happy!

This post contains affiliate links.

Ingredients:

  • 75 g. (1/3 cup) milk (I used 2%)
  • 275 g. (1-1/8 cups) water
  • 15 g. (3 tbsp.) whole psyllium husk
  • 2 tsp. sugar
  • 2 tbsp. canola oil
  • 2-1/4 tsp. instant yeast
  • 140 g. (1/2 cup) gluten free sourdough discard
  • 240 g. (2 cups) gluten free flour (I used Better Batter Original Blend)
  • 2 tsp. baking powder
  • 1 tsp. salt
  • 1 tbsp. butter for the griddle
  • cooking spray
  • cornmeal for sprinkling

Shop Better Batter and use my Code MGFC30 for 30% off full price items!

Preparation:

Combine the milk and water together and microwave 30 seconds.  Whisk in the whole psyllium husk, yeast, sugar and canola oil.

In a separate bowl, whisk together the flour, baking powder and salt.

Use a dough whisk to combine the wet and dry ingredients with the sourdough discard.  Turn it out onto a floured work surface and knead a few times to form a cohesive dough.

Shape into a ball, wrap in plastic wrap and let it rest for 1 hour at room temperature.

Preheat the oven to 350º and heat a seasoned griddle on medium.

Butter the griddle and coat 8 muffin rings with cooking spray.  Arrange the muffin rings on the griddle and sprinkle cornmeal inside each.

(Note-muffin rings are optional, the muffins will hold together without them.)

Divide the dough into 8 equal pieces, about 95g. each.  Rub a little oil into your hands, then roll each piece of dough into a ball and flatten slightly with your palm.

Place one piece of dough into each muffin ring and sprinkle more cornmeal on top.

Cook on the first side for 5 minutes, then use tongs and a spatula to turn them over.  Carefully remove the rings with tongs and cook 5 minutes longer.

Transfer the muffins to a parchment lined baking sheet, and place in the oven for 10 minutes longer or until the internal temperature reaches 210º (check with a thermometer).

Cool several hours on a rack before toasting.  Wrap leftovers individually and place in freezer safe bags.

Notes ♪♫ I used and highly recommend Better Batter Original Flour Blend in this recipe (use the link for 30% off full price).  Remember, every gluten free flour blend is different, so if you use another brand you may need to adjust the flour to liquid ratio.

Print This Post Print This Post

Gluten Free Sourdough Starter

I have been a “Bread-head” for a very long time.  In fact, before my Celiac diagnosis, I baked my own bread every week, and even milled my own flour from organic wheatberries.  Eventually I began working with sourdough and had a very robust starter for 6 years.  But you know what happened next.  Once I learned that I had Celiac disease it all came to an abrupt end, and I had to go back to square one.

*In case you were wondering, you cannot convert a regular sourdough starter to gluten free.  Even after many feedings, the starter will still harbor gluten*

This post contains affiliate links.

That brings us to today’s post.  Gluten Free Sourdough bread has been at the top of my 2024 recipe bucket list, but first I needed an active starter.

Meet Sophie

Take a look!  After 2 weeks of feeding, she is bubbling away and ready to go to work.  I’m so excited (and hungry) for all the breads Sophie and I are going to make together!  We are already having fun with sourdough discard recipes.  So, stay tuned for more of Sophie popping up in my kitchen adventures this year.  And when you do, you can always come back to this post to read about how it all “started” (hehe)!


Key takeaways for establishing a sourdough starter:

  • Maintain a steady 75-80 degrees.
  • Use filtered water (not tap water)
  • Use whole grain gluten free flour, either sorghum or brown rice
  • Feed twice a day 1/4 cup (30 g.) flour and 1/4 cup (60 g.) water.
  • Discard between 1/4 and 1/2 cup daily.
  • Be patient, it takes longer for a gluten free starter to activate.

This post contains affiliate links.

Ingredients/Equipment:

  1. dried starter
  2. sorghum flour (you can also use brown rice flour)
  3. filtered water (not tap)
  4. 2 wide mouth ball jars, quart size
  5. cheesecloth
  6. proofing box (see notes)
  7. measuring cups
  8. wooden spoon
DAY ONE – A STAR IS BORN!
  • I opted for a dried starter because I just wasn’t having any luck with flour and water alone.  Try without it if you’re brave!
  • I fed the starter with Bob’s Red Mill Whole Grain Sorghum flour.  You want to use a single whole grain flour, not a blend that contains starches and gums.  I love the flavor of sorghum, but you can use brown rice flour if you prefer.

  • I used bottled water (filtered) because our tap water isn’t the best.
  • You need at least 2 wide mouth Ball jars, so that you can transfer the starter to a clean jar every couple of days.

I ordered a proofing box.  I know, expensive but so worth it!

  • This proofing box was a game changer for me.  My New England kitchen is chilly during the winter, and I was not about to turn up the heat to 80º for 2 weeks!  This proofing box maintains just the right temperature and folds for storage when not in use.

  • You will need measuring cups for feeding your starter and measuring the discard.
  • About those wooden spoons-

**Old wives’ tale – you should never touch your starter with a metal instrument.  I am superstitious and only use a wooden spoon!

the process:

After several failed attempts at establishing a starter, I purchased this dried gluten free sourdough packet from Cultures for Health.  It worked like a charm, not a huge investment, and they have a 60-day guarantee.

Feeding schedule:

  • Feed 1/4 cup (30 g.) flour and 1/4 cup (60 g.) water every 12 hours.  Stir vigorously after each addition.  The consistency should be like a pourable pancake batter.
  • Cover the jar with cheesecloth and place in a warm 75-80º spot.
  • Each day, before feeding you will notice that a layer of liquid has formed on top of your starter.  It’s the alcohol (a/k/a hooch) formed during fermentation, and it gives the starter that sour taste and aroma.  Don’t throw it away, just stir it back into the starter.

  • After the first few days, you will need to discard between 1/4 to 1/2 cups each morning before feeding.  Stir the starter first, then measure out and discard 1/4 cup at a time until you have just one cup remaining in the jar.  Feed as usual and transfer to a clean jar.  This step is necessary to encourage growth of the wild yeast and good bacteria, I try to maintain about 1-1/2 cups of starter at all times.

(If you’re like me, you hate throwing anything away, so I’ll be sharing a few sourdough discard recipes!)

Gluten Free Sourdough Discard English Muffins
  • When the starter is ready to use it will be loaded with little air bubbles.  Mine was ready after 14 days of twice daily feeding.
  • Once your starter is established, you can store it in the refrigerator and feed it once a week.  Cover it loosely, never tighten the lid.

Notes:

♪ No proofing box?  You can try making an inexpensive one with a Styrofoam cooler and 25-watt bulb.  I had one like this that I used for years.  Alternatively, you can create a warm, draft free environment by placing your starter in the oven with the light on (may not be practical for the 10+ days needed to activate a starter).  Some people use the microwave or even the clothes dryer! (again, not practical if you do laundry every day).

For the bread scientists 🙋‍♀️ I fed my starter with equal parts whole grain sorghum flour and water by volume (1/4 cup), but this is actually a 200% hydration starter by weight, that is, 60 g. water to 30 g. flour per feeding.

♫♪ With just a little care a starter can live for many years.  If you are not baking often, be sure to feed your starter on a regular schedule, discard the excess and move it to a clean jar every week.

Print This Post Print This Post


Gluten Free Sandwich Thins

When I hear people say that the gluten free diet promotes weight loss I have to shake my head! ????  The reality is that gluten free breads, pastas and cereals have as many or more calories and carbs than their wheat filled counterparts.

It got me to thinking, that back a few years “BC” (before Celiac) I had a great homemade recipe for the popular Sandwich Thin buns that everyone loved.  In this post I’ll show you how I recreated that recipe to a gluten free version for my lunch sandwiches.

This post contains Affiliate Links.

Mind you, I wanted my bread to be nutritious and wholesome, not just empty calories.  This recipe checks all my boxes- whole grains, small portions, great taste.  I used a muffin top pan to create perfectly shaped rounds that were all the same size, about 1.5 oz. each after baking.

The flour blend was a result of trial and error, largely based on my own taste buds as well as some sampling by my family.  Sorghum and brown rice are high on my list of favorites, and I use a combination of the two in many of my breads.  Dark teff grain has an earthy flavor that can easily overpower a recipe, but using just a little lends a wheat like flavor and color.  I also blended 3 starches together which worked great, but no corn starch as I don’t like it for baking (again, just my taste preference).

You might be interested to know that I used a coffee grinder for some of my ingredient prep.  Tiny grains like teff and chia seeds can be purchased in whole form, and ground into a flour just before baking for ultimate freshness.

You don’t need a special pan to make the buns, but this muffin top pan I used was a great for shaping and definitely helped with portion control.  The non-stick finish made for a very easy cleanup.  I liked it so much I ordered a second one!


Makes 12 buns

Ingredients:

  • 1 tbsp. yeast
  • 1 tbsp. chia seeds, ground
  • 1 tbsp. sugar
  • 1/2 cup warm water

………………………………..

  • 90 g. whole grain sorghum flour
  • 130 g. brown rice flour
  • 40 g. tapioca starch
  • 40 g. arrowroot starch
  • 40 g. potato starch
  • 15 g. teff grain, ground
  • 1 tsp. gelatin
  • 1-1/4 tsp. xanthan gum
  • 3/4 tsp. salt

…………………………………….

  • 1 egg
  • 3 tbsp. olive oil
  • 1/2 cup warm milk
  • 1/2 cup warm water

…………………………………….

  • 2 tbsp. 1% milk, for brushing
  • sesame seeds
  • poppy seeds

Preparation:

Grind 1 tbsp. chia seeds in a coffee grinder and combine it with 1 tbsp. yeast, 1 tbsp. sugar, and 1/2 cup warm water.  Stir and let it sit for 10 minutes.

Grind 15 g. of teff grain in a coffee grinder.

Whisk together with the other dry ingredients.

Whisk the egg, olive oil and milk into the yeast mixture.

With the paddle attachment, mix in the dry ingredients along with the last 1/2 cup of water.  Beat for 3 minutes to form a smooth, wet dough.

Have a bowl of warm water ready for dipping your spoon and fingertips.  Drop a scant 2 tablespoons of dough into each well, dipping the spoon into the water each time to help manage the sticky dough.

Dip a small spatula into the water and smooth out the dough, spreading it in a circular motion to fill in the rounds.  Don’t skip this step, gluten free dough does not spread by itself!  If you are not using a muffin top pan, spoon the dough onto a baking sheet lined with parchment and spread into 4″ rounds.

Cover with oiled plastic wrap and let rise for 30 minutes.  Preheat the oven to 400º.  After 30 minutes, brush the tops of the buns with milk and sprinkle with sesame and poppy seeds.

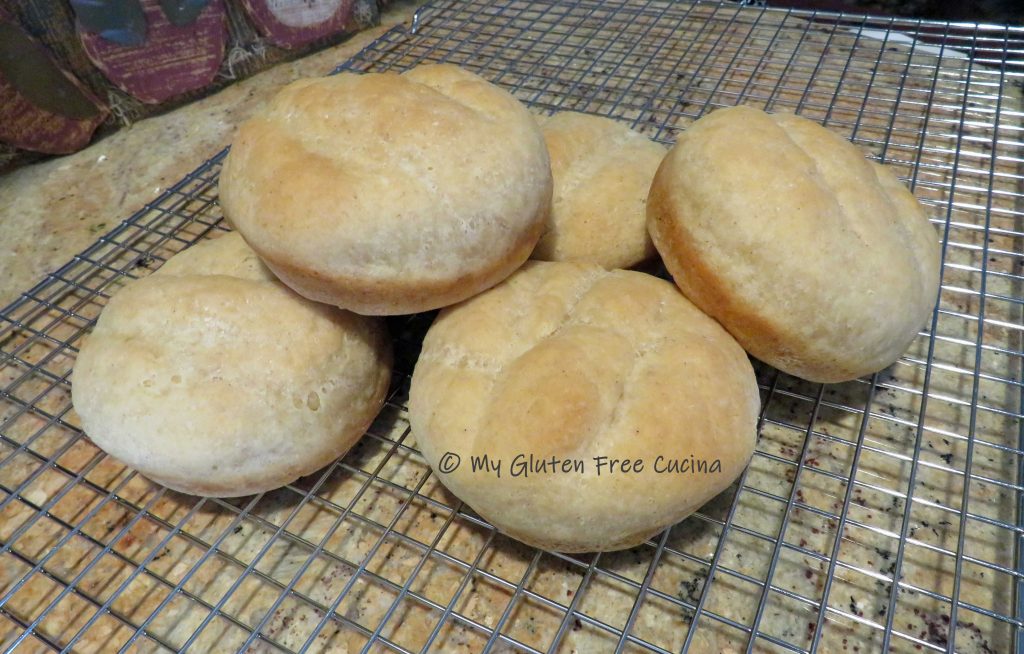
Bake for 15 minutes, or until the buns reach an internal temperature of 205º.

Remember, gluten free bread takes longer to cook than regular, and if not cooked through the center will be wet and tacky.  Check the internal temperature with a thermometer!

Cool completely on a rack.  Buns are best the day they are baked, and leftovers should be frozen as soon as they reach room temperature.  I like to slice mine and wrap them individually in plastic wrap to store in freezer safe bags.  So easy to grab a roll for my lunch!  Here’s the crumb shot.

Just the right size for a light sandwich.  As I was baking, the kitchen really smelled like bread.  If you are gluten free you know what a big deal this is.  And the taste did not disappoint!  I have been enjoying my sandwiches knowing that I’m not overdoing it on carbs.  This recipe is a must try!  Please pin, like and share the recipe and let me know what you think!

Notes ♪♫ I placed my muffin top pans on top of another baking sheet for insulation.  This prevented the bottoms of the buns from burning before the centers were cooked through.  It worked perfectly!

Originally published 03/23/2019                   Updated 01/21/2024

Print This Post Print This Post

Gluten Free Multigrain Sandwich Loaf

Just look at that beautiful loaf of bread!  In the gluten free universe, this is what dreams are made of!  Not only does it taste great, but it is also nutritious and wholesome, made with a combination of grains that delivers real bread flavor without the gluten.

If you like to mix up your own flour blends, then this recipe is for you!

I adapted this recipe from one of my own, Gluten Free Sandwich Thins.  I always made them for lunch when I worked in an office, but now that I’m home most of the time I find that I like to have sliced bread in the house.  When you make a loaf, you can slice it as thin or as thick as you want for sandwiches, toast or just to go with dinner.

This bread is wonderful for sandwiches.  It doesn’t need toasting, doesn’t fall apart in your hands and the middle is not wet or tacky at all.  It’s a gluten free dream come true!

This post contains affiliate links.

Ingredients:

  • 1 tbsp. yeast
  • 1 tbsp. ground chia seeds
  • 1 tbsp. sugar
  • 1/2 cup warm water
  • 127 g. whole grain sorghum flour
  • 183 g. brown rice flour
  • 56 g. tapioca starch
  • 56 g. arrowroot starch
  • 56 g. potato starch
  • 21 g. teff grain, ground
  • 1 tsp. gelatin
  • 1.5 tsp. xanthan gum
  • 1 tsp. salt
  • 1 large egg
  • 3 tbsp. olive oil
  • 3/4 cup warm milk (I used 2%)
  • 1/2 cup warm water
  • 2 tbsp. milk, for brushing
  • sesame seeds
  • poppy seeds

Preparation:

Line a 1 lb. loaf pan with parchment paper and mist with cooking spray.

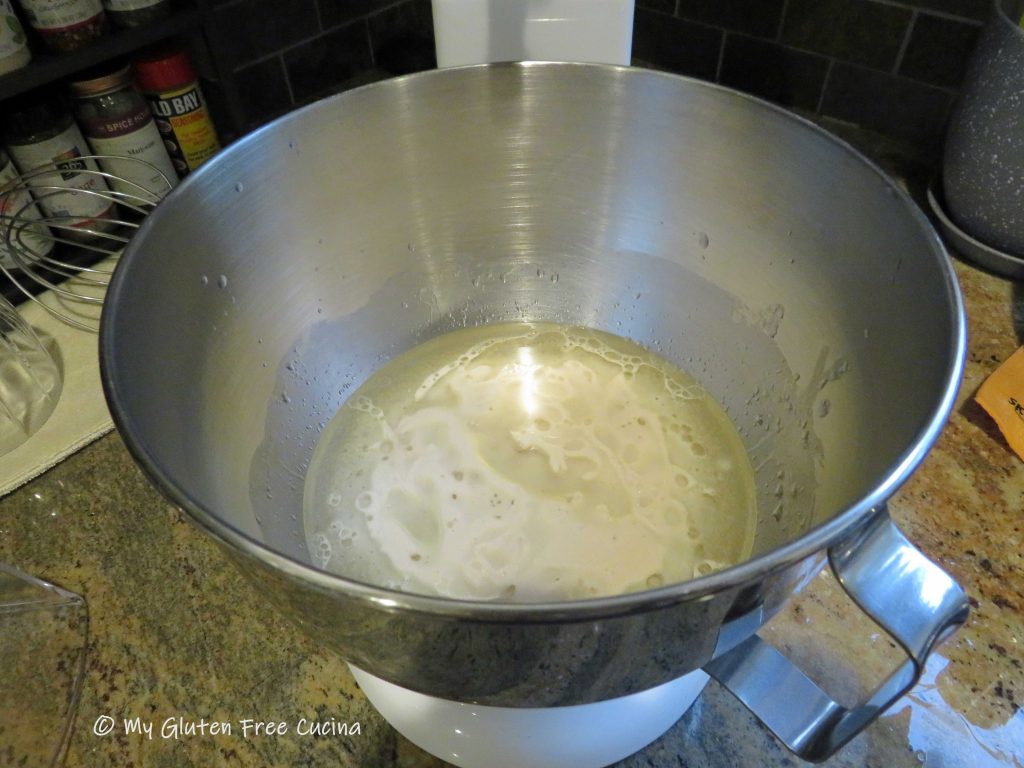
Combine the yeast, ground chia seeds, sugar and 1/2 cup water in a small bowl or measuring cup.  Let the mixture rest for 10 minutes.

In a separate bowl, whisk together all of the dry ingredients, sorghum flour through salt.

When the yeast has bloomed, add the mixture to the bowl of a stand mixer along with the egg, olive oil, milk and water.

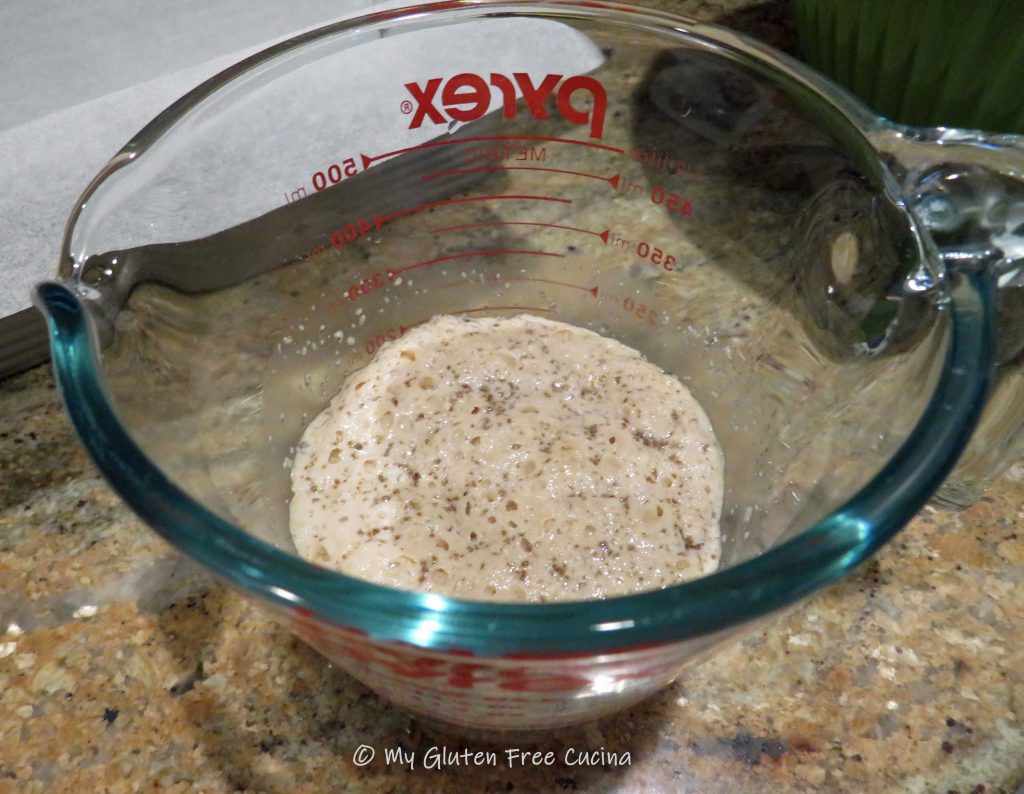
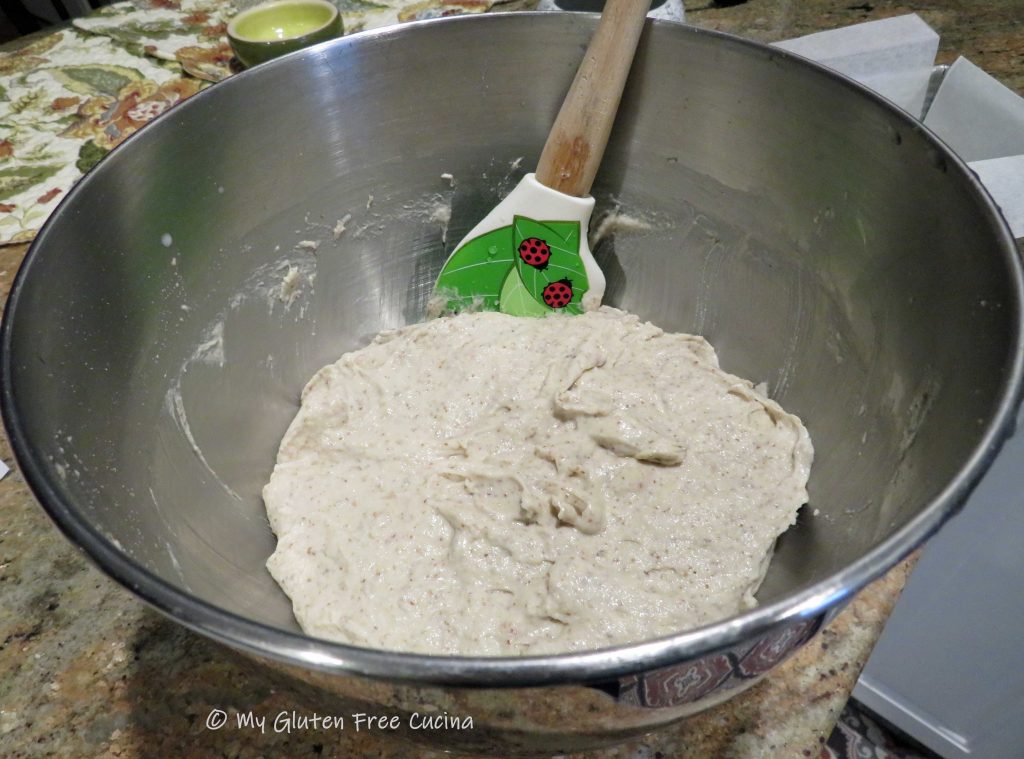
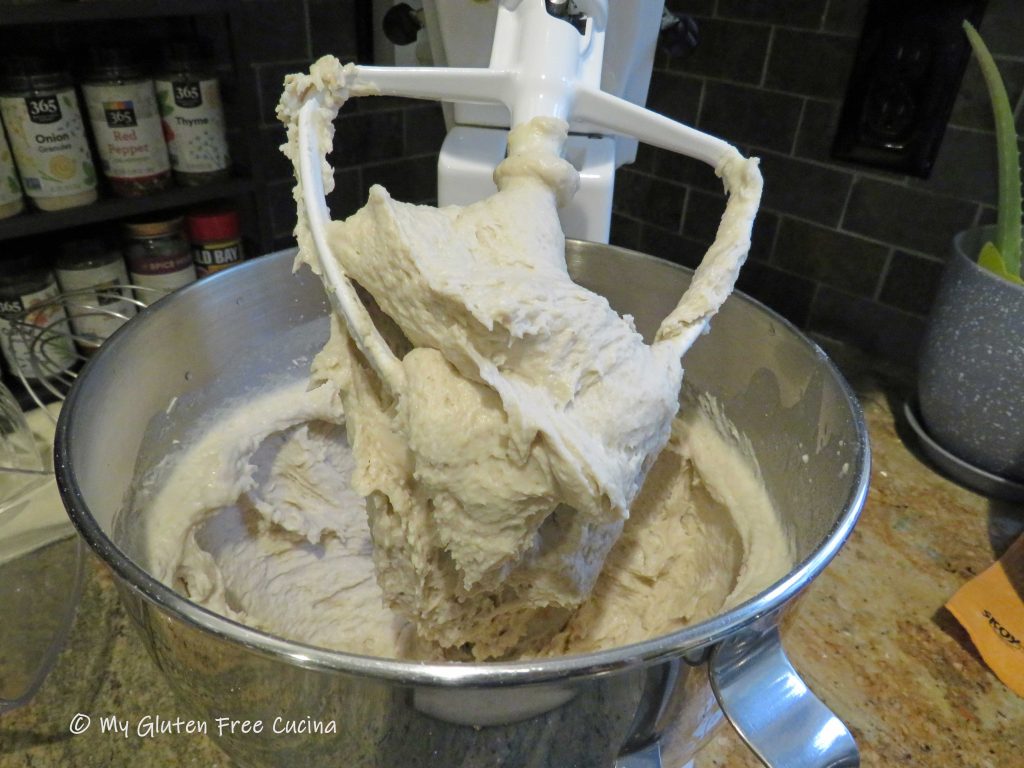
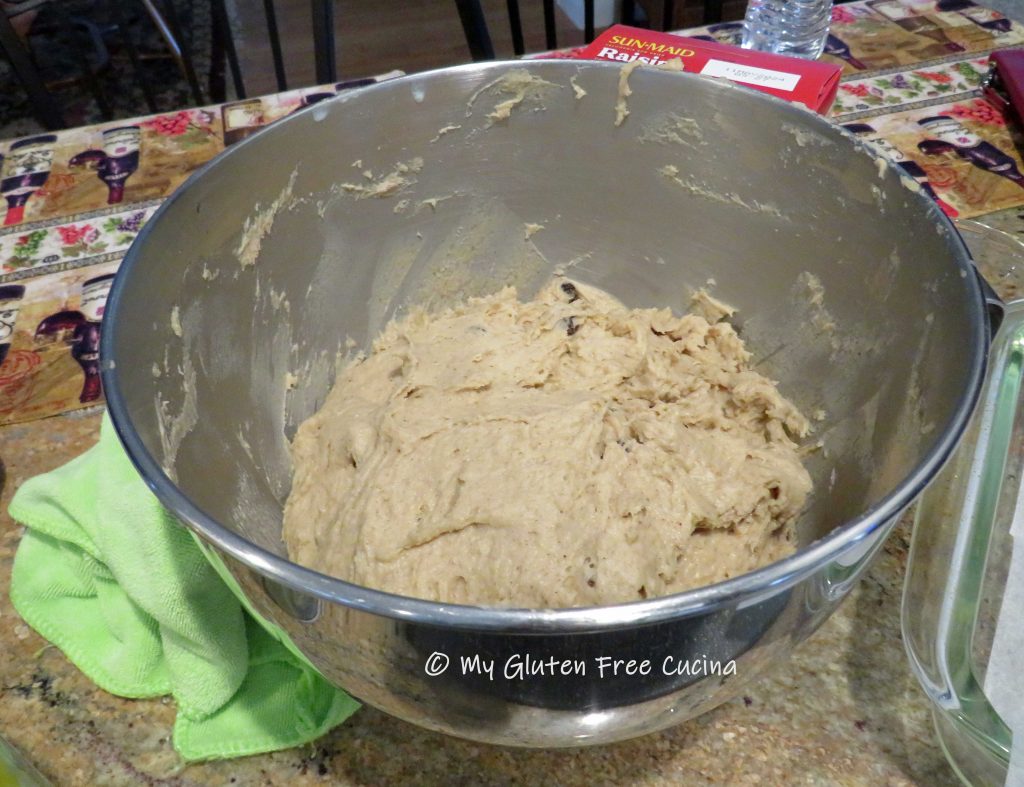
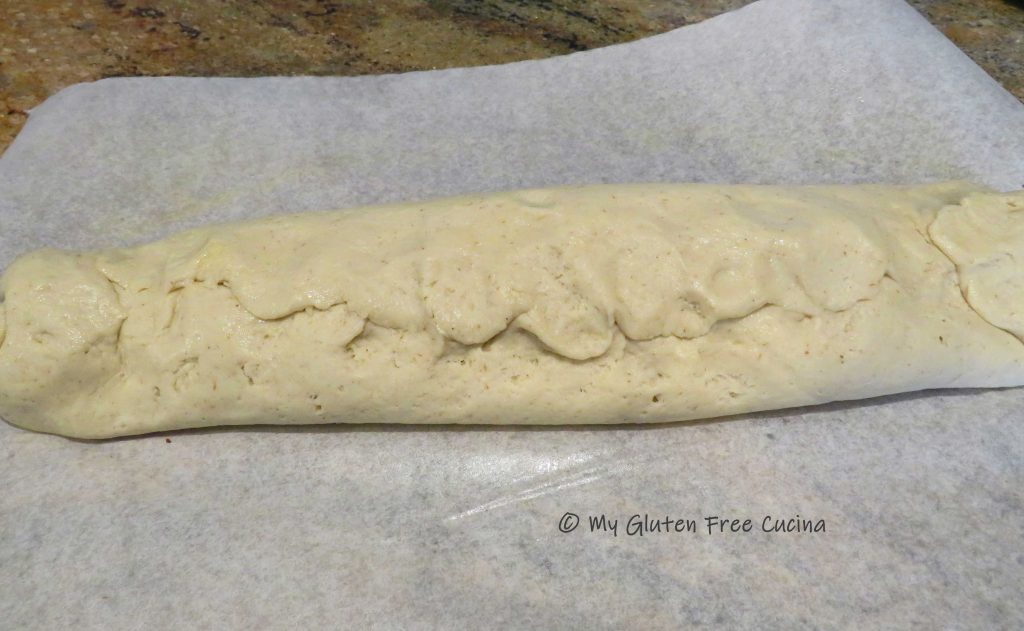
Whisk it all together, and then add the dry ingredients into the wet.  Mix for 5 minutes with the paddle attachment.  The dough will be heavy and wet.

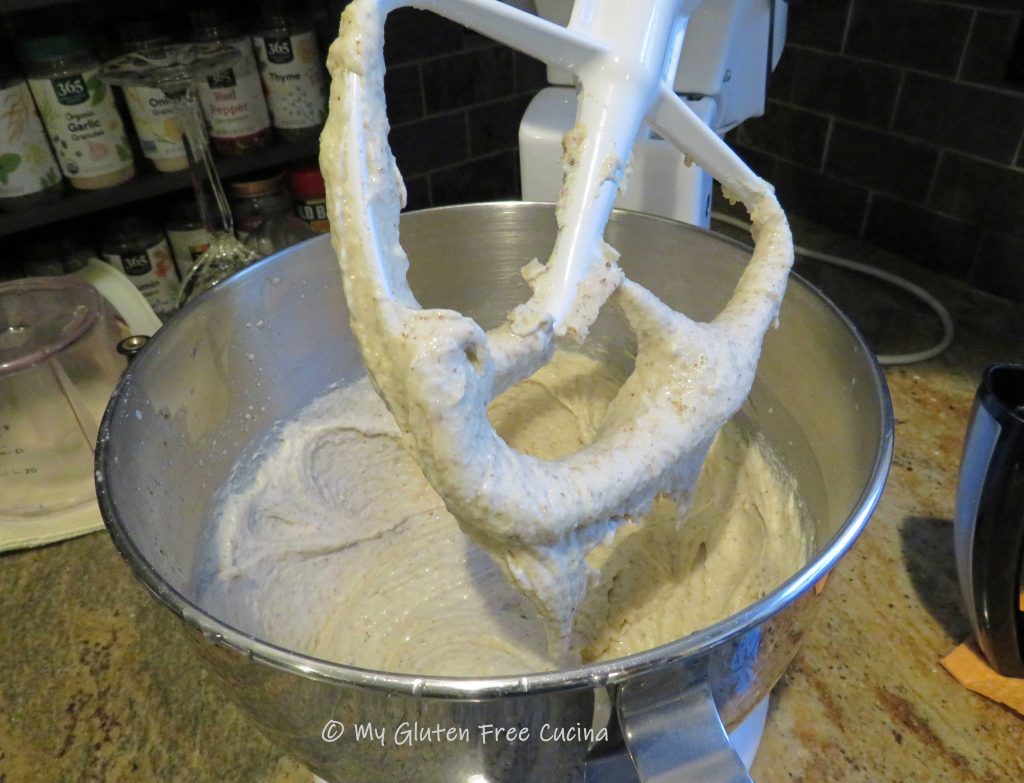
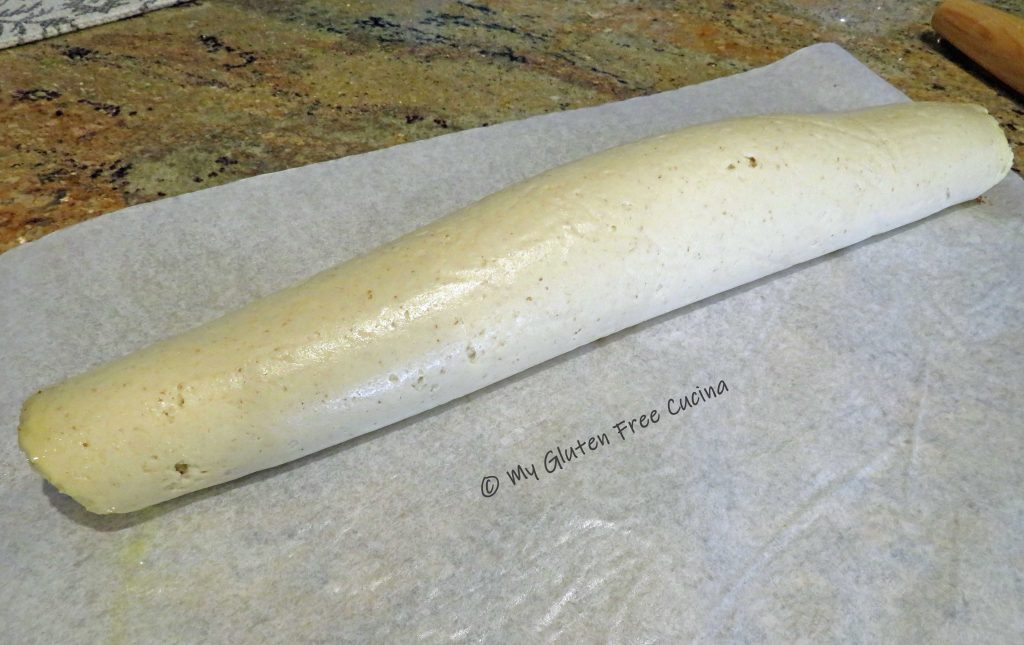
Scrape the dough into the prepared pan, smoothing out the top with a spatula dipped in water.

Covered with oiled plastic wrap and let it rise for 30 minutes while you preheat the oven to 400 degrees.

Brush the top of the loaf with milk, and sprinkle with sesame and poppy seeds.

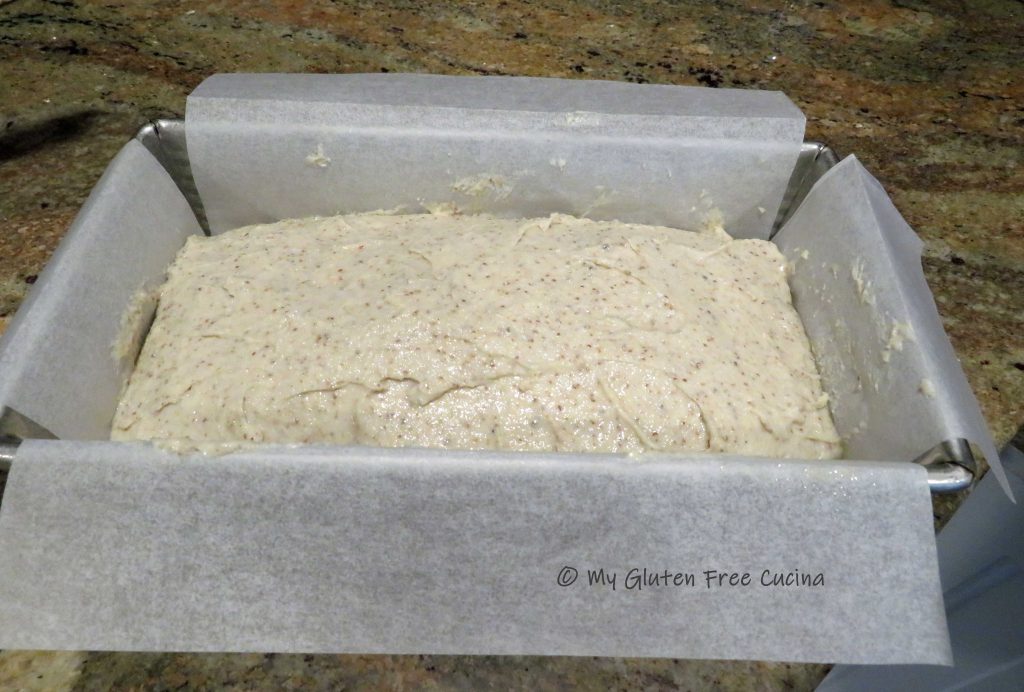
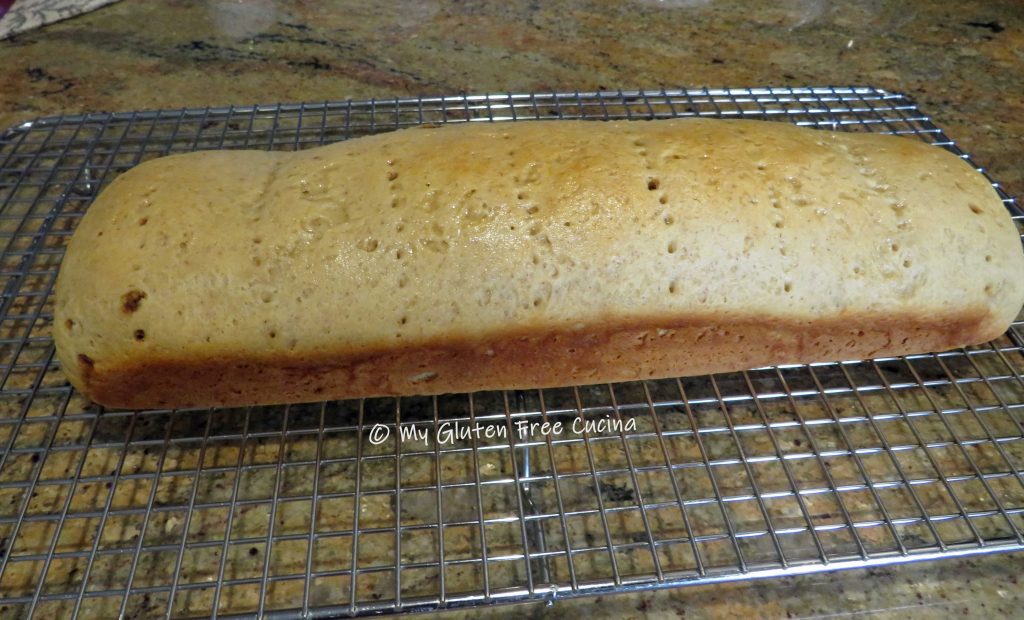
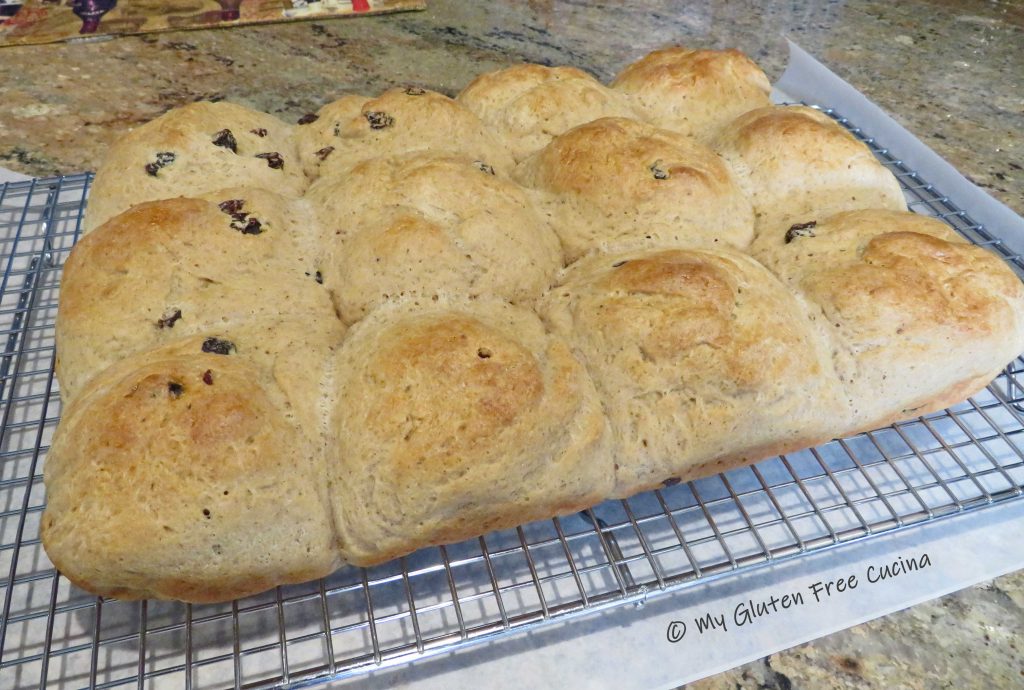
Quickly make 2 diagonal slashes across the top of the loaf with a sharp knife.

Place the loaf on the middle rack of the oven, close the door and drop the temperature to 375º.  Bake 50-55 minutes, or until the internal temperature reaches 205º (use a thermometer).

Cool in the pan 15 minutes, then transfer to a rack.

Cool to room temperature, then bag it and let the loaf stand at room temperature overnight.  Resist the urge to cut into that loaf right away, and your patience will be rewarded with this amazing crumb!  It is truly worth the wait!

Notes ♪♫ You might be interested to know that I mill some of my flour from the whole grain.  In this recipe, I used my KitchenAid grain mill attachment to mill whole sorghum berries into flour.  For the teff flour, I ground whole teff grain in a coffee grinder.  Storing grain in its whole form will keep it fresh longer, great for those infrequently used ingredients.  If you would like to learn more about using a grain mill, check out this post.

Print This Post Print This Post

Everyday Gluten Free Dinner Rolls with Better Batter

Ah, rolls!  You know how when you go to a restaurant and they tell you they have gluten free dinner rolls, and you are SO happy?  Then they bring you a little hockey puck that tastes like cardboard, and charge extra for it?

Well forget about that!  Instead, make the BEST tasting dinner rolls, right at home with the Artisan Flour Blend from Better Batter.  This recipe makes great dinner rolls, breakfast rolls and sliders too!  Or make them larger for hamburger or hotdog buns.

Credit for this recipe goes to Chef Patrick Auger, who is the creator of the Artisan Flour Blend.  He is a shining star in the gluten free community, well known for both product and recipe development!

The original recipe appeared on the Better Batter website in 2017.  Follow Chef Patrick on Facebook Allergy Free Baking at Home and Instagram, Professional Allergy Baker.

And don’t forget, when you order the Better Batter Artisan Flour Blend from their website be sure to use my Code MGFC30 at checkout for 30% off full price!  All of their products are of the highest quality and will make a dramatic difference in your gluten free baking, I know it did mine!

Ingredients:

Preparation:

In the bowl of a stand mixer, whisk together the warm water, yeast, honey and canola oil.  Let it sit for 10 minutes.

Add the flour and salt to the wet ingredients, switch to the paddle attachment and mix for 6-8 minutes.

Turn the dough onto a floured cutting board, cover with plastic wrap and let it rest 20 minutes (this is a good practice for any gluten free recipe, but absolutely necessary if you are using the Artisan Flour Blend).

Now you are ready to form the rolls.  Here are some guidelines for different size rolls.  Your total dough weight will be around 1150 g.

For large hamburger buns, divide the dough into 6 pieces, about 190 g. each.

***

For medium rolls (pictured), divide the dough into 12 pieces, about 95 g. each.

***

For sliders, divide the dough into 15-16 pieces, about 75 g. each.
***

Using your palm, roll each piece of dough on a floured cutting board to form a ball, and place on a baking sheet or use a bun pan like I did.  For large buns press the tops down to flatten slightly.

Cover the rolls with a damp towel while you preheat the oven to 450º.  Let the oven heat up for about 20 minutes, giving the rolls a chance to almost double in size.

To bake, remove the towel and place baking pan the center of the oven.  Throw 4 ice cubes onto the bottom of the oven, close the door and immediately turn the oven down to 375 degrees.

For large rolls (6), bake for 8 minutes, then throw in four more ice cubes and bake for another 20 minutes.

LARGE ROLLS

For medium rolls (12), bake for 7 minutes, add 4 more ice cubes and bake for another 18 minutes.

MEDIUM ROLLS

For sliders (16), bake for 6 minutes, add 4 more ice cubes and bake for another 16 minutes.

SLIDERS

When done, the internal temperature should reach 205º, if you’re not sure, check with a thermometer!

For a nice shine, try brushing the tops of the buns with melted butter as soon as they come out of the oven.

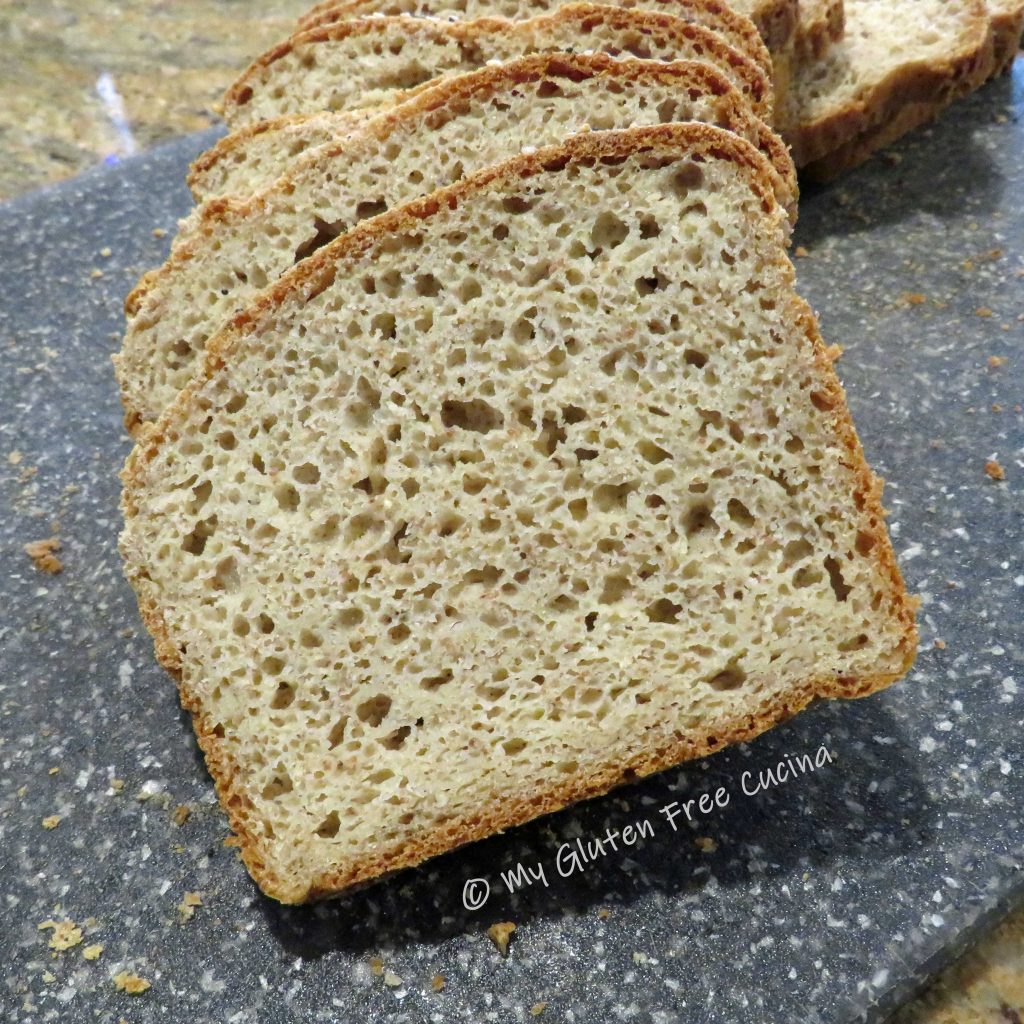
Cool to room temperature and store on the counter for up to 1 day, then freeze leftovers.

Look at that crumb!  They taste and smell like real bread and won’t fall apart in your hands like the rolls you get at a restaurant.  The recipe is easy enough for beginners too!

Notes ♪♫ If you only take away one tip from this post, let it be to always weigh your flour (use a scale!).  I do use measuring cups for liquids and measuring spoons for anything 1 tbsp. or less.  But for the flour, a scale is a must!

This recipe was adapted from “Perfect Artisan Baker’s Blend (Gum/Rice Free) Everyday Rolls”, created by Chef Patrick Auger, and published on the Better Batter website in 2017.  Many thanks to Naomi at Better Batter and to Chef Patrick who graciously gave me permission to share the recipe with my readers.

Print This Post Print This Post

Gluten Free Stuffed Bread Ring

What is a Stuffed Bread Ring?  I’ll tell you what it is- DELICIOUS!  Think of it as a cross between a pizza and a calzone, or just a fancy ham and cheese ring for grownups.  Great for a party or light meal.

The dough was made with my favorite Artisan Flour Blend from Better Batter.  This is THE flour you want for bread, pizza or anything with a yeasted dough.  The filling is a simple layering of prosciutto and provolone cheese.  By the way, this recipe is also a great way to use up those cute little charcuterie rollups you see in the deli section (that’s what I used)!

Meijer Frederik's Prosciutto & Provolone Cheese Charcuterie Rolls

This post contains affiliate links.

*** Shop Better Batter and use my Code MGFC30 for 30% off your non-sale purchase!

Ingredients:

For the dough:

For the filling:

  • about 12 slices of prosciutto, sliced thin
  • about 12 slices of provolone cheese, sliced thin or shredded
  • olive oil
  • fresh ground pepper
  • Italian seasoning

Preparation:

Combine all of the dough ingredients in the bowl of a stand mixer.  Mix with the paddle attachment for 6-8 minutes.  Cover and refrigerate for 1 hour.

Preheat the oven to 350º.

Lay out 2 large sheets of parchment on your work surface, mist with cooking spray and divide the dough into 2 equal pieces.

Rest for 5 minutes, then roll each section of dough into a large rectangle.  Brush liberally with olive oil and sprinkle with Italian seasoning.

Top with a single layer of prosciutto, followed by the provolone slices.  Leave a border around the dough, so the ends will seal.

Use the parchment paper to help roll up the dough from the long side to form a cylinder.  Pinch the seams closed with your fingers.

With seam side down, carefully form a ring, crimping the ends together.  Place a small, oiled Pyrex cup in the center to maintain the ring shape while the bread bakes.  Use a fork or docking tool to pierce the dough all over (or improvise like I did and use this).  Don’t skip this step, those little holes allow steam to escape so the bread ring doesn’t split open while baking.  Cover and rest for 10-15 minutes.

Brush the bread rings with olive oil and a sprinkle of fresh ground pepper.

Pick up the bread rings, parchment and all and slide them onto a pizza stone or baking sheet.  Bake for 45 minutes or until the internal temperature reaches 200º.

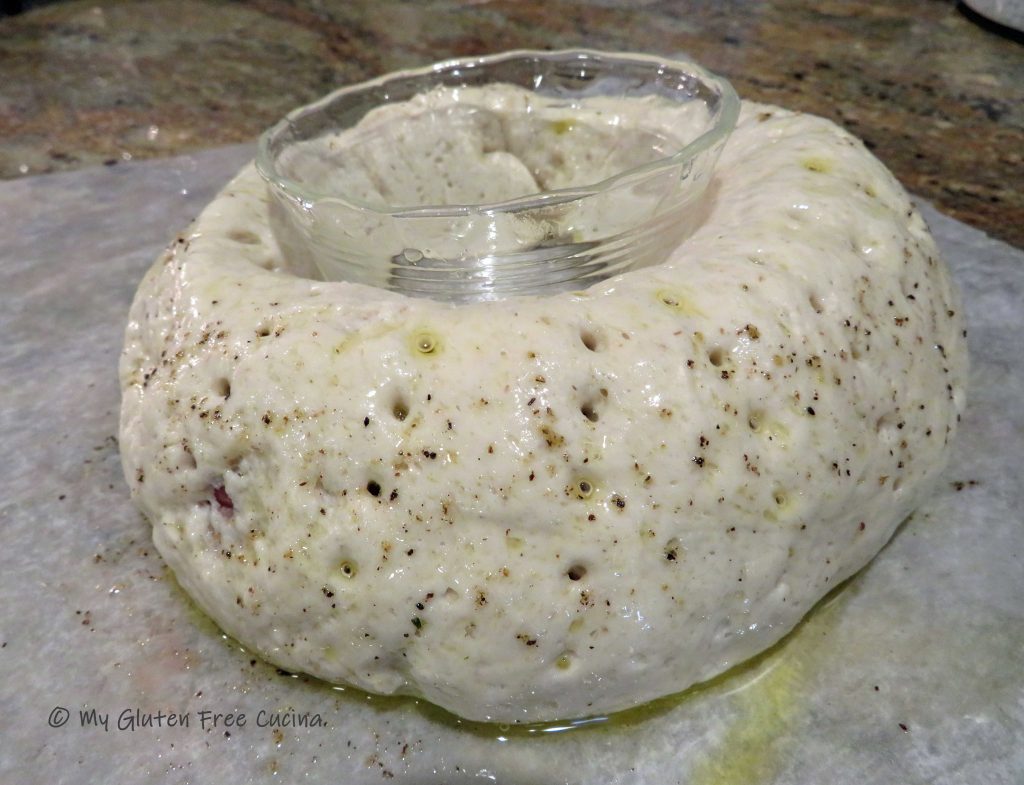
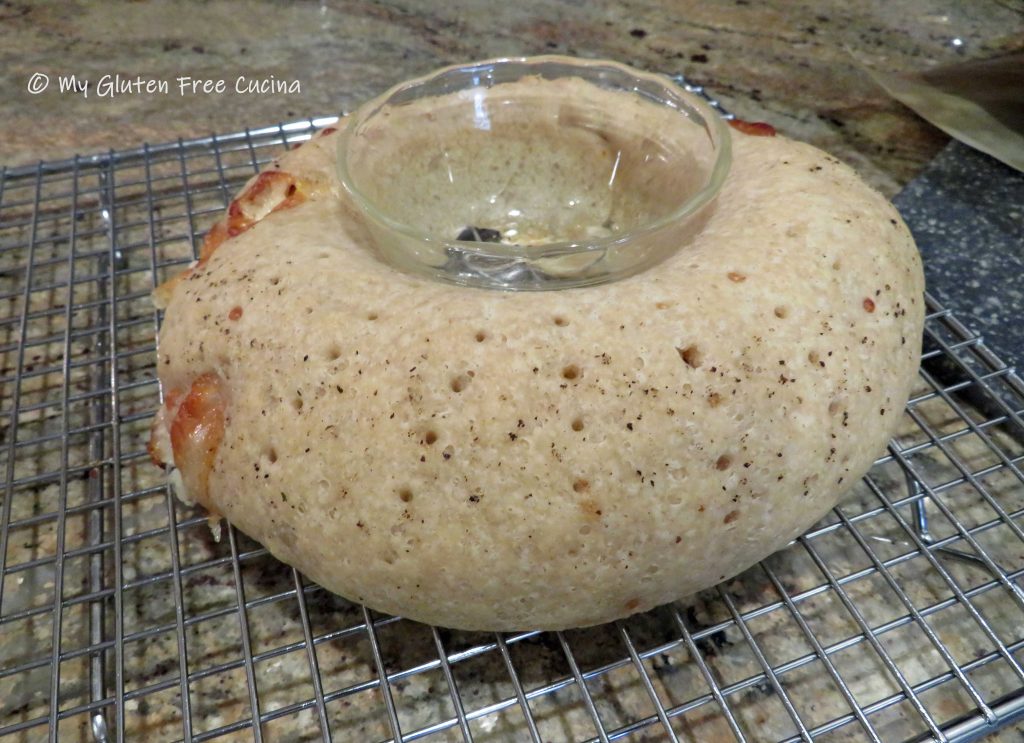
Cool on a rack for at least 15 minutes before attempting to remove the Pyrex bowls (they will be very hot).  You may need to run a paring knife around the edges to loosen the bowls.

The bread rings need to set up for an hour or so, then you can enjoy them warm or at room temperature.

Leftovers can be refrigerated for several days; they will refresh nicely in the microwave, or you can reheat them on a baking stone.

Did I mention that this Stuffed Bread Ring is DELICIOUS?  Pair it with a salad for a nice lunch or light dinner, mangia!

Notes ♪♫ I used a dozen charcuterie rollups to make 2 bread rings, six slices each of prosciutto and provolone.  If you are buying cold cuts at the deli, be sure you have enough to cover the surface of the dough.  You can change up the filling and experiment with different meat and cheese combinations.  You can also add cooked vegetables that have been well drained, nothing watery.  Baby spinach leaves in the filling provide a nice color contrast.

Print This Post Print This Post

Gluten Free Apple French Toast Casserole

Did you see the Gluten Free Cinnamon Swirl Bread I posted a few weeks ago?  If not, check it out here!   I used that same recipe to make this overnight Apple French Toast for Easter.  The cinnamon swirl bread goes so well with apples!  This is a wonderful make ahead recipe for a brunch, get it ready the night before and bake in the morning!

Ingredients:

  • 1 loaf Gluten Free Cinnamon Swirl Bread
  • 1/2 cup dark brown sugar
  • 1/2 cup butter (1 stick)
  • 2 tbsp. maple syrup
  • 3 apples (I used Honey crisp)
  • 7 eggs
  • 1-3/4 cups milk (I used 2%)
  • 1 tsp. vanilla extract
  • 1/2 tsp. cinnamon
  • cooking spray

This post contains affiliate links.

Preparation:

Make the Cinnamon Swirl Bread 2 days before and store at room temperature.

The night before your brunch, melt the butter, brown sugar and maple sugar in a small saucepan.  Stir occasionally to dissolve the sugar.

Mist a 9 x 13″ glass baking dish with cooking spray and pour the butter mixture into the dish.

Peel and slice the apples and spread them over the butter mixture in a single layer.

Cut the bread into 3/4″ slices and arrange over the apples.

Whisk together the eggs, milk, vanilla and cinnamon.

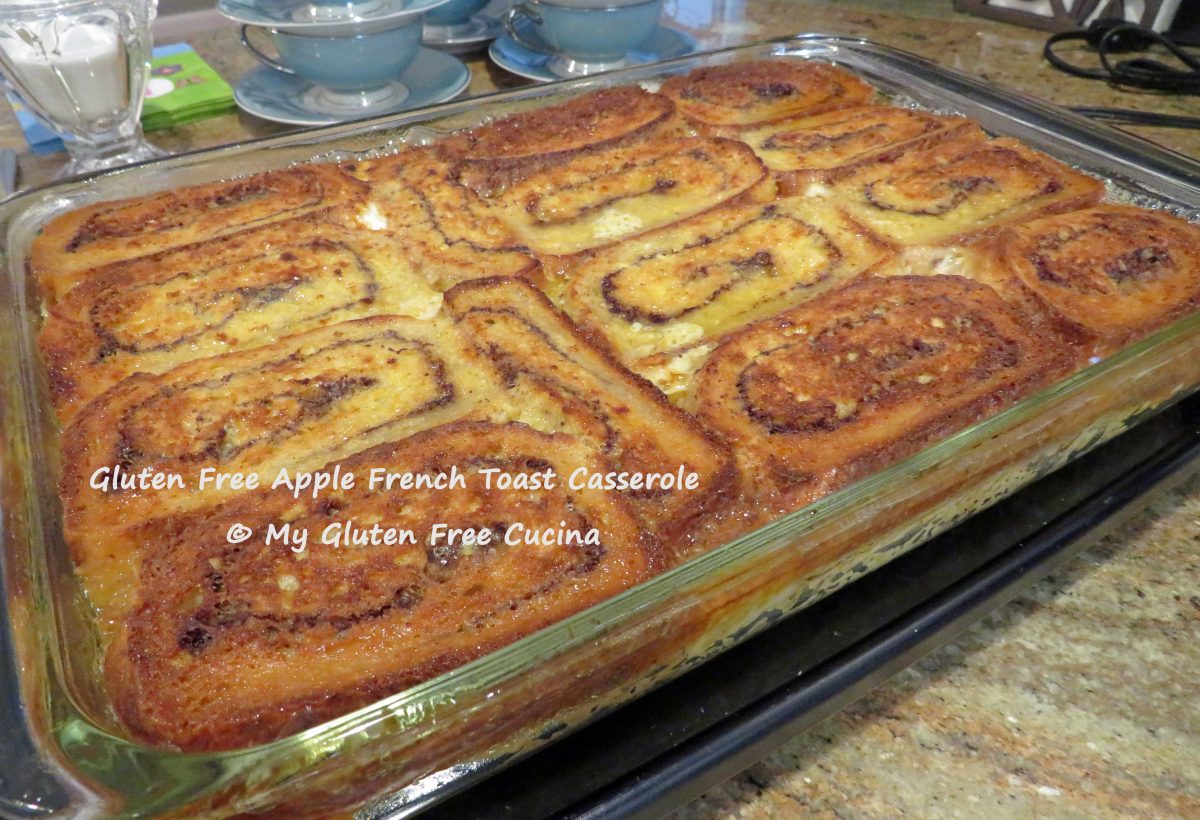
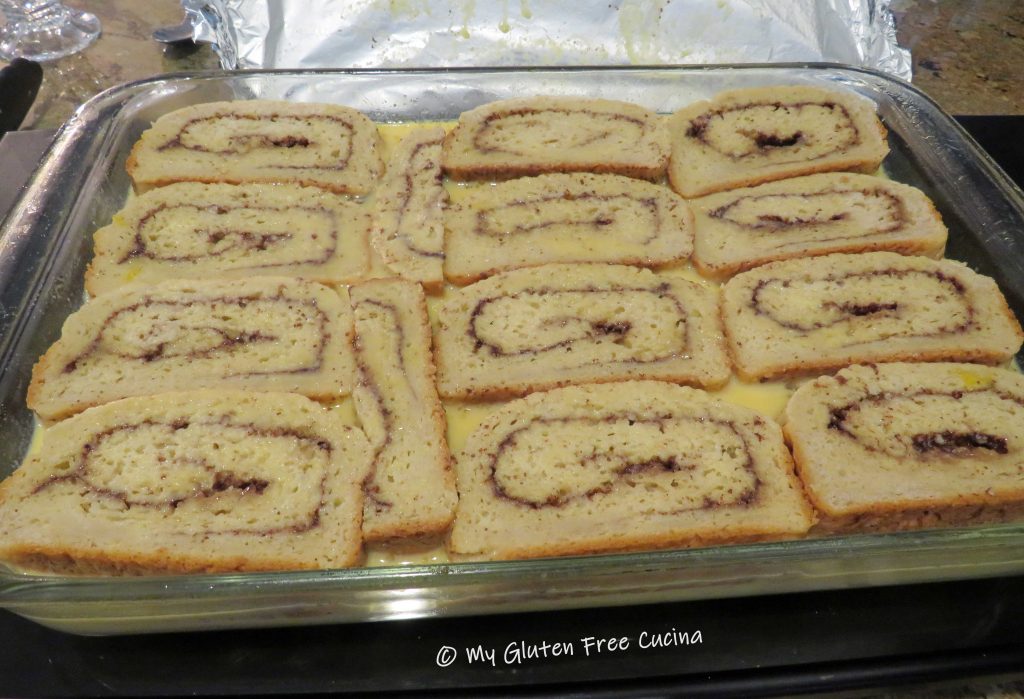
Pour the egg mixture over the bread slices and press down with a spatula.

Mist a sheet of foil with cooking spray, cover the casserole and press down with your hands to be sure the bread slices are submerged in the egg mixture.  Refrigerate overnight.  Here’s what it should look like in the morning.

In the morning, take the baking dish out of the refrigerator and let it sit on the counter to warm up for at least 30 minutes before baking (going directly from refrigerator to oven may shatter a glass baking dish).  Bake uncovered for 40-50 minutes at 350º then broil for 2-3 minutes to finish.

You can dust with powdered sugar (optional) and serve with real maple syrup!

Notes ♪♫ There are many breads that will work well in this recipe.  Check out my Gluten Free Millet Bread that I often use for French Toast recipes.  Be sure to make the bread two days before assembling the casserole, a drier loaf will better absorb the eggs.

Print This Post Print This Post


Gluten Free Hot Cross Buns

“One a penny, two a penny,
Hot-cross buns!
If you have no daughters,
Give them to your sons!”
~Mother Goose

This post contains affiliate links.

This recipe was adapted from one that I saved from the King Arthur website in 2012.  I used the Artisan Flour Blend from Better Batter (* see notes) and adjusted the liquid per instructions.  The verdict- amazing!  Hot Cross Buns were always an Easter favorite, and I am thrilled to be able to enjoy them again!

When you shop Better Batter and use my code MGFC30 at checkout, you will receive 30% off any non-sale item! 

Adapted from King Arthur Baking Company

Ingredients:

  • For the dough
  • 1/4 cup rum
  • 1/2 cup raisins (I used Sunmaid)
  • 2-1/2 cups milk, warmed
  • 2-1/4 tsp. instant yeast
  • 2 eggs plus 1 yolk (reserve whites)
  • 6 tbsp. butter, softened
  • 607 g. Better Batter GF Artisan Flour Blend
  • 1/4 cup brown sugar
  • 1 tsp. cinnamon
  • 1/4 tsp. cloves
  • 1/4 tsp. nutmeg
  • 1-3/4 tsp. salt
  • 1 tbsp. baking powder
  • 1 egg white, reserved from above for brushing
  • 1 tbsp. milk, for egg wash
  • For the Icing
  • 1 cup + 2 tbsp. powdered sugar
  • 1/2 tsp. vanilla extract
  • pinch of salt
  • 4 tsp. milk

Preparation:

Line a 9″ x 13″ baking dish with parchment paper and mist with cooking spray.

Place the rum and raisins in a small bowl to soak while you make the dough.

Microwave the butter on low for 30-45 seconds to soften.

Add milk to a microwave safe container and microwave 1-1/2 minutes. Whisk in the yeast and let it proof for 15 minutes.

Separate one egg and set aside the whites.

Whisk the yolk with the remaining 2 eggs.

Add the dry ingredients, flour through baking powder, to the bowl of a stand mixer and whisk thoroughly.

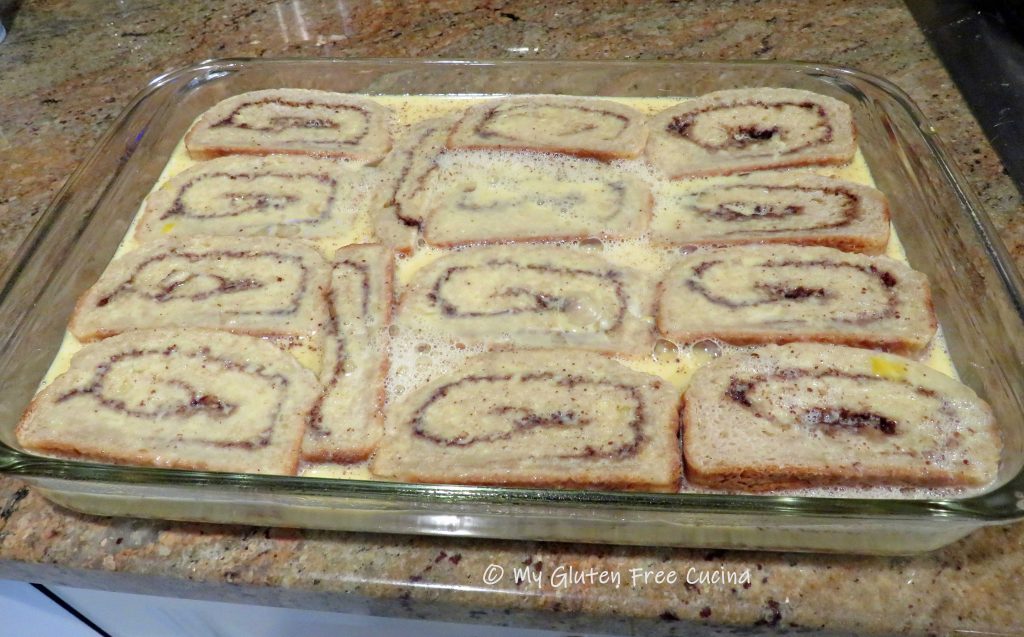
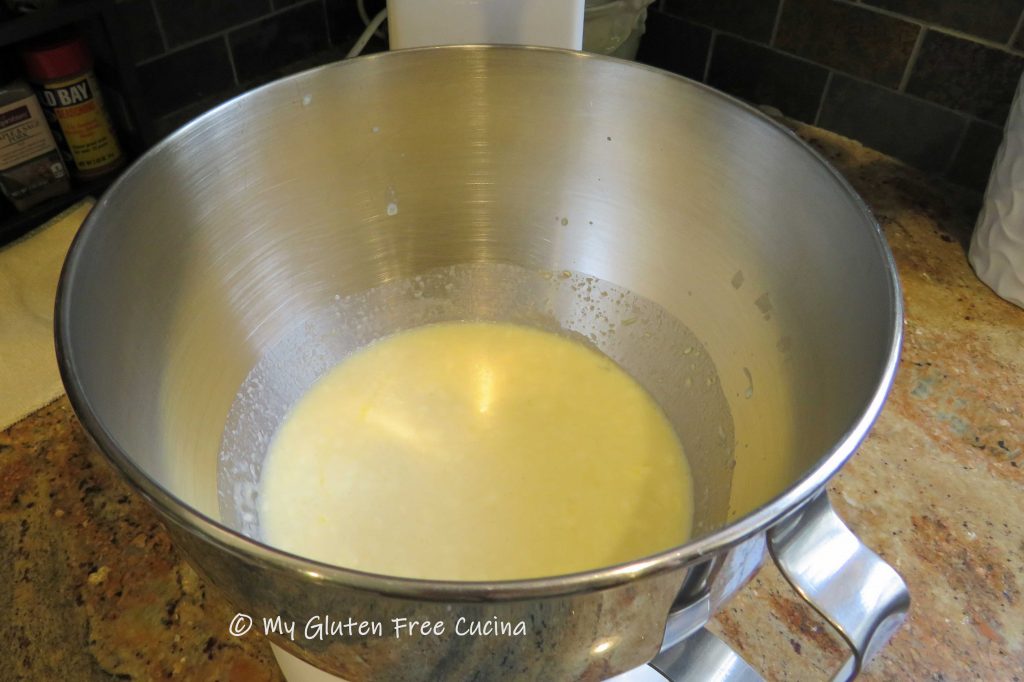
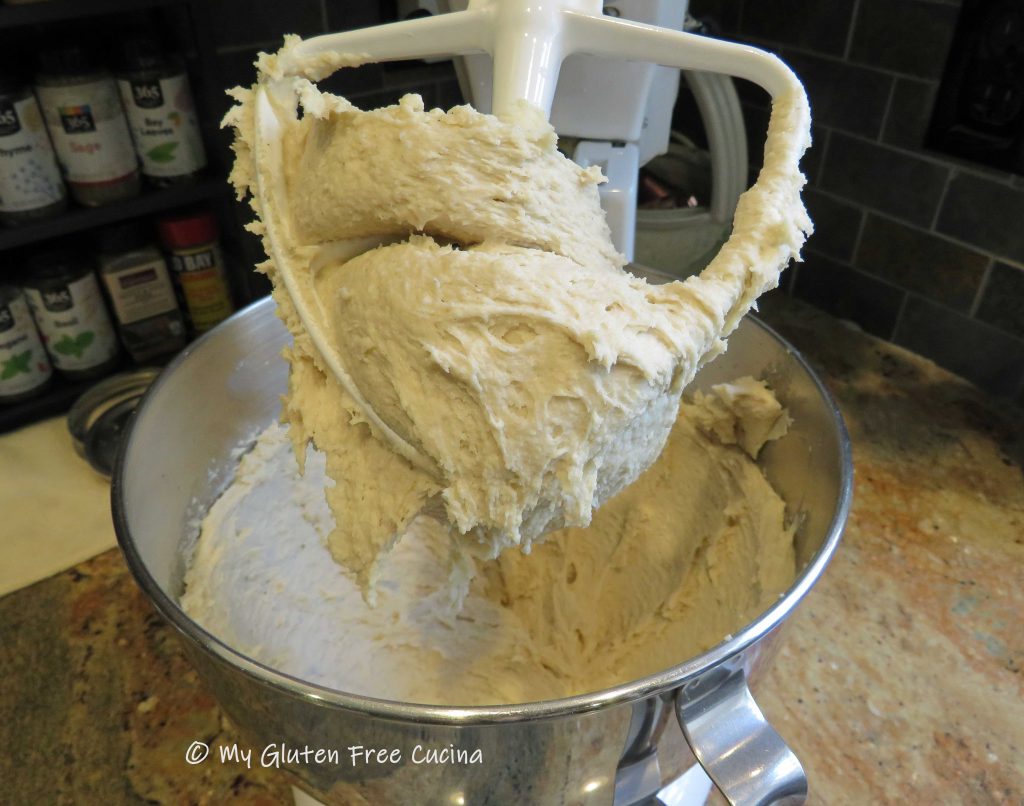
Add the butter, eggs and milk/yeast mixture and mix together on low with the paddle attachment.  It will look like wet pancake batter at this point.  Increase the speed and beat for 5 minutes to form a soft, smooth dough.

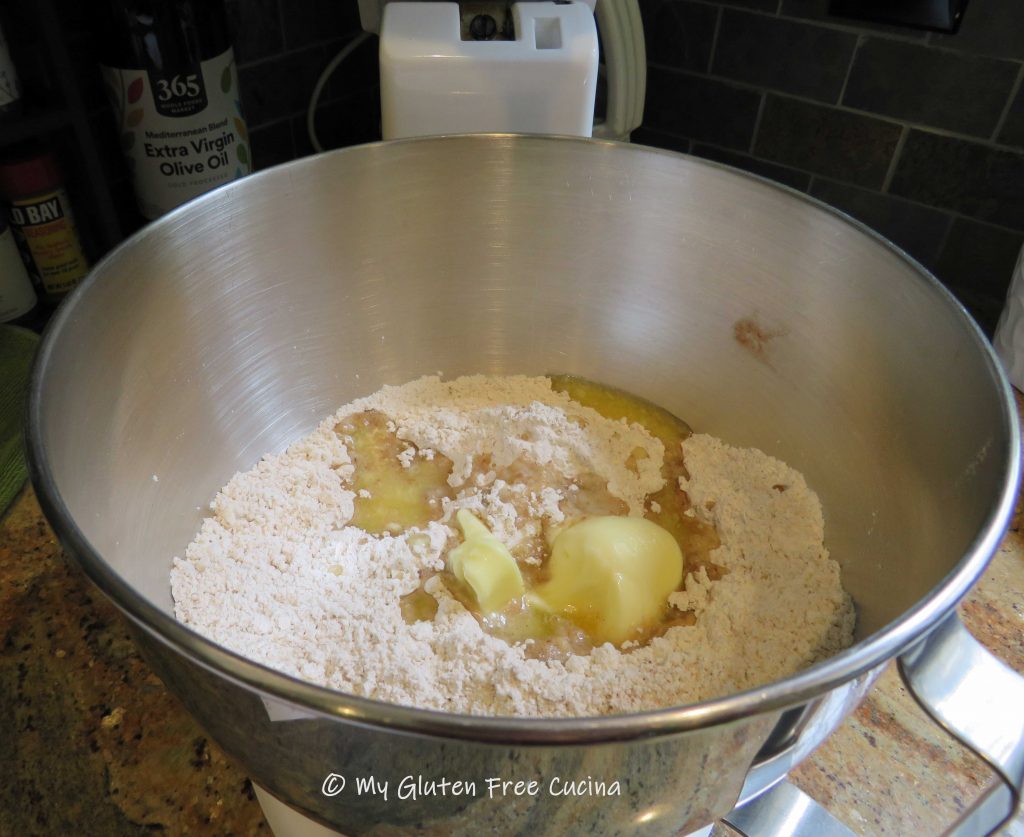
Finally, add the rum-soaked raisins and their liquid, mixing for one more minute to incorporate.

Gather the dough together in the bowl, cover and let it rest for 10 minutes.

Turn the dough out onto an oiled cutting board (mist it with cooking spray) and use a bench knife to divide it into 12 equal pieces.

With oiled hands, roll each piece into a ball and arrange in the prepared pan.

Cover the pan with plastic wrap, and let the buns rise until puffy and touching one another, about 20 minutes.  Preheat the oven to 375º.

Whisk the reserved egg white with 1 tbsp. milk, and brush over the buns.

Bake for 30 minutes, or until golden brown and the internal temperature reaches 205º (check with a thermometer).

Remove from the oven and cool completely before frosting (** see notes)

Whisk the icing ingredients together, and spoon into a pastry bag.  If you don’t have a pastry bag (I don’t), use a clean zip top plastic bag with the tip of one corner snipped off.  Pipe the cross over each roll.

Be sure the buns are completely cooled before frosting.  They smell so good, you will want to eat them right out of the oven.  Try to resist, because they need time to set (or the centers may be gummy).  Plus, if you frost the buns while they are warm the glaze will melt away.  Patience!

Notes ♪ I used and recommend Better Batter Artisan Flour Blend for this recipe.  This flour requires twice the liquid of typical recipes, so if you use another flour, you will need to adjust the liquid to flour ratio.  Start with half the milk (1-1/4 cup) and only add more if needed, 1 tbsp. at a time.

Notes ♫ Do you need special cookbooks for gluten free baking?  During the first year following my Celiac diagnosis I donated most of my old cookbooks, thinking I could never use them again.  I was so wrong!  I wish that I had known the truth, that most mainstream recipes can be adapted to gluten free, often with an exchange of one or two ingredients!

Print This Post Print This Post

Gluten Free Cinnamon Swirl Bread

Today I made a gluten free version of another old favorite.  This yeasted sweet bread with swirls of brown sugar and cinnamon was adapted from a recipe originally appearing in Better Homes and Gardens.  Before my Celiac diagnosis I used to make it all the time.

Both adults and kids loved it, even the picky eaters!  I can’t tell you how pleased I was to be making this bread again, it turned out great!

This post contains affiliate links.

When you work with the right gluten free flour, this Cinnamon Swirl Bread is so easy to make!  If you are a fan of Better Batter like me, you probably have all of the ingredients in your pantry!

If you haven’t tried Better Batter yet, I cannot recommend their flour blends enough.  Use my code below for 30% off!  You will not be disappointed!

(When you shop Better Batter, be sure to use my code MGFC30 at checkout for 30% off your non-sale purchase)

Ingredients:

  • Dough:
  • 405g. Better Batter Artisan Blend flour *see notes
  • 1-1/4 tsp. instant yeast
  • 3/4 tsp. salt
  • 3 tbsp. unsalted butter, softened
  • 1-1/2 cups warm milk (I used 2%)
  • 1 egg room temperature
  • 3 tbsp. granulated sugar
  • Filling:
  • 1/3 cup packed brown sugar
  • 1-1/2 tsp. cinnamon
  • 1 tbsp. melted butter
  • Egg Wash:
  • 2 tbsp. egg whites
  • 1 tbsp. water
  • Finishing:
  • 1 tbsp. melted butter, for brushing

Preparation:

I used a 13 x 4″ pullman loaf pan for a long skinny loaf with smaller, diet friendly slices.  You can get the pan here.

Whisk together the flour and salt.  Combine the warmed milk, sugar and yeast in a separate bowl or measuring cup and let it stand 15 minutes.

Add the egg and softened butter to the bowl of a stand mixer and whisk to combine.  Add the milk mixture and whisk until well blended.

Switch to the paddle attachment and add the flour and salt to the bowl, mixing on low to combine.  Increase speed and beat for 5 minutes to form a dough, occasionally scraping down the sides with a spatula.  Dough will be sticky at this point.

Bring the dough together, cover with plastic wrap and let it rest for 20 minutes.

Cut a sheet of parchment to fit the length of the loaf pan (this will help with rolling and transferring the dough).  Mist the parchment lightly with cooking spray and transfer the dough.  Roll and pat the dough into a rectangle, about 14 x 10” and 1/2″ thick.  (Note- after a 20-minute rest, this dough rolls like a dream, but if you have any sticking just mist your rolling pin with cooking spray.)

Brush the dough with 1 tbsp. melted butter.

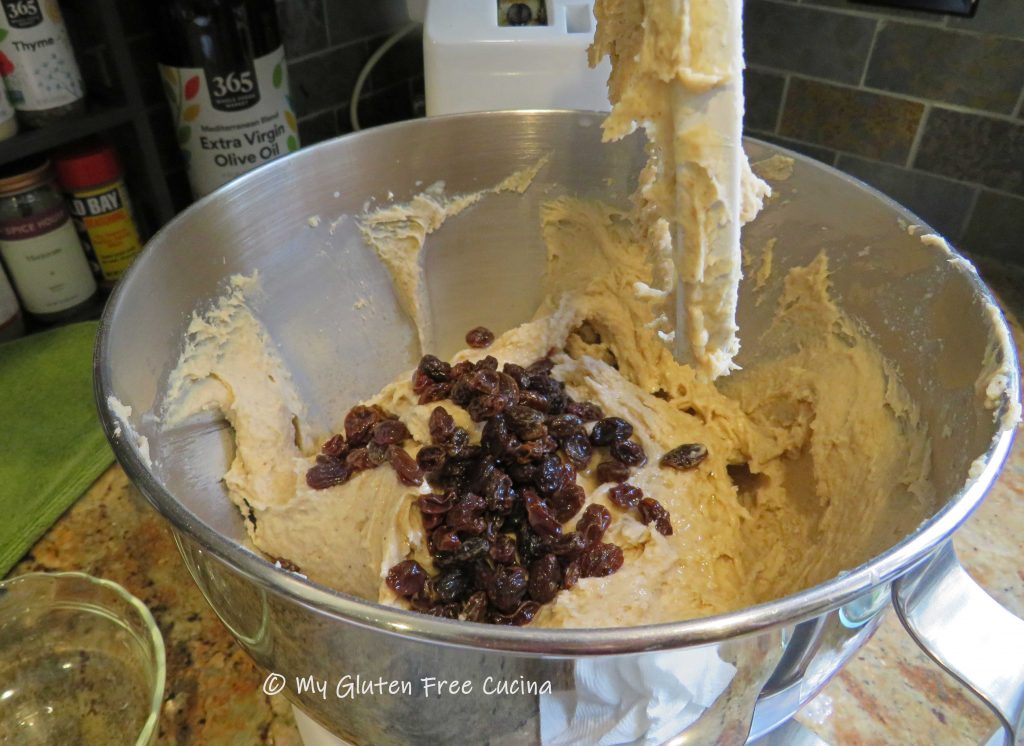
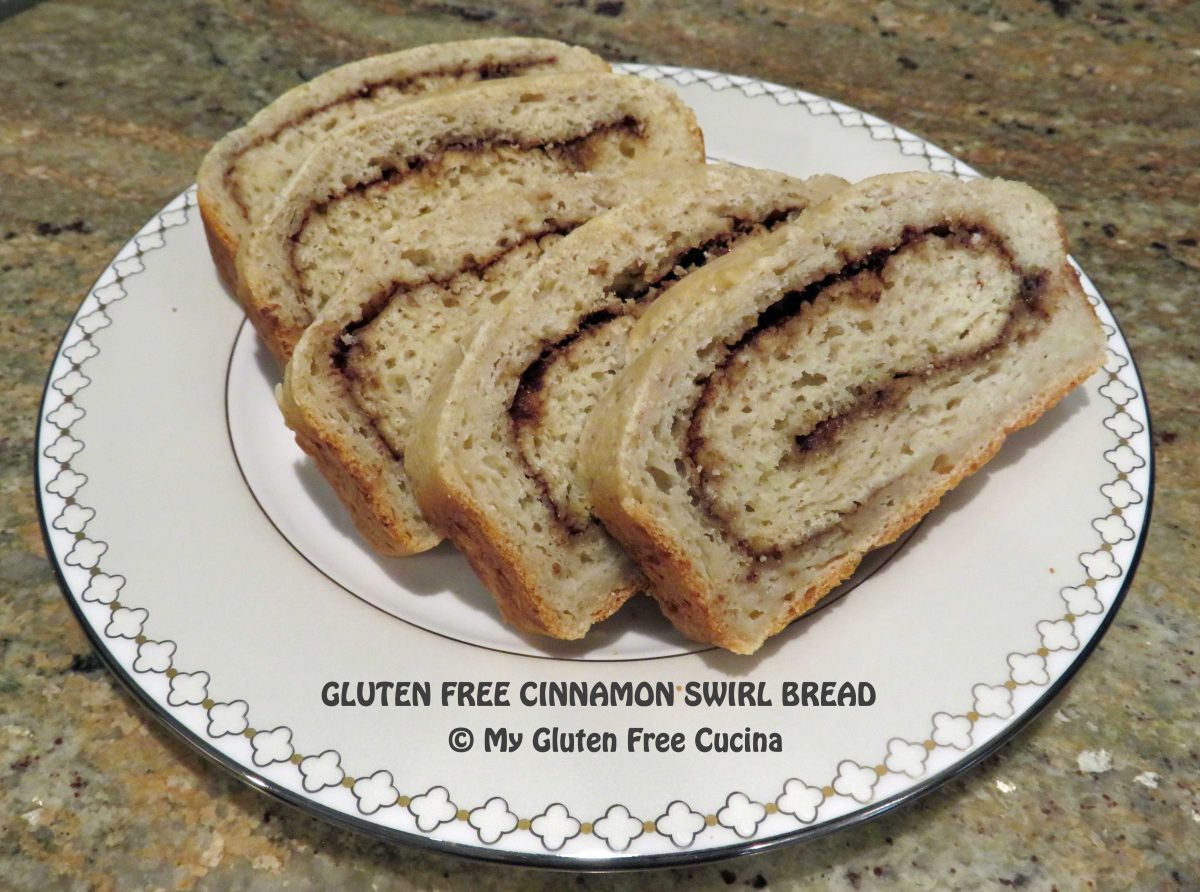
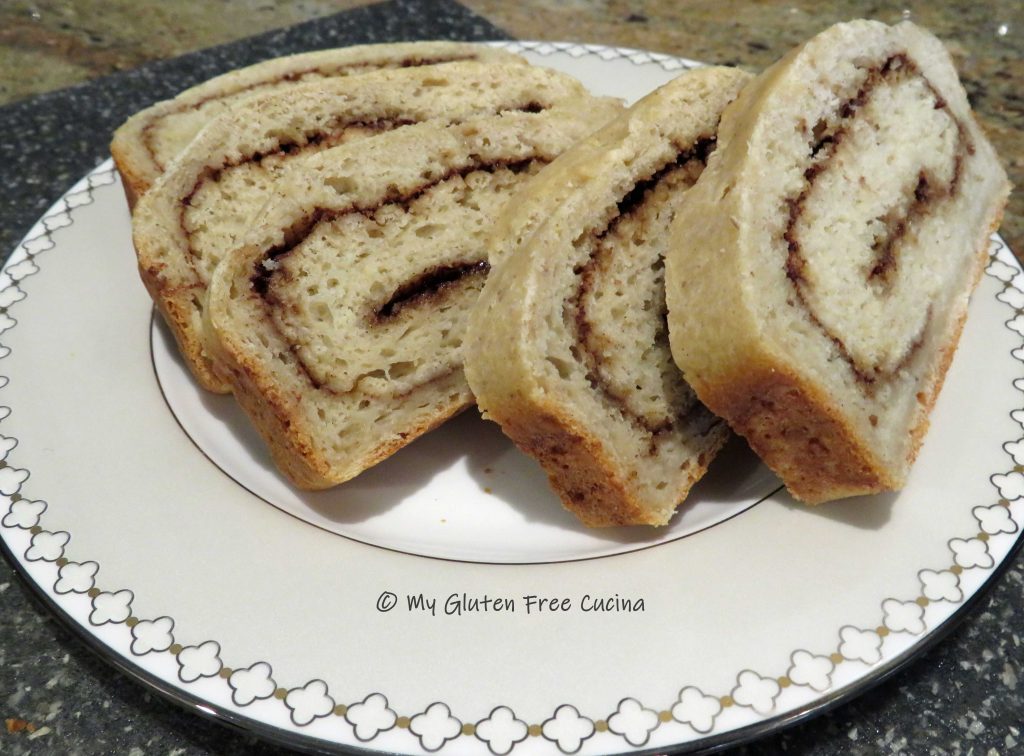
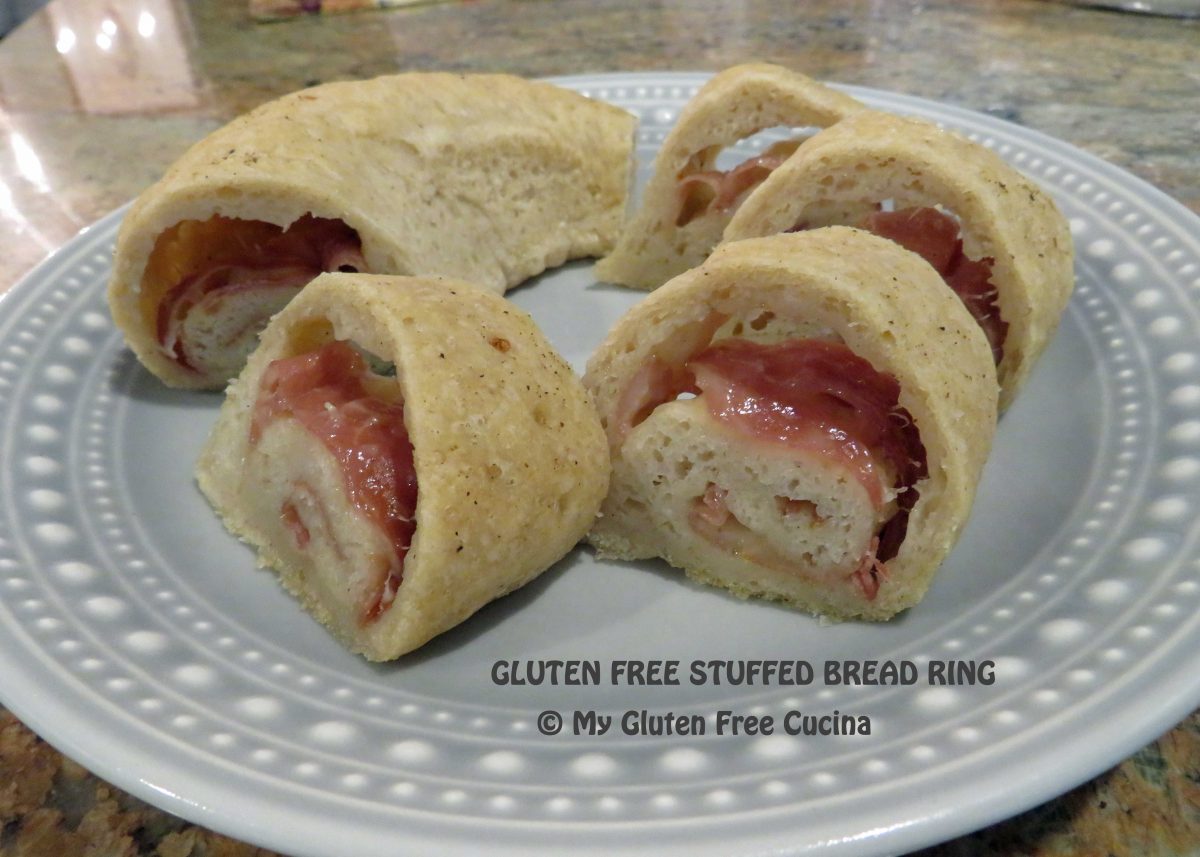
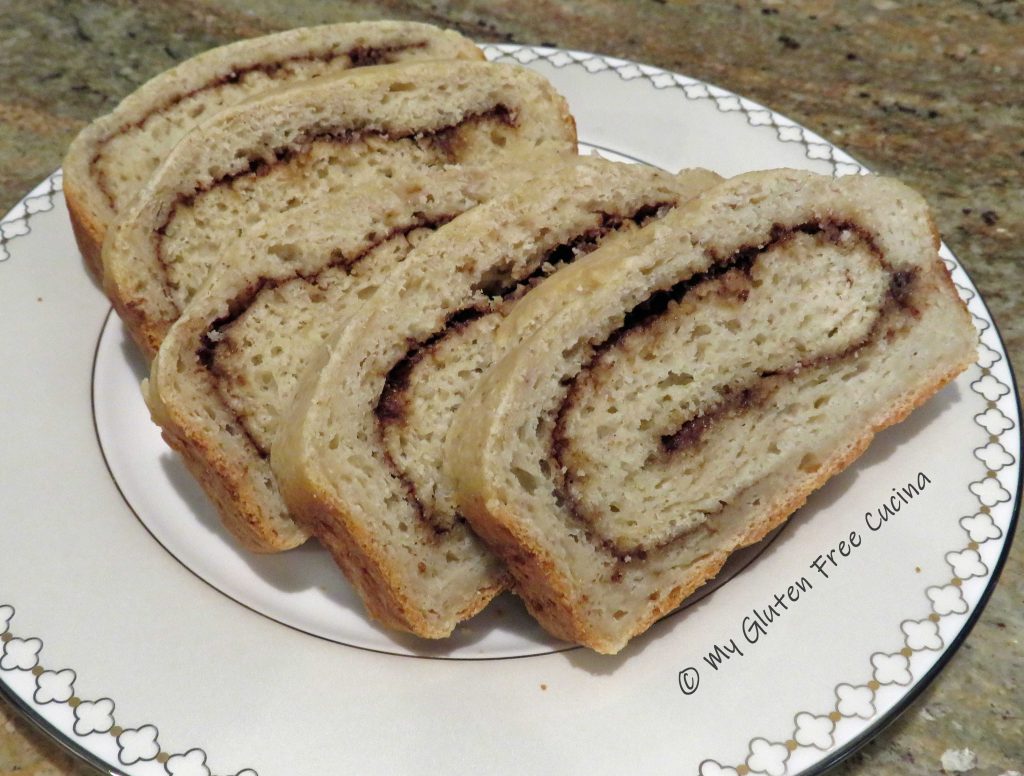
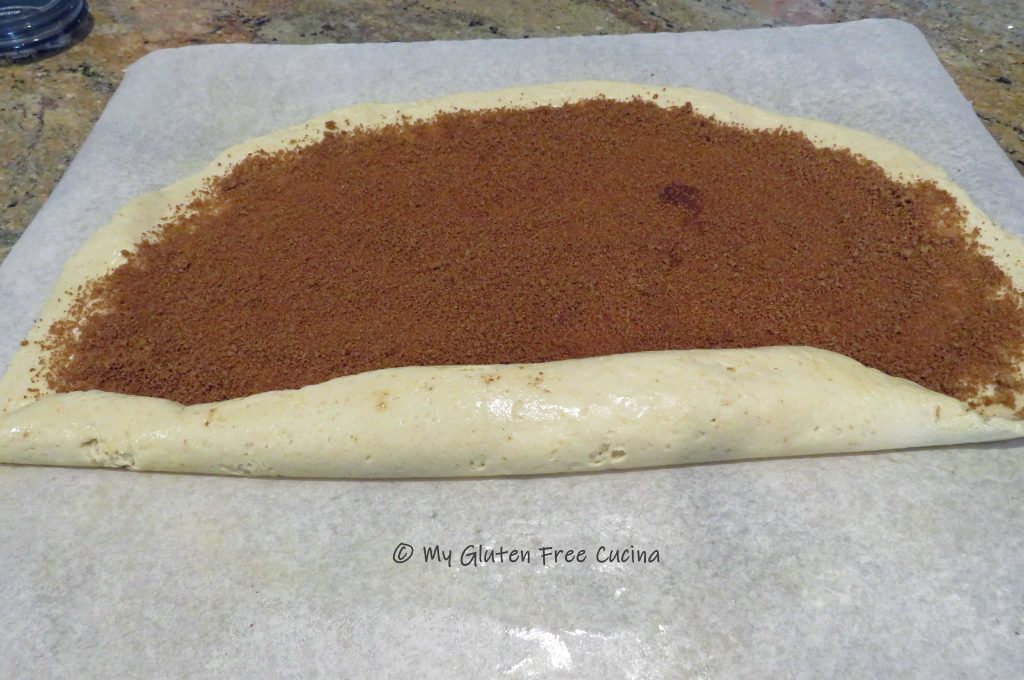
Spread the brown sugar and cinnamon mixture evenly over the dough, leaving a 1″ border all around.

Starting with the long side, use the parchment to lift the dough and begin rolling it up.

Continue rolling and pinch the seam to seal.

Tuck in the ends like this and turn the dough seam side down.

Lift the dough (with parchment) into the pan, cover with plastic wrap and let it rise in a warm place for 30 minutes.  Dough will be puffy but not doubled in size.

Preheat the oven to 350º and whisk together the egg whites and water.  Brush the loaf well with the egg wash.  Pierce the top of the loaf with a fork or docking tool to allow steam to escape.

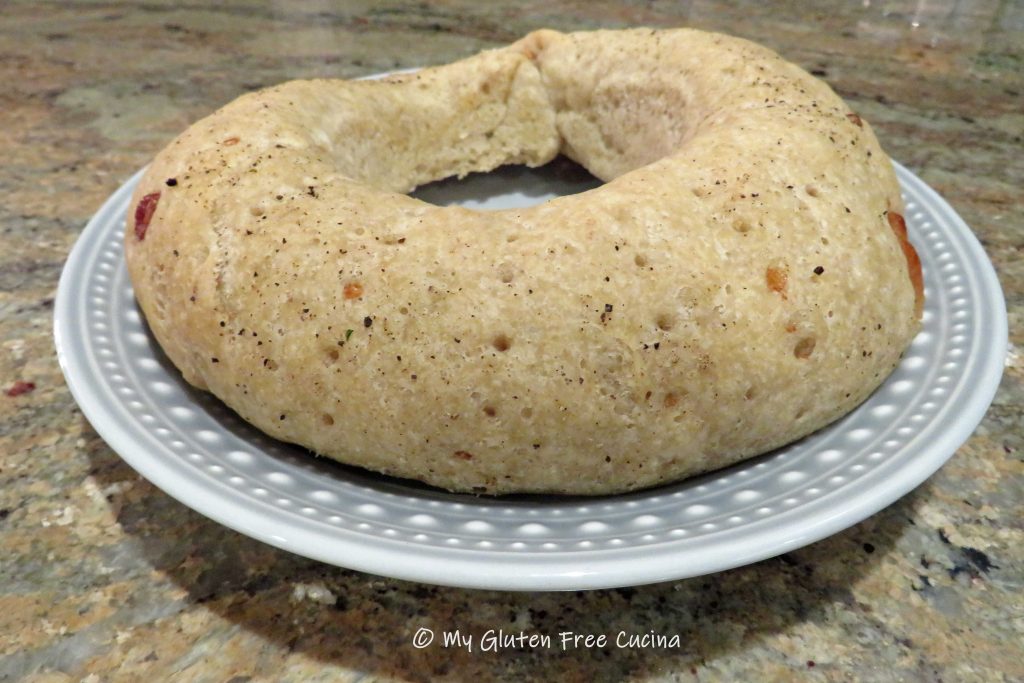
Bake for 40 minutes or until the internal temperature reaches 200º.  Remove from the oven and brush the top with 1 tbsp. melted butter.

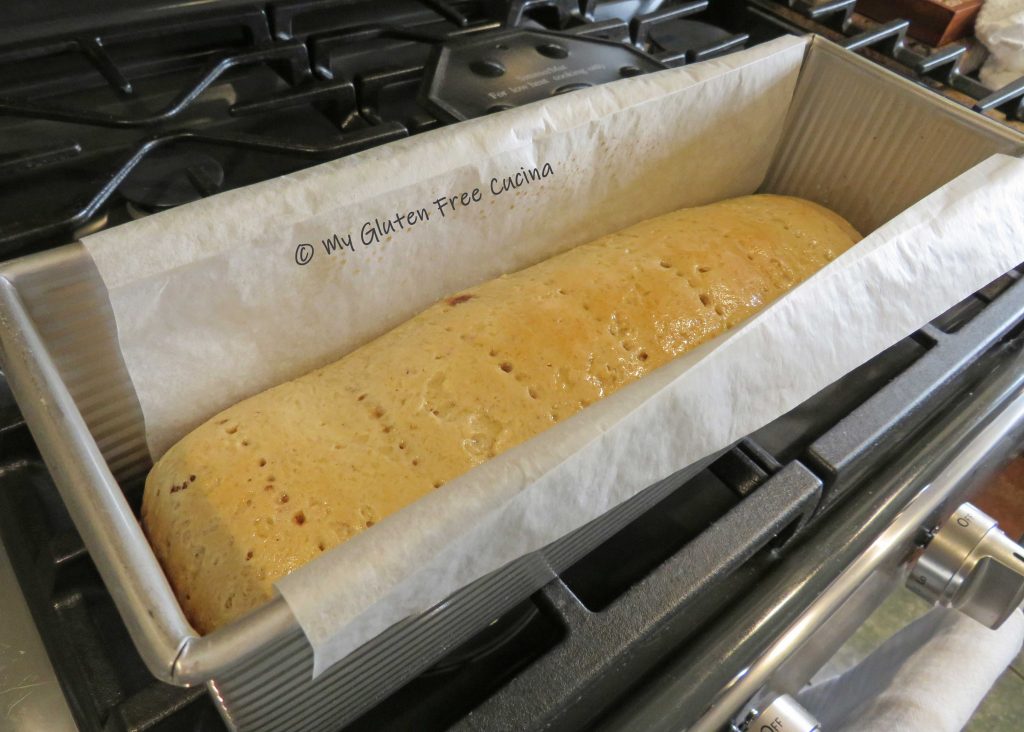
Grasp both sides of the parchment to lift the loaf out of the pan to a cooling rack.

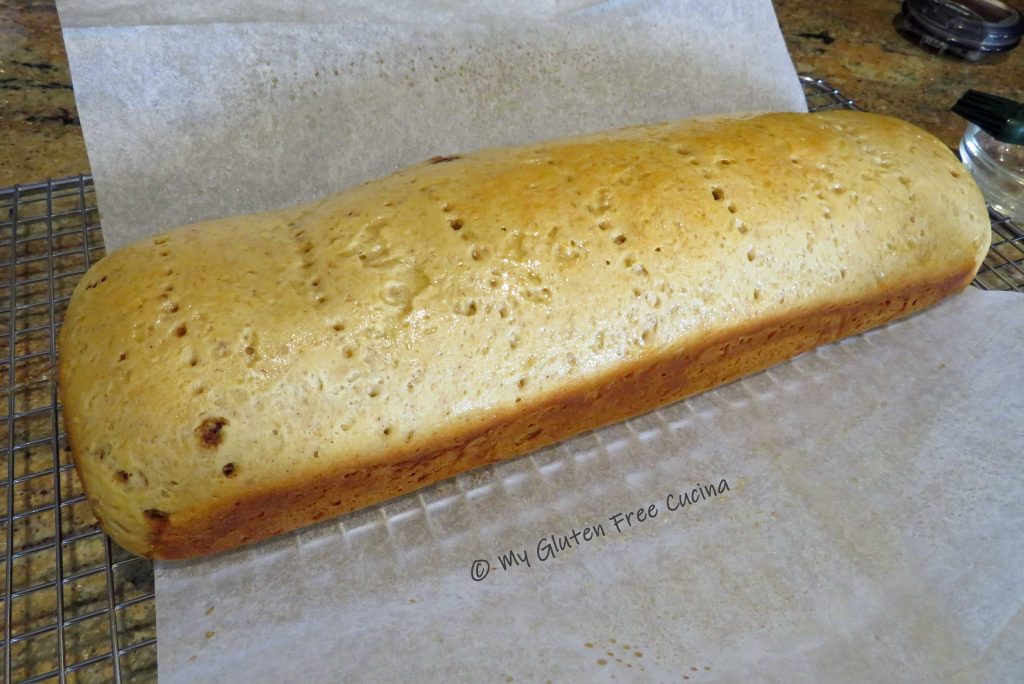
Slide the parchment out and let the loaf cool completely before slicing.

If you like, you can drizzle the top with icing made of 3 tbsp. powdered sugar and 1 tbsp. milk.  I made this loaf for company, and we served it with coffee, just like this.  It was a hit!

Slice and toast, or just add to your breadbasket!  It freezes beautifully, so you can wrap up the extra slices in plastic wrap, store in a freezer safe bag and it will be good for several months.

Notes ♪♫ I used and recommend Better Batter Artisan Flour Blend for this recipe.  This flour requires twice the liquid of typical recipes, so if you use another flour, you will need to adjust the liquid to flour ratio.  Start with half the milk (3/4 cup) and only add more if needed, 1 tbsp. at a time.

Print This Post Print This Post