Would you believe that an Italian dish like this one could be gluten free? You might be surprised to know, that other than the pasta, there was only one ingredient swap needed to make this meal completely Celiac safe!
It’s true! There are some recipes that require major modifications, but the vast majority will only need a swap of one or two ingredients to be gluten free. This Beef Guazzetto, or Italian Beef Stew is a great example.
An economical cut like beef chuck becomes melt in your mouth tender using this slow cooked, braising method. With today’s soaring food prices, it is a great way to stretch your grocery budget.

This post contains affiliate links.
Ingredients:
- 1 lb. stew beef (chuck), cut into cubes
- 1 cup gluten free beef broth
- salt and pepper, to taste
- 2 tbsp. gluten free flour (you can use rice flour)
- 3 tbsp. olive oil, divided
- 1/2 sweet onion, minced
- 2 small carrots, minced or grated
- 2 small celery stalks, minced
- 2 garlic cloves, minced
- 3 tbsp. tomato paste
- 15 oz. can crushed tomatoes
- 1/2 cup red wine
- 2 bay leaves
- 1/2 tsp. basil
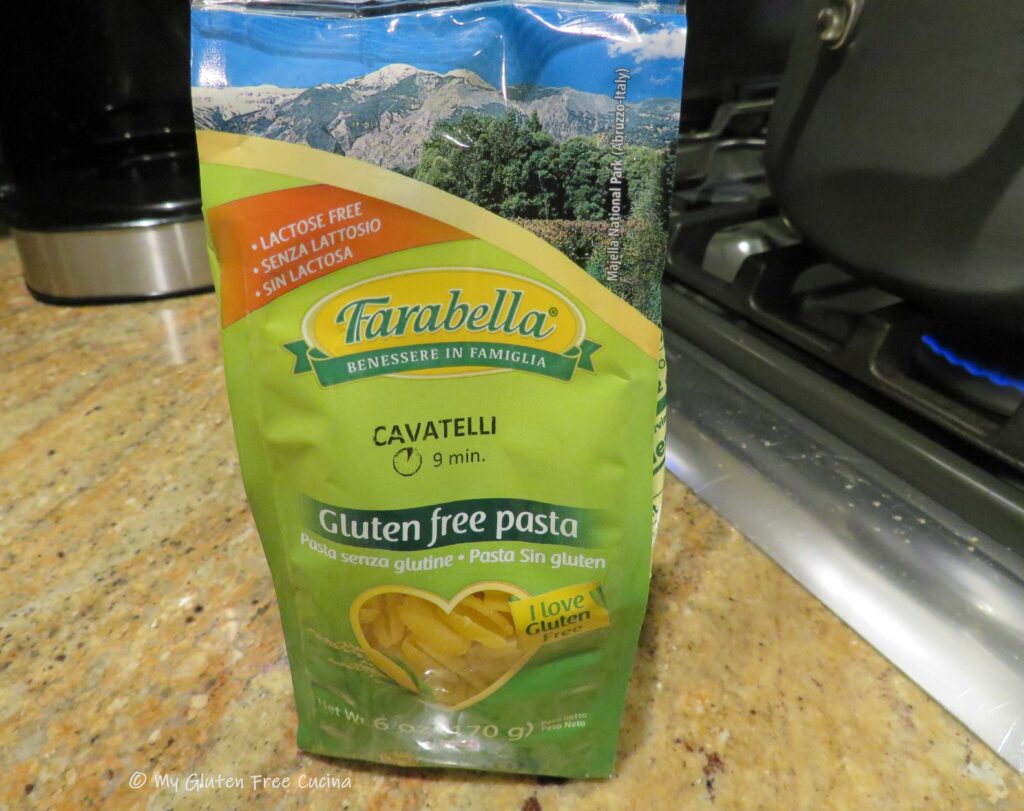
- gluten free pasta
- grated cheese, for serving
- fresh Italian parsley, for garnish (optional)
Preparation:
If the prep sounds familiar, it’s because the steps are similar to making a Bolognese sauce. Let’s get started!
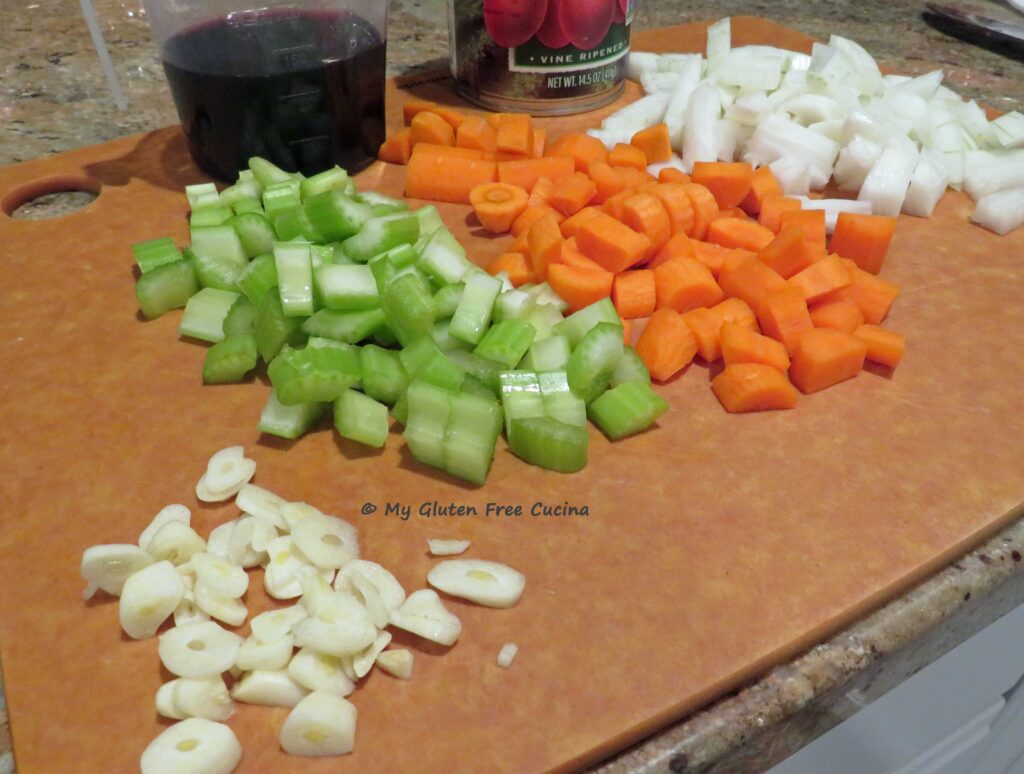
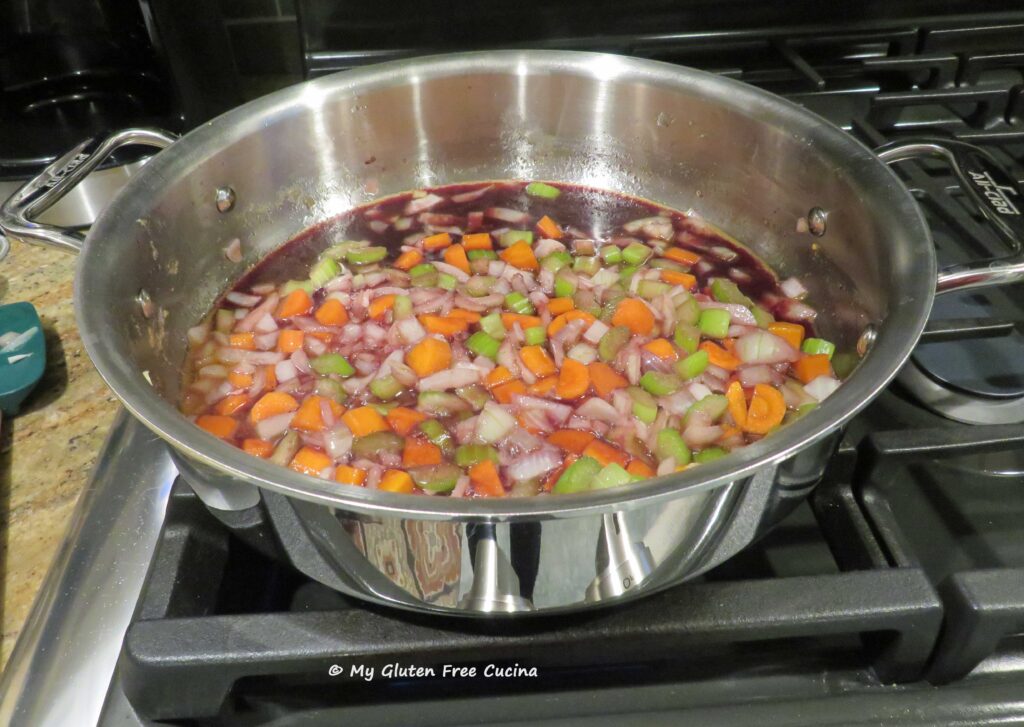
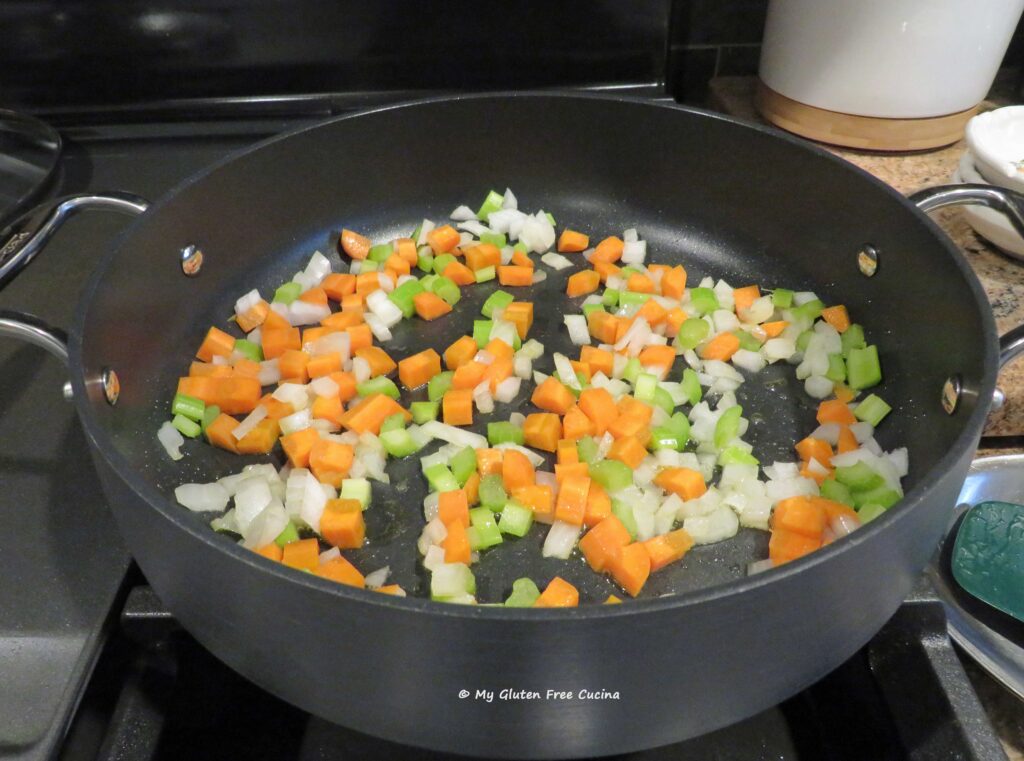
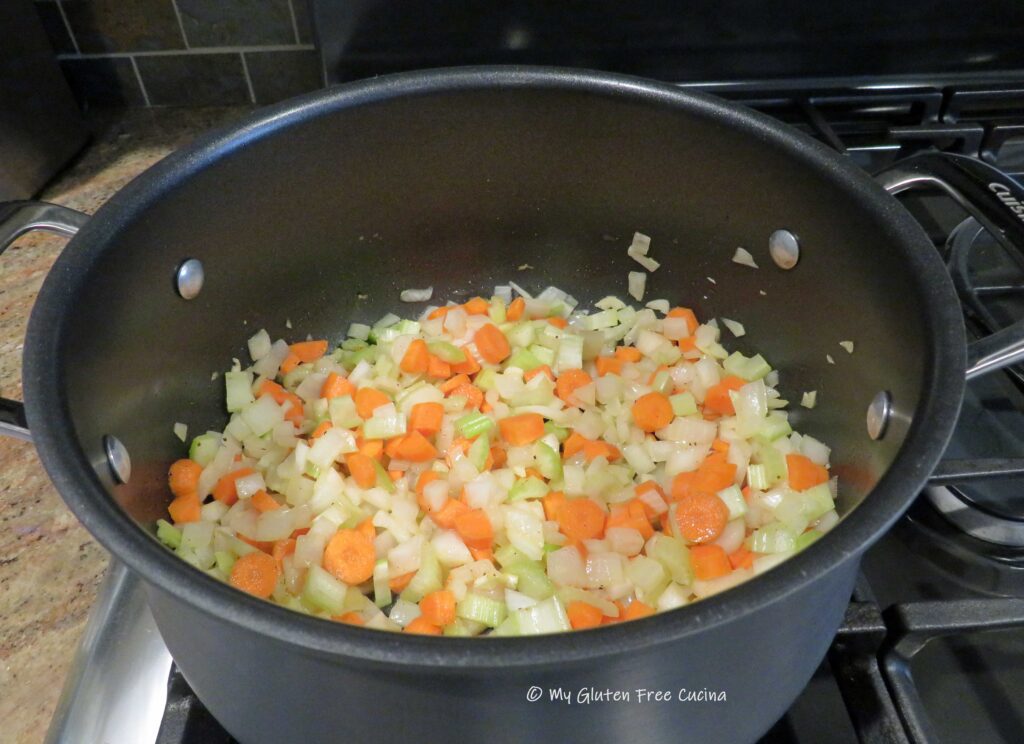
 First, make a “soffritto” by pulsing the onion, carrot and celery in a food processor or electric chopper.
 Dry the beef with paper towels, this helps with browning.
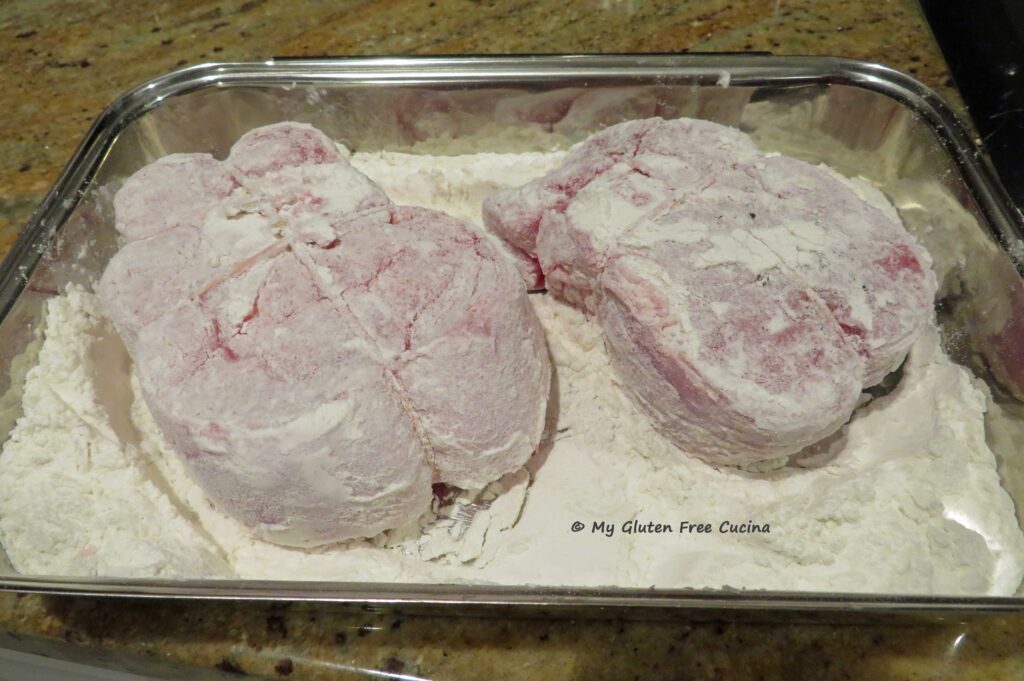
 Place the beef cubes in a food safe plastic bag with 2 tbsp. rice flour and shake to coat.
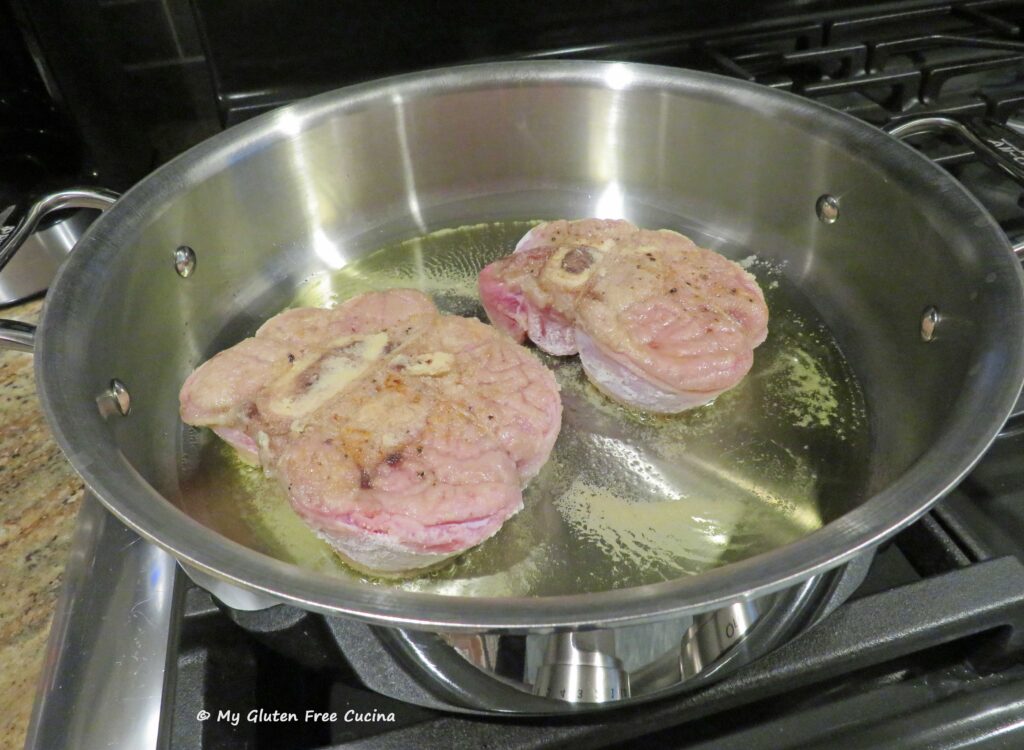
 Heat 1 tbsp. olive oil in a Dutch oven and begin browning the beef. Don’t crowd the pan, brown in batches if needed using an additional tbsp. of olive oil for each batch.
 Leave those caramelized brown bits in the bottom of the pan, they are full of flavor! Set the beef aside and keep warm.
 Add more olive oil to the pan with the onion, carrot, celery and garlic. Cook for several minutes, stirring frequently, then clear a space in the center for the tomato paste.

 Toast the tomato paste for a minute, then stir it into the vegetables. Add the wine, using a spatula to scrape up those browned bits at the bottom of the pan. Reduce heat to a simmer and continue cooking until the wine is reduced by half.
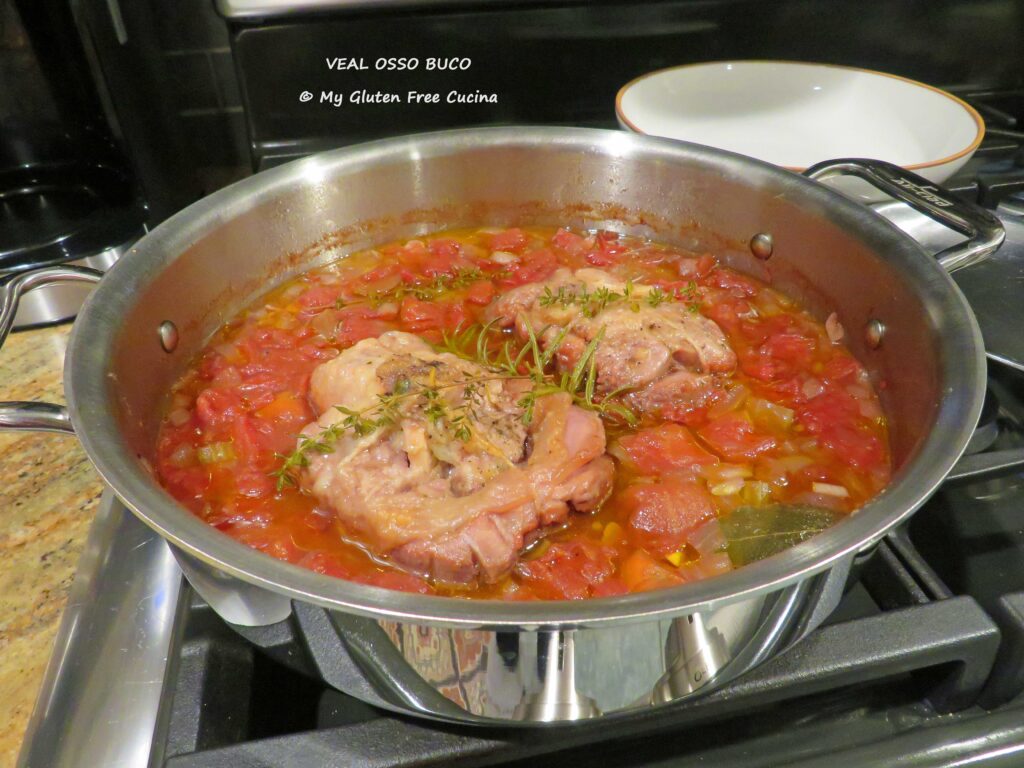
Add the beef cubes back to the pan, with the bay leaves.
 Stir in the beef broth and crushed tomatoes, cover and simmer on lowest heat for 2-½ hours.
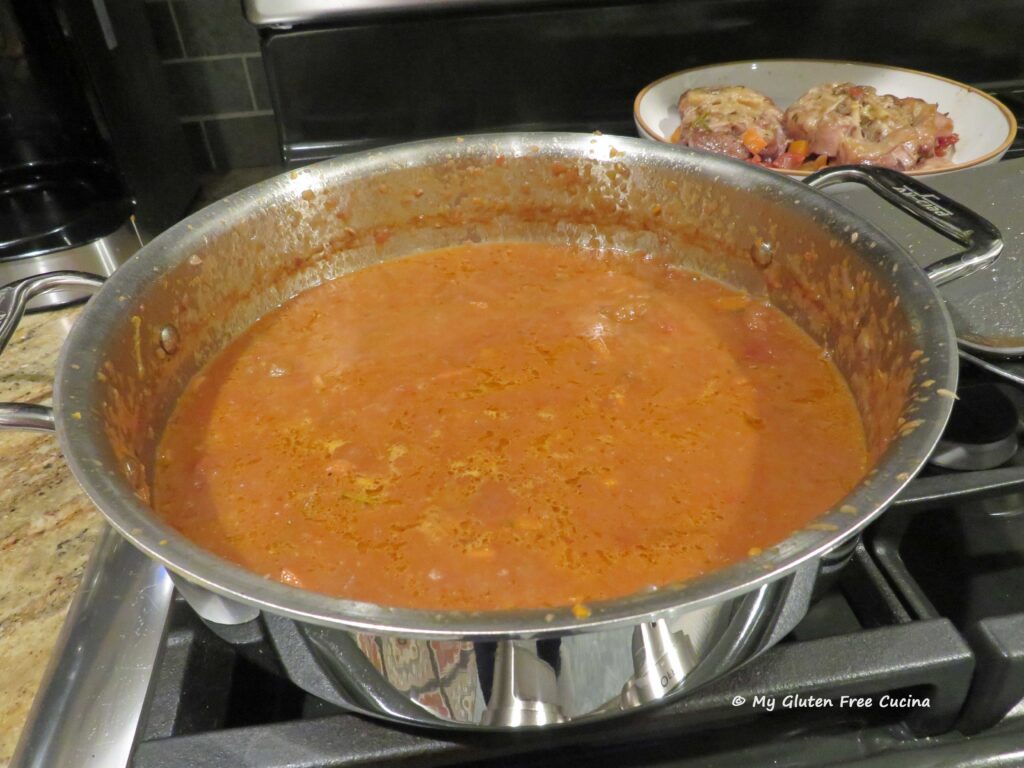
 Stir the sauce frequently to be sure it isn’t sticking to the bottom of the pan. A simmer mat is great for keeping sauces on a low simmer. As it cooks, you will see the stew gradually thickening.
After 2 hours, this is what it will look like. You will still have distinct chunks of beef, but some will partially break down and become one with the sauce. It is incredible!
 A sauce like this deserves an extra special pasta. Check out these Gluten Free Paccheri Rigati – OMG what a find! I got them from La Piccola Rosa Culinary Classics and believe me they are fabulous. Check them out!

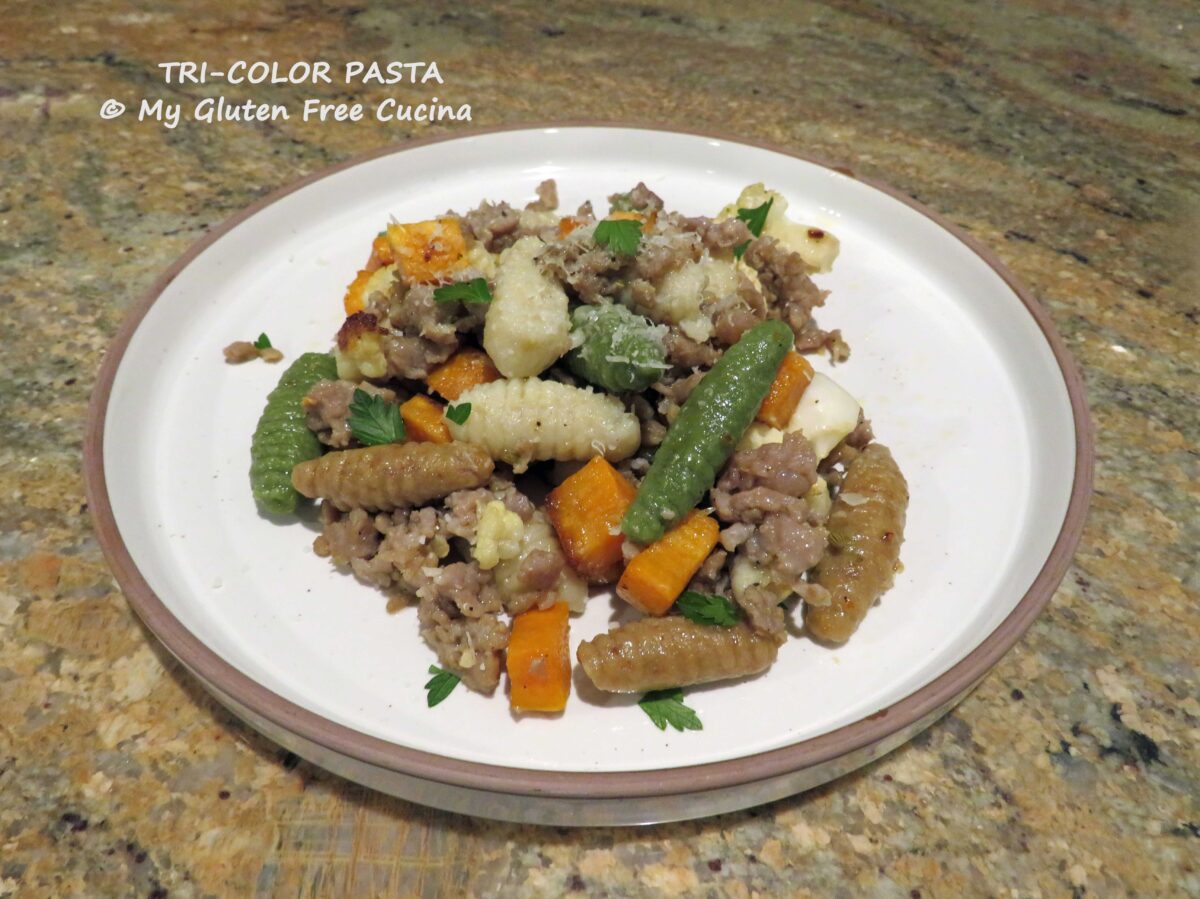
To plate, spoon cooked pasta into serving bowls and ladle the Beef Guazzetto over the top. Sprinkle with grated cheese and fresh Italian parsley if available.
 Variations: For a splurge, substitute beef short ribs for the stew beef. At the end of cook time remove the bones and shred the meat. Or, for a lighter sauce, use veal stew meat with white wine and chicken broth.
Notes ♪♫ Beef Guazzetto, or Guazzetto di Manzo was adapted from an episode of Lidia’s Italy, Lidia has long been one of my favorite TV chefs! If you are thinking that you cannot enjoy your Italian favorites on the gluten free diet, think again. Or better yet, let me inspire you!
Originally posted 5/28/2022 Updated and rephotographed 5/16/2026

[print_link]
 The recipe is easy and straightforward; made with common ingredients. Fresh tomatoes and basil are a must here (don’t use canned!). If you grow your own or can get them from a farmer’s market that would be great. But for everyone else, plum tomatoes from the grocery store are the best choice.
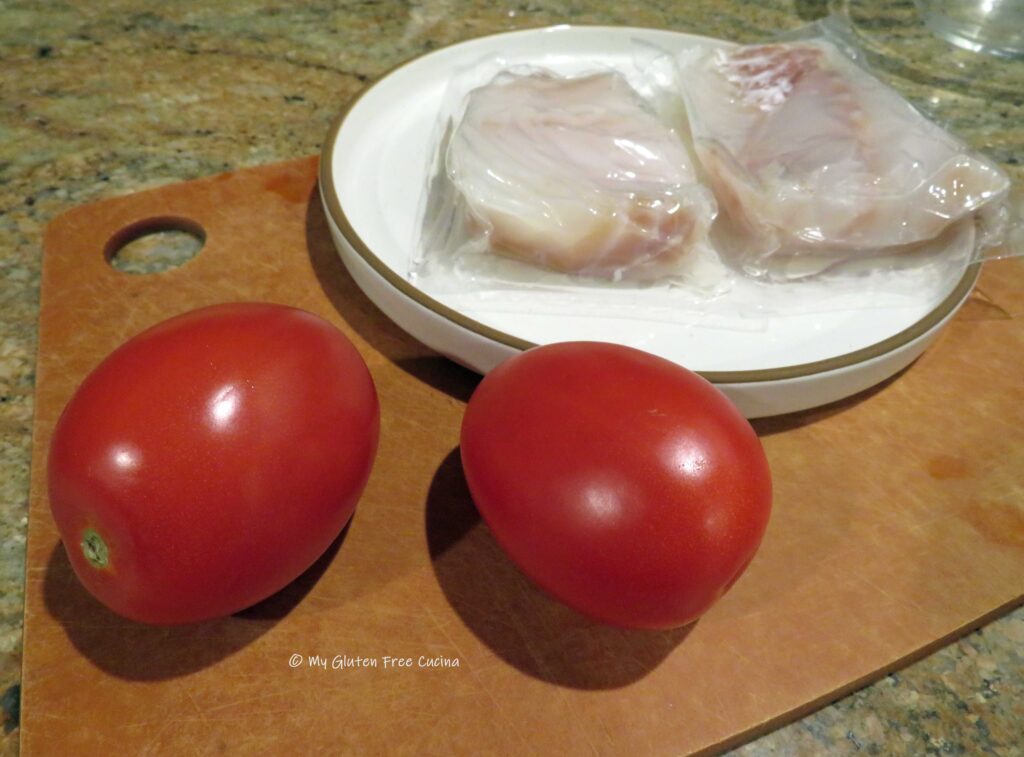 Preparation:
 Place the diced tomatoes in a small bowl, and toss with 1 tbsp. olive oil, the balsamic vinegar, sea salt and ground pepper. Cut one large basil leaf into thin strips (chiffonade) and stir into the tomatoes. Let the mixture stand for about 30 minutes at room temperature.
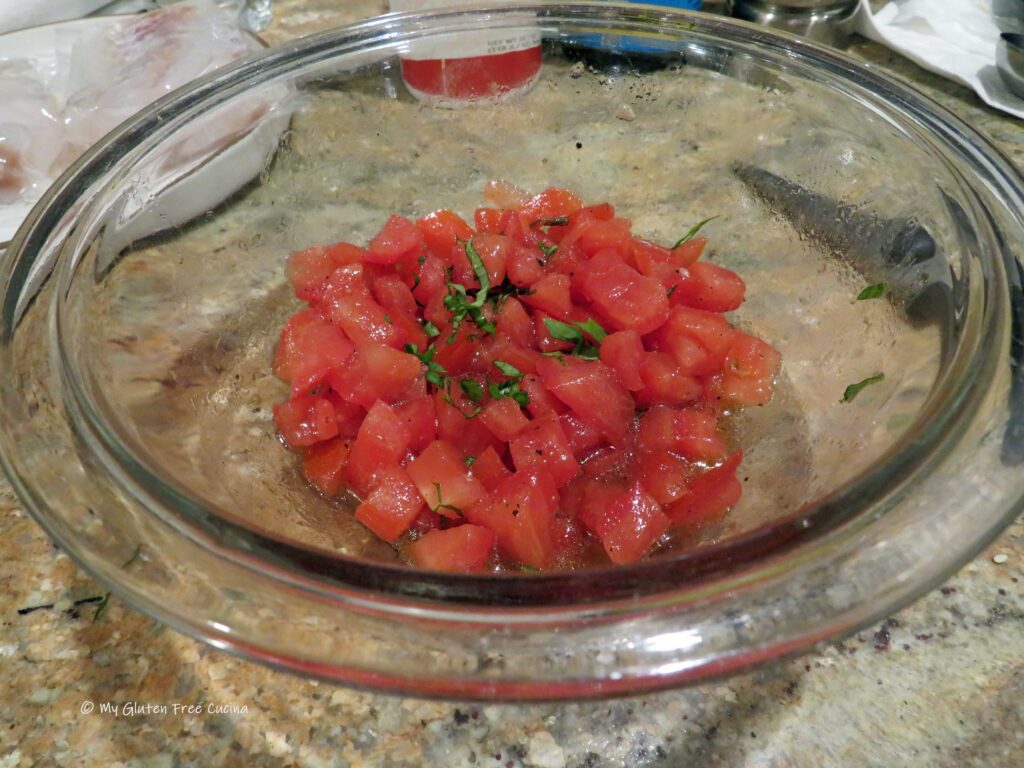 Preheat the oven to 350º. Coat a baking dish with cooking spray and arrange the cod with space in between. Drizzle with the remaining olive oil and a pinch of sea salt.
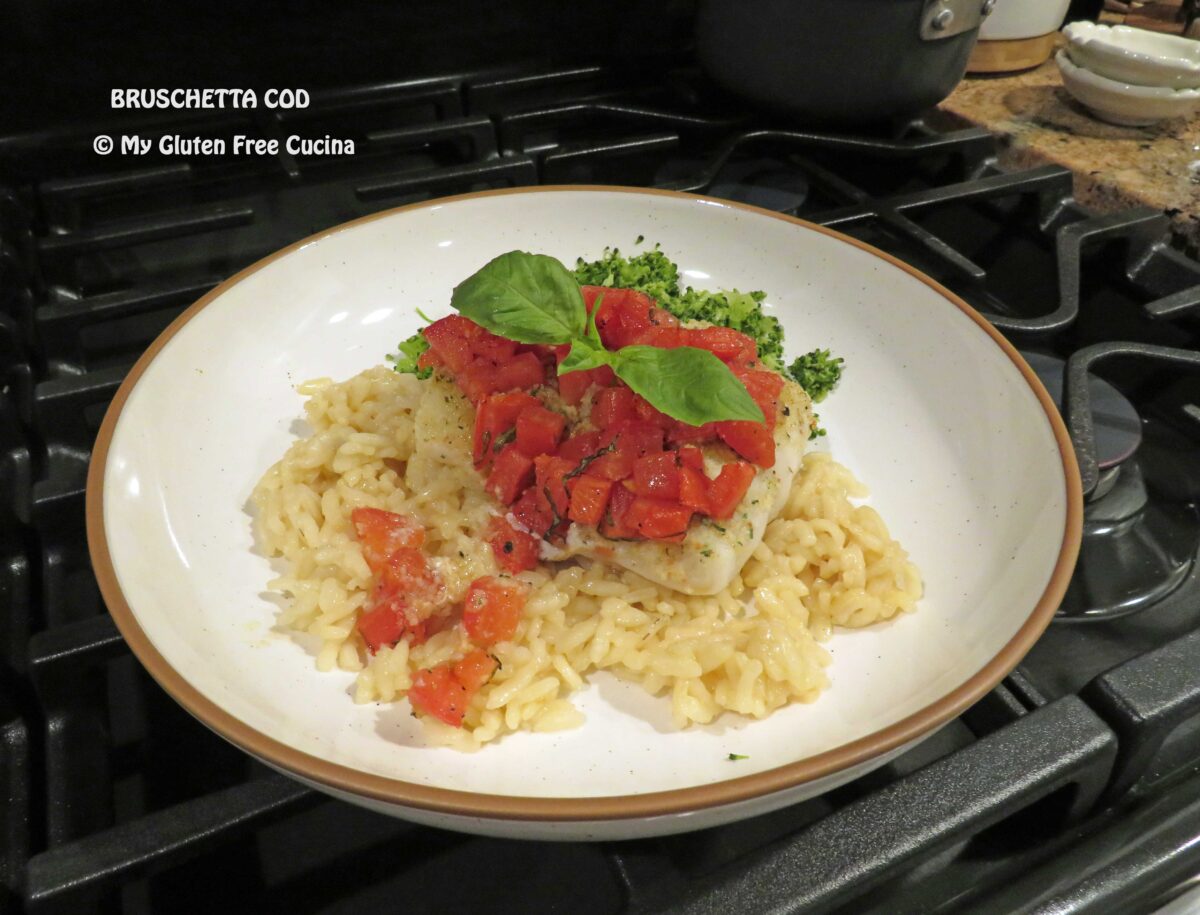
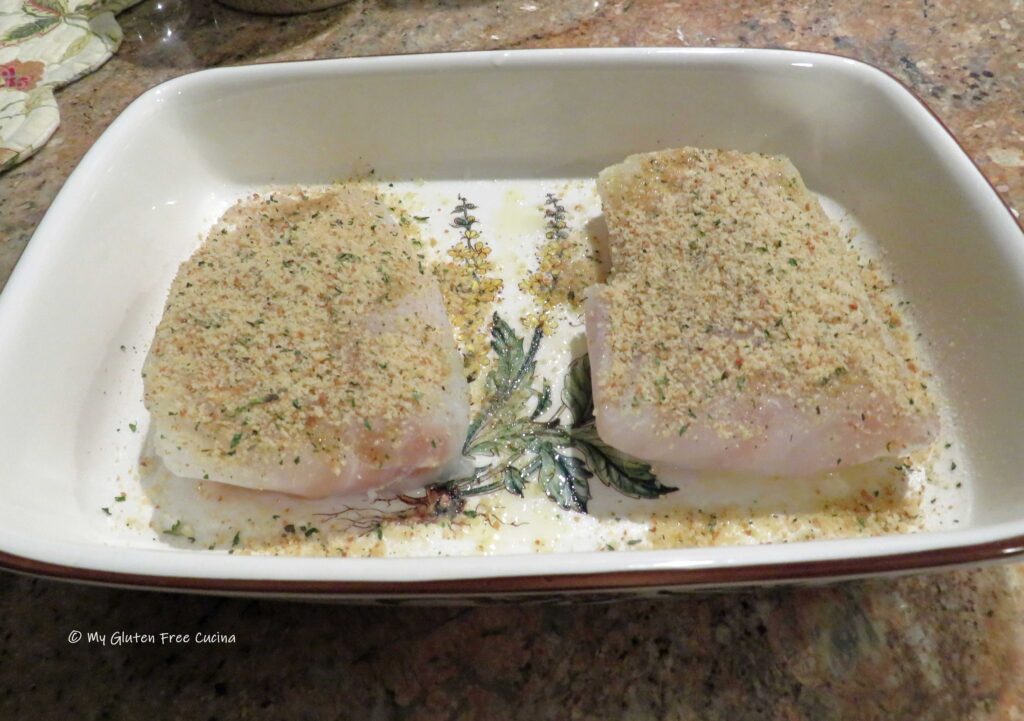 Top each piece of fish with 1 tbsp. of breadcrumbs, then divide the diced tomatoes evenly over each piece.
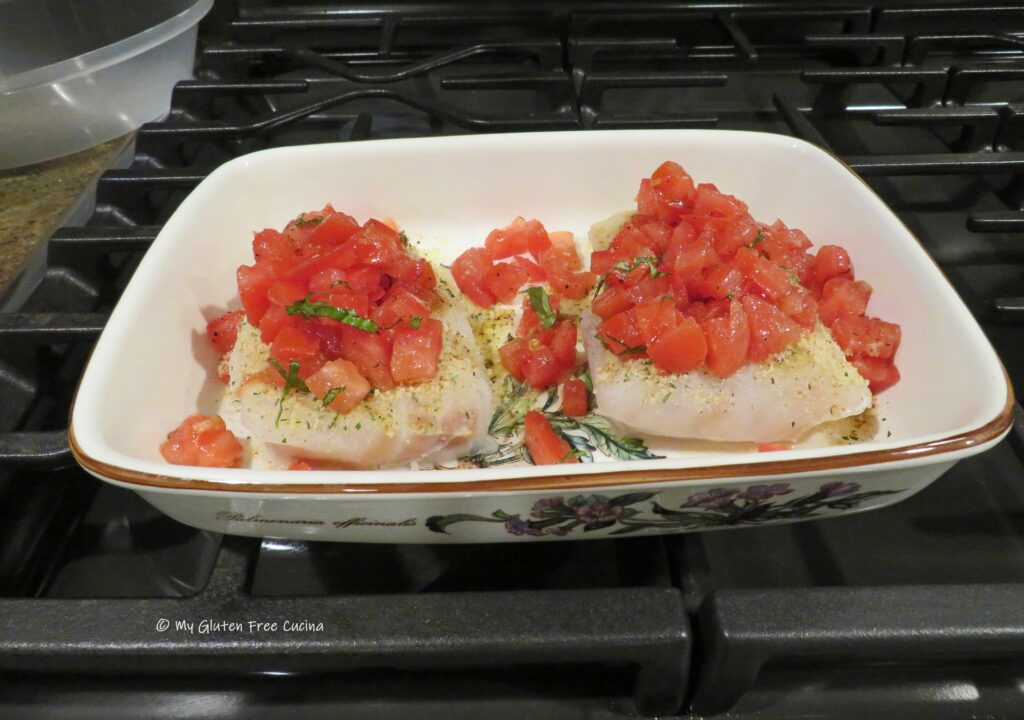 Bake for 25 minutes. That’s it! Plate with a garnish of fresh basil leaves.
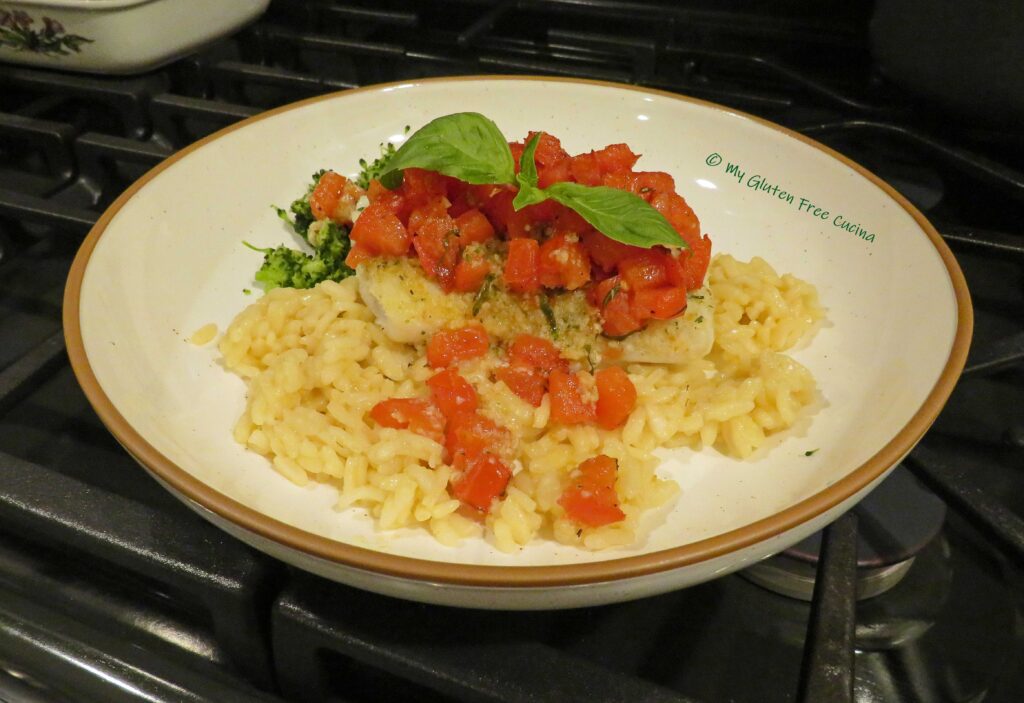
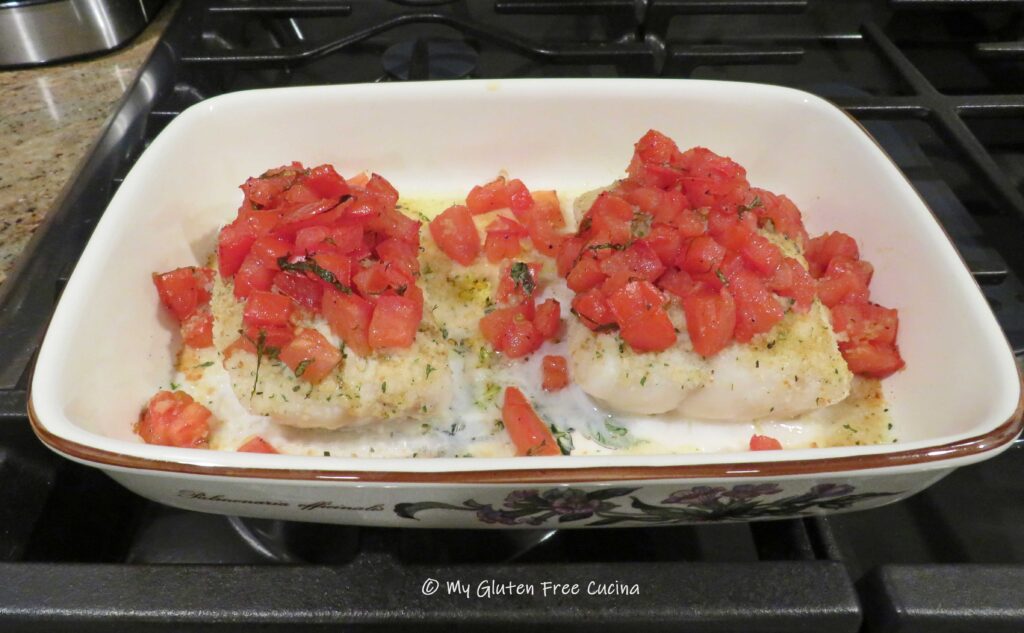 I served my Bruschetta Cod over risotto, and it was SO delicious. If you don’t know how to make risotto, jump over to
 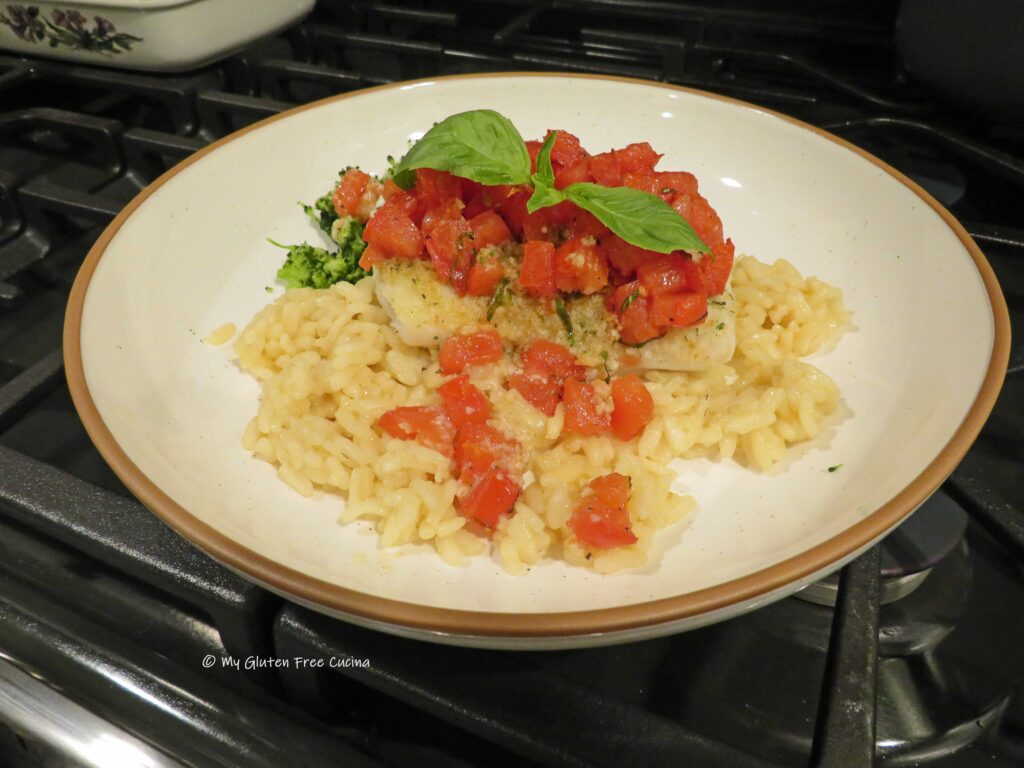 Notes ♪♫
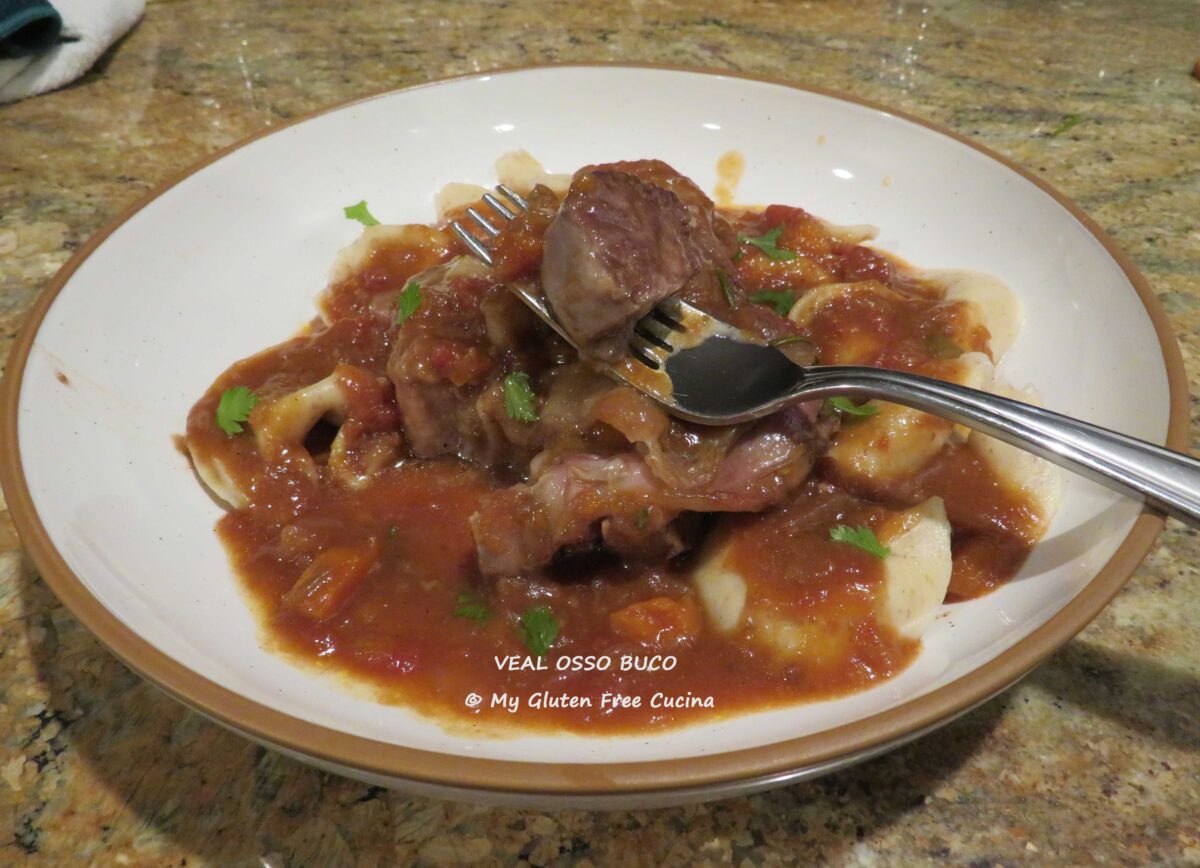
 This post contains affiliate links.
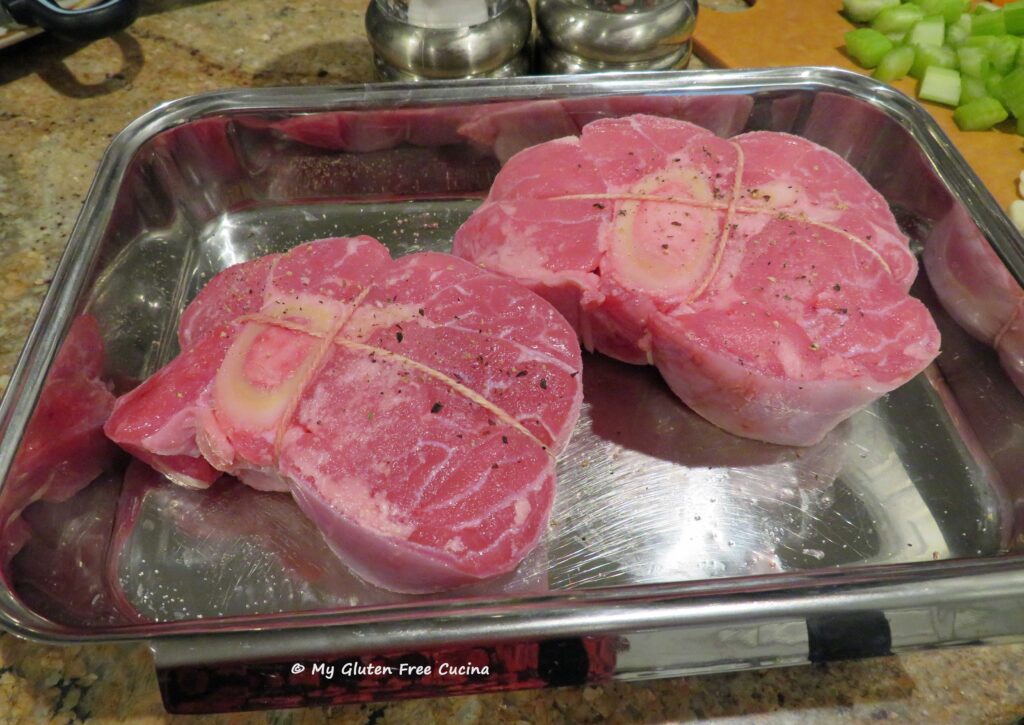

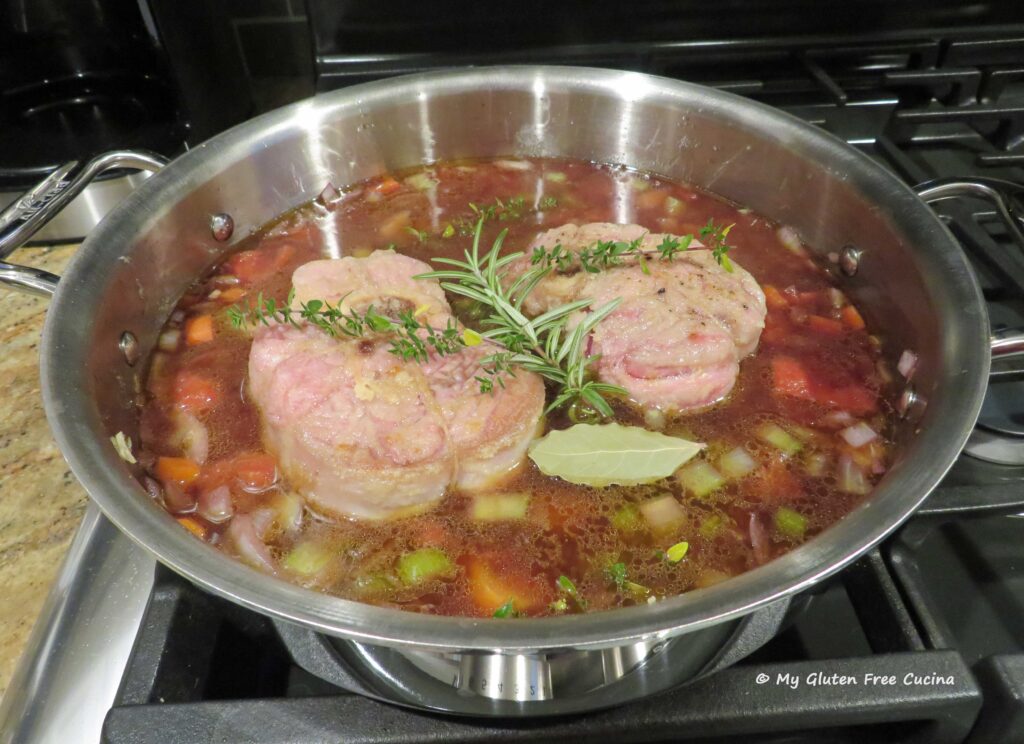
 Spoon sauce over the veal shanks and garnish with Italian parsley.
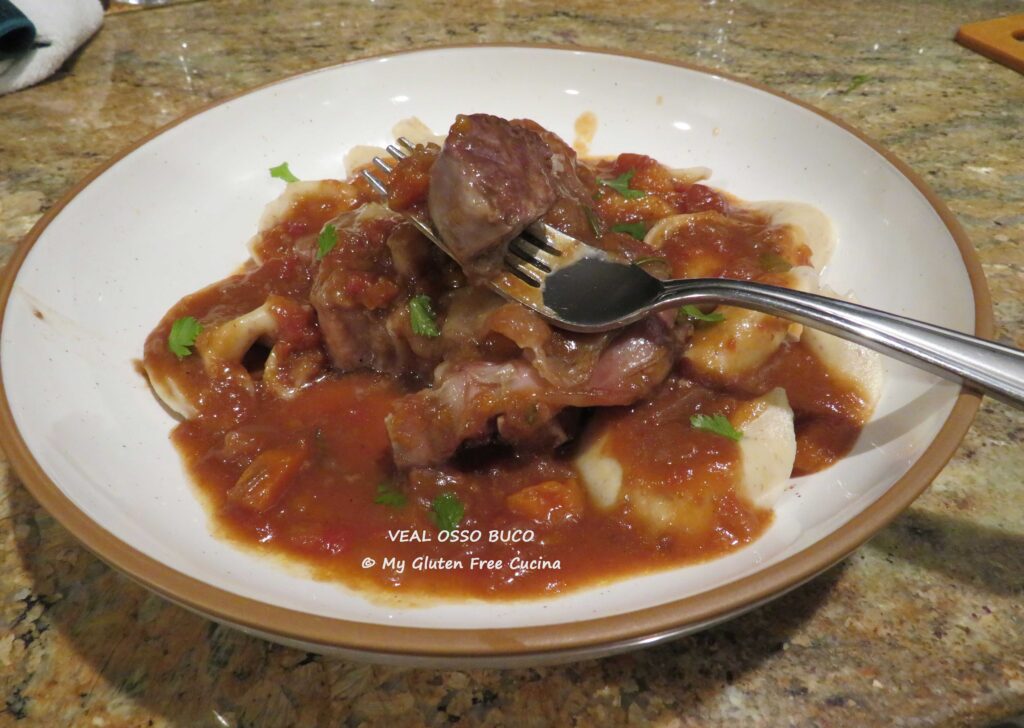
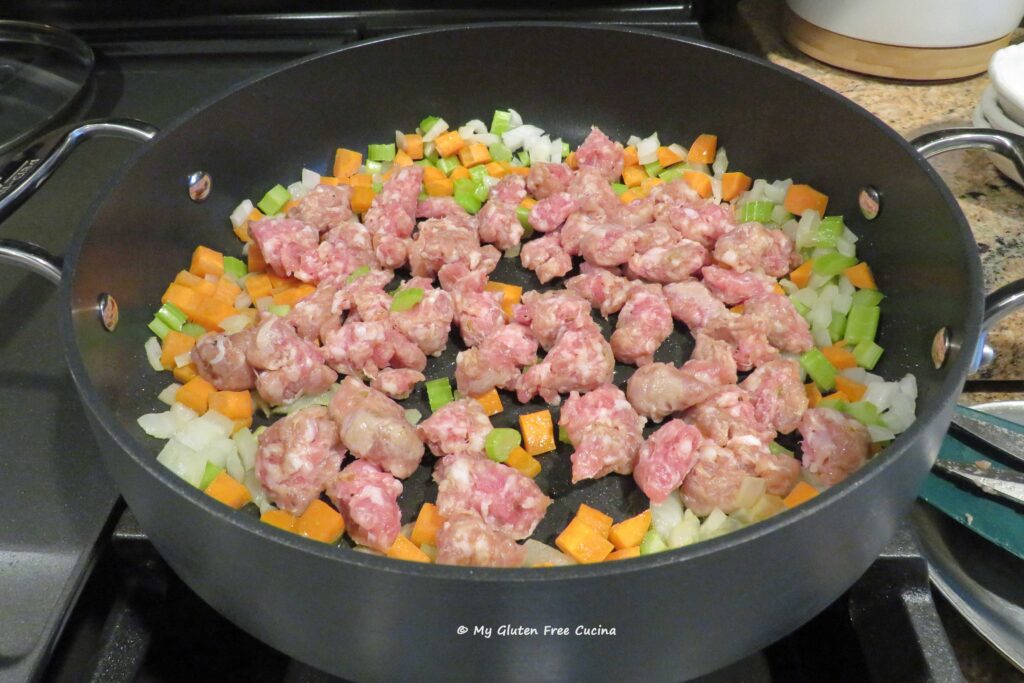
 Remove the sausage casings and cut the sausage into small pieces. Add to the skillet with the veggies.
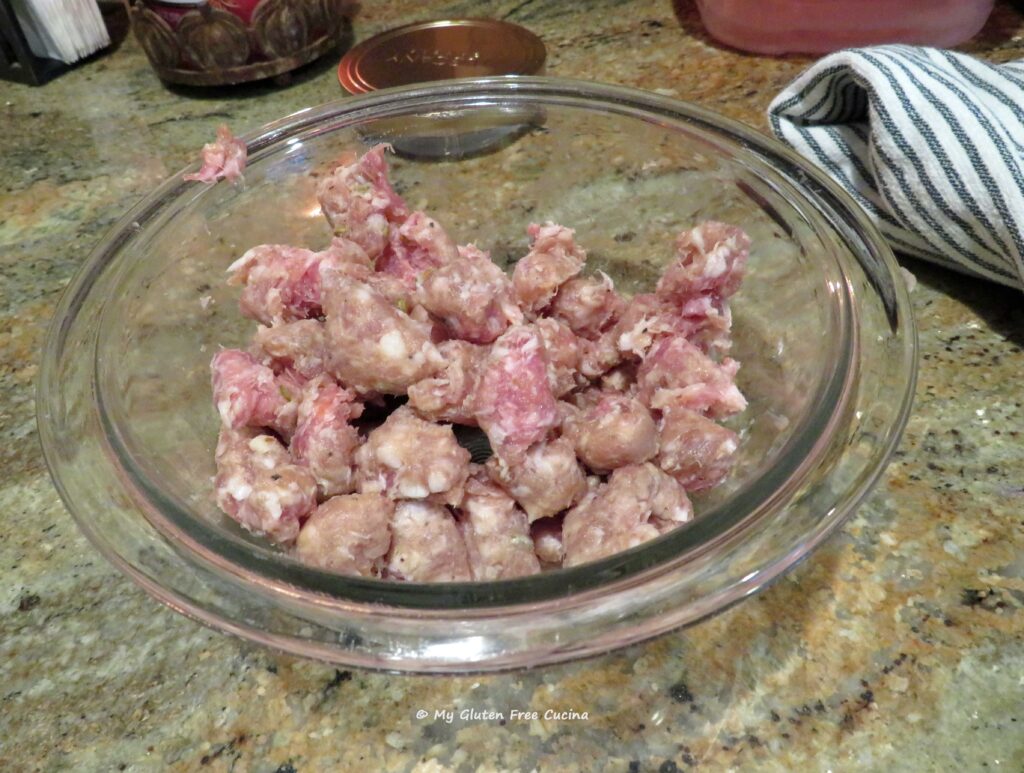
 When the sausage starts to brown, push the meat and veggies to the sides of the pan and add the tomato paste in the center.
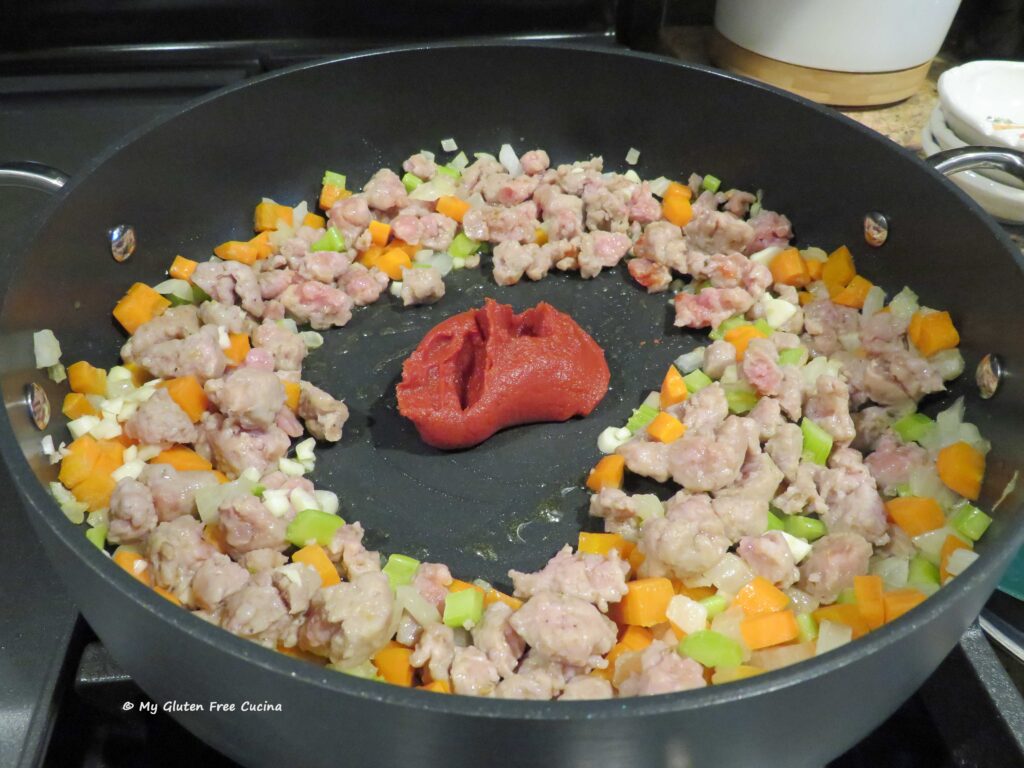 Let it toast for a few minutes, then stir it into the sausage and veggies.
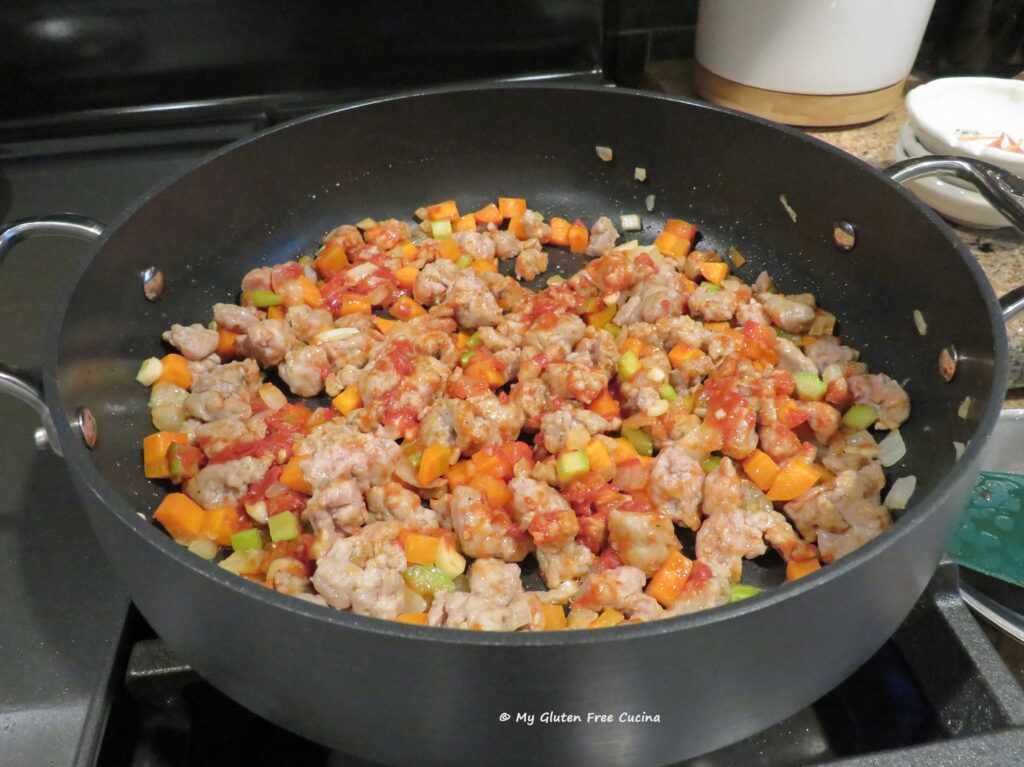 Add the wine, and saffron water, garlic, basil, oregano and bay leaf.
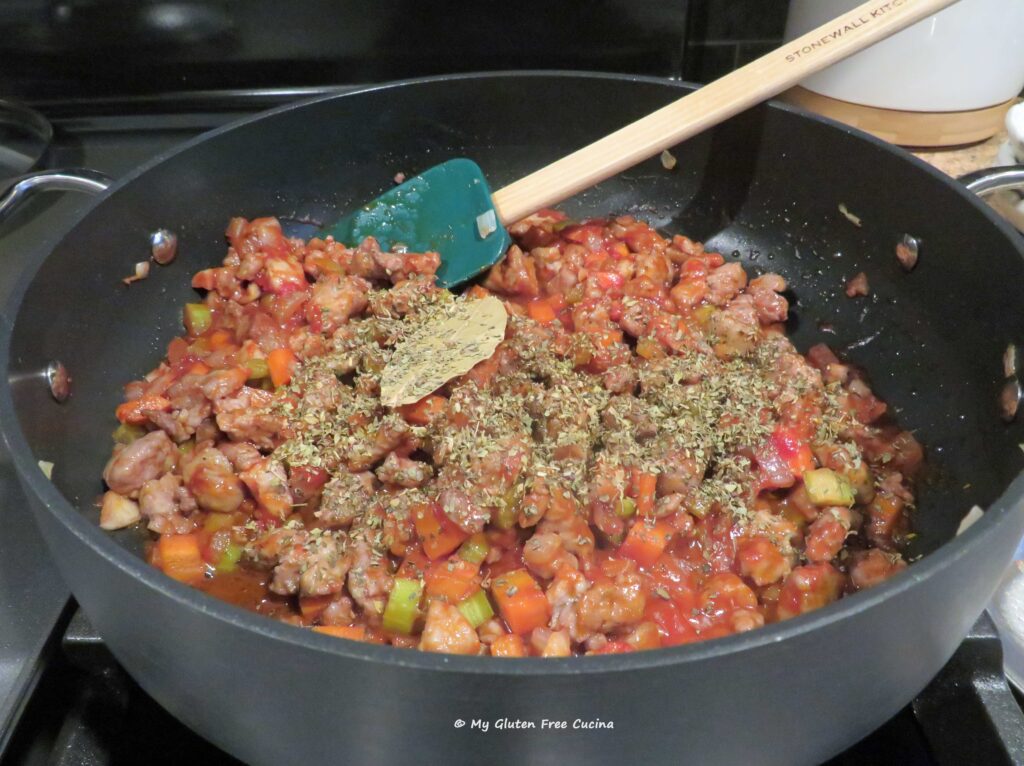 Let the wine cook off for a few minutes, then add the crushed tomatoes and the tomato sauce. Stir well, and simmer 30-45 minutes with the lid slightly ajar to allow the sauce to thicken as it cooks. Stir the sauce every 10 minutes while it simmers.
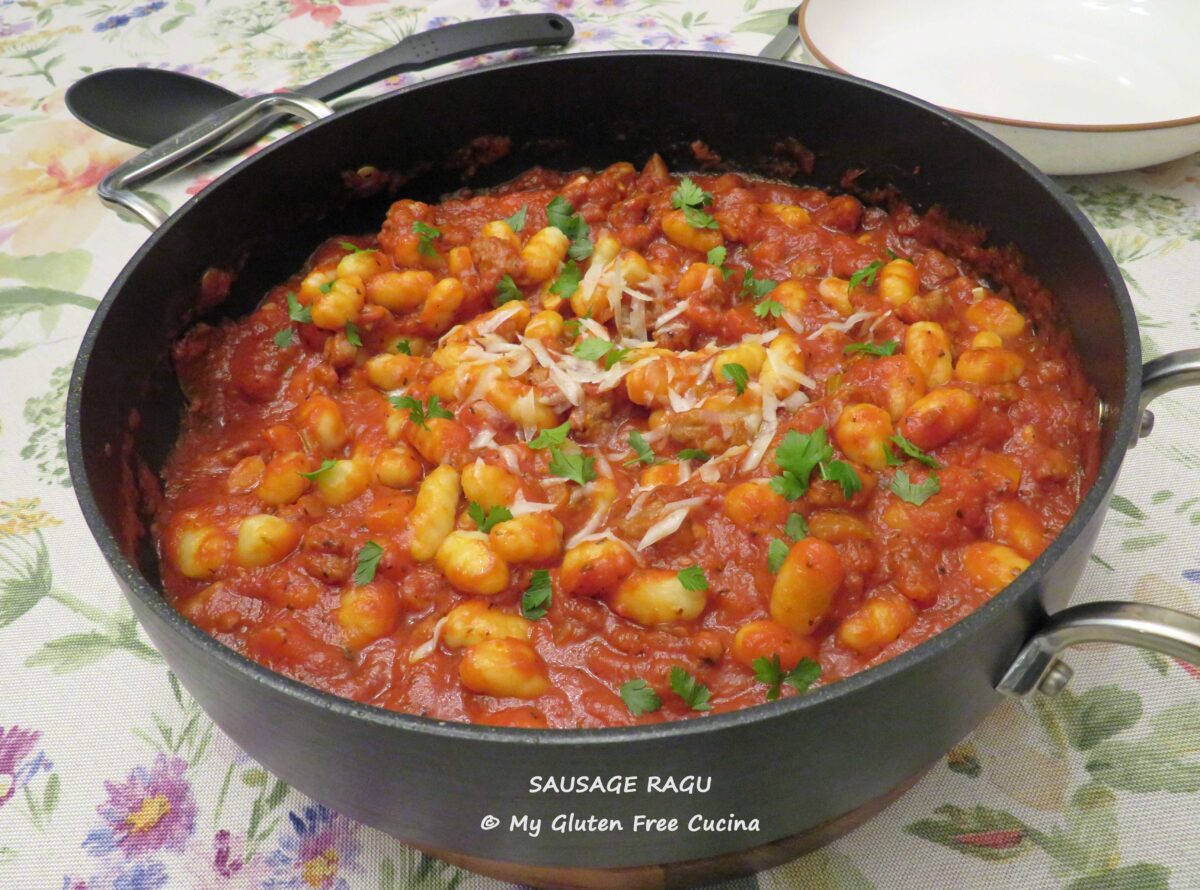
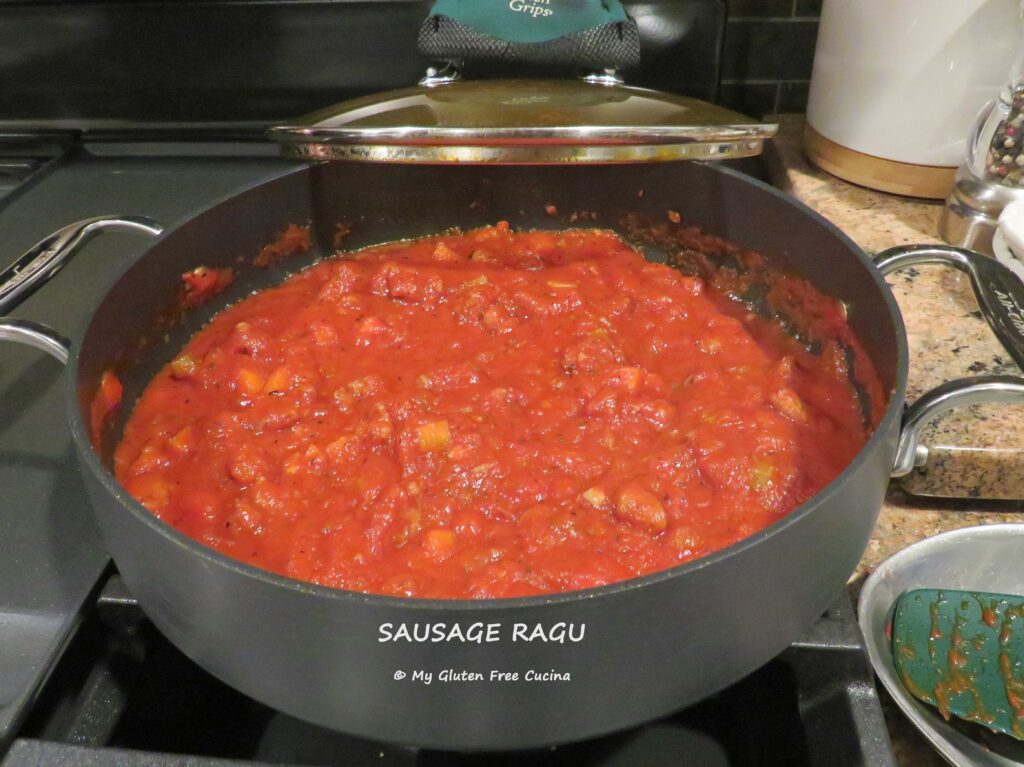 Serve this wonderful sauce over your favorite pasta and finish with grated cheese. Pecorino Romano is traditional with this dish, but you can use Parmigiano Reggiano.
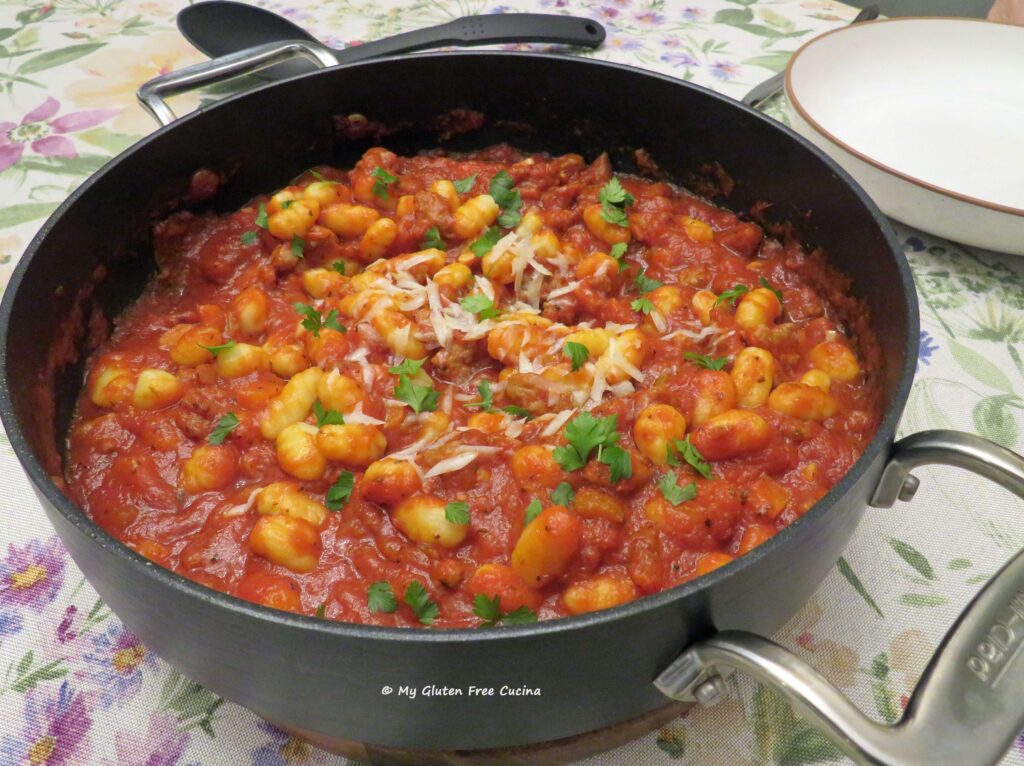 Notes ♪
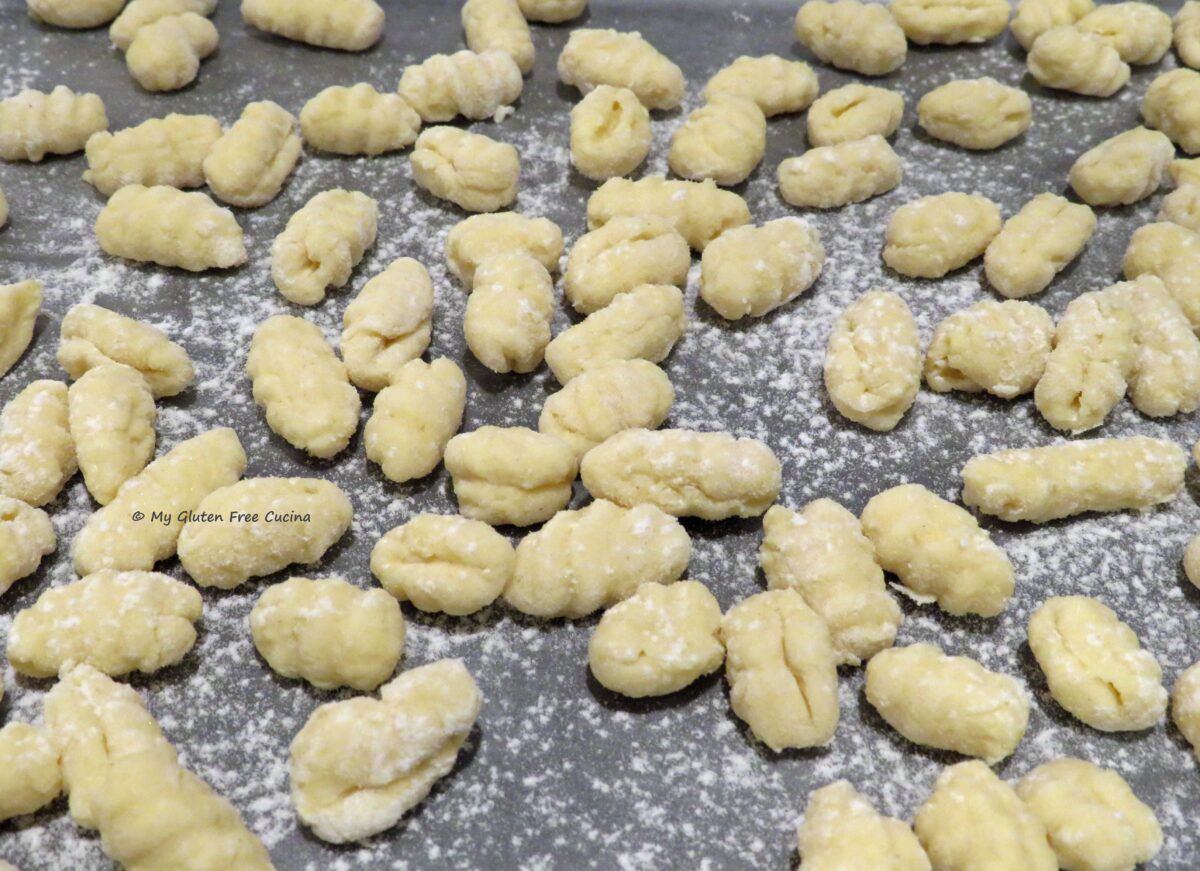
 What about gluten?
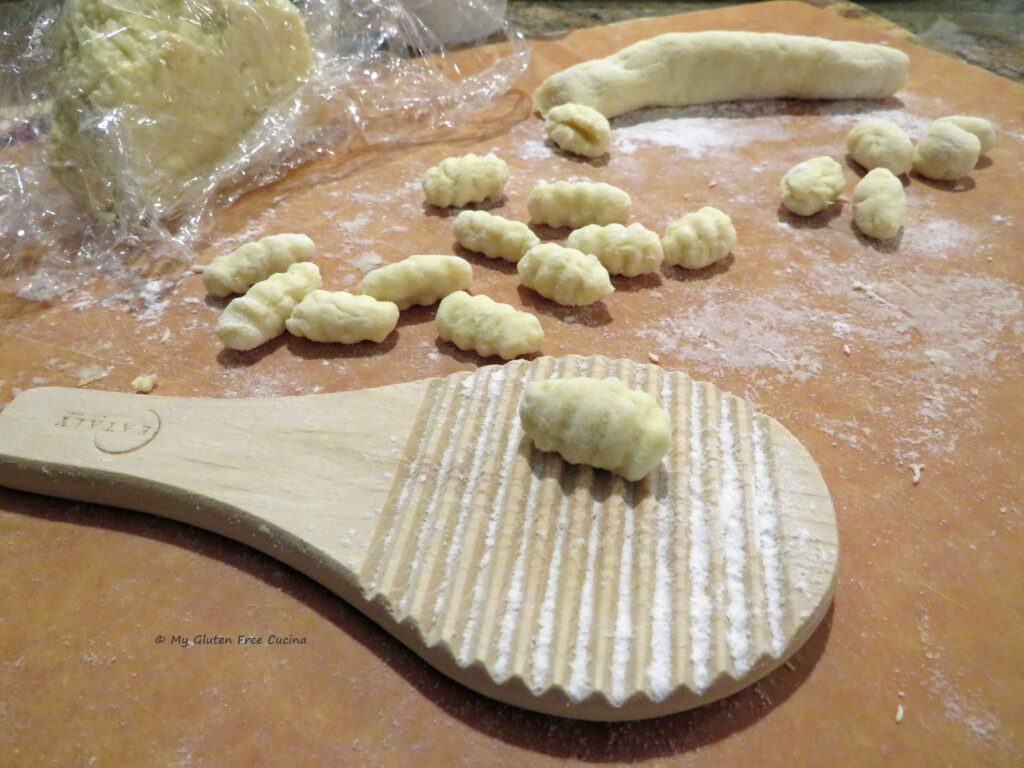 Wait, no eggs?
 Another unique feature.
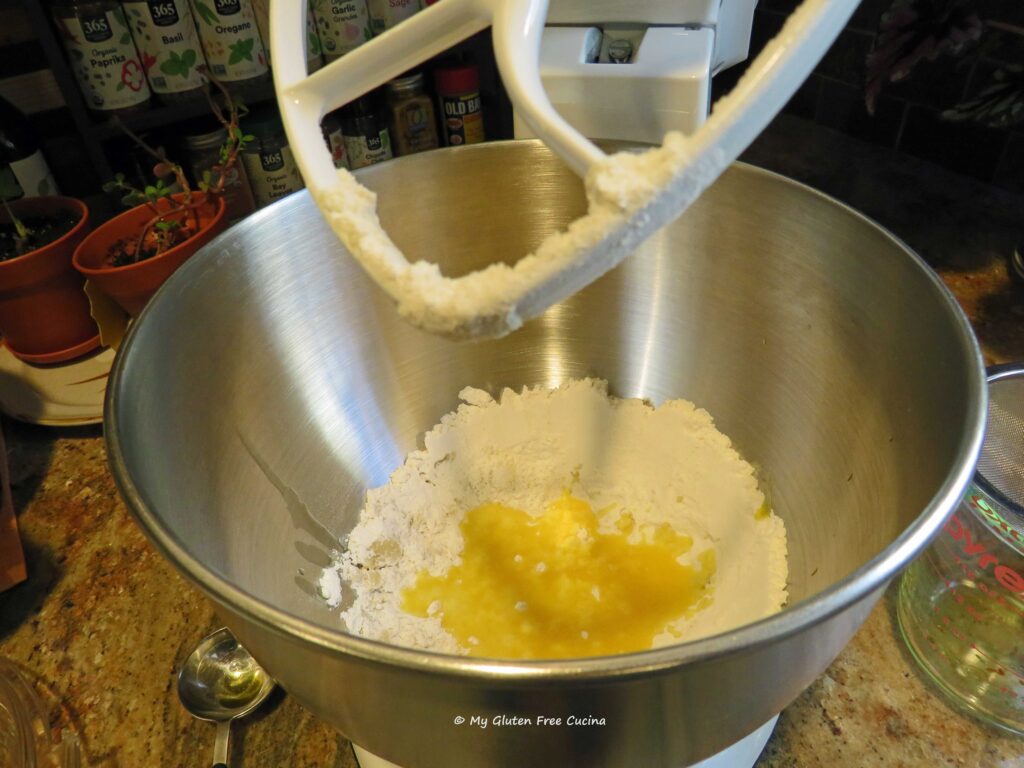 This post contains affiliate links.
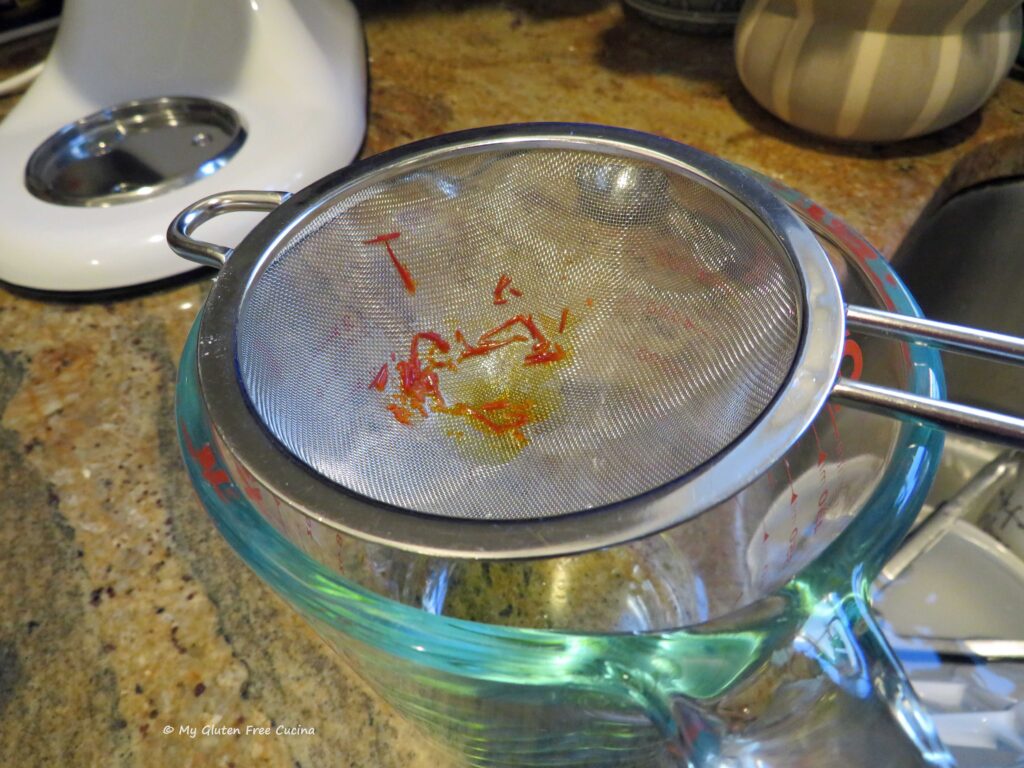
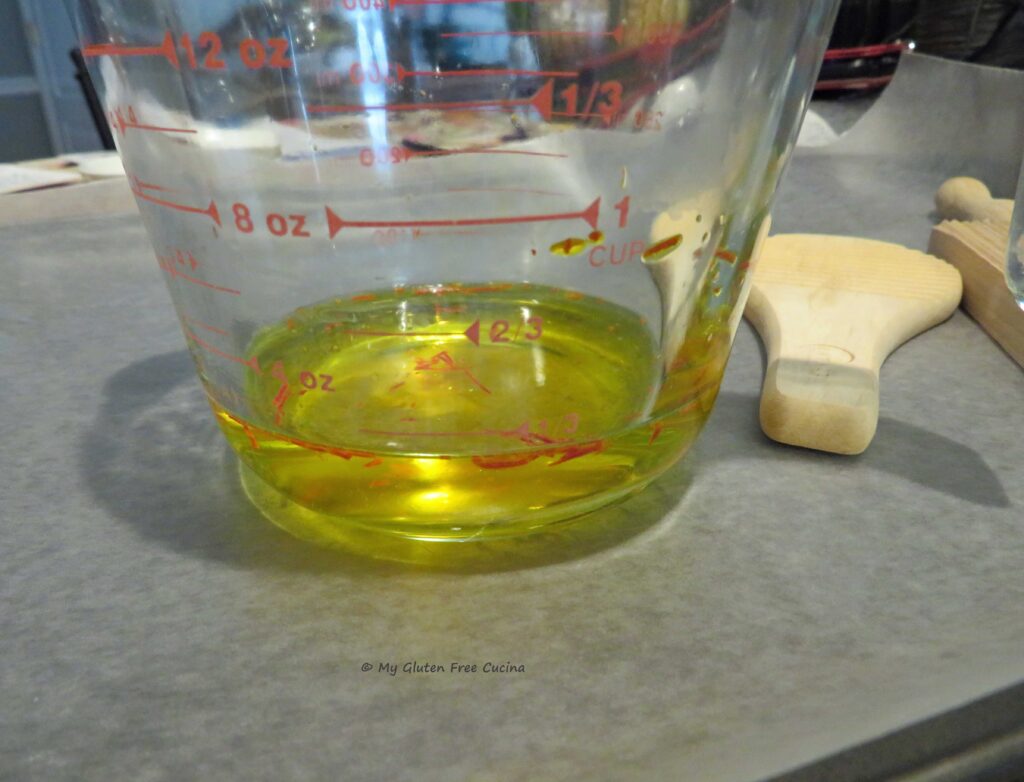 Whisk together the flour and salt in the bowl of a stand mixer. Pour in the infused liquid through a sieve, reserving the saffron threads.
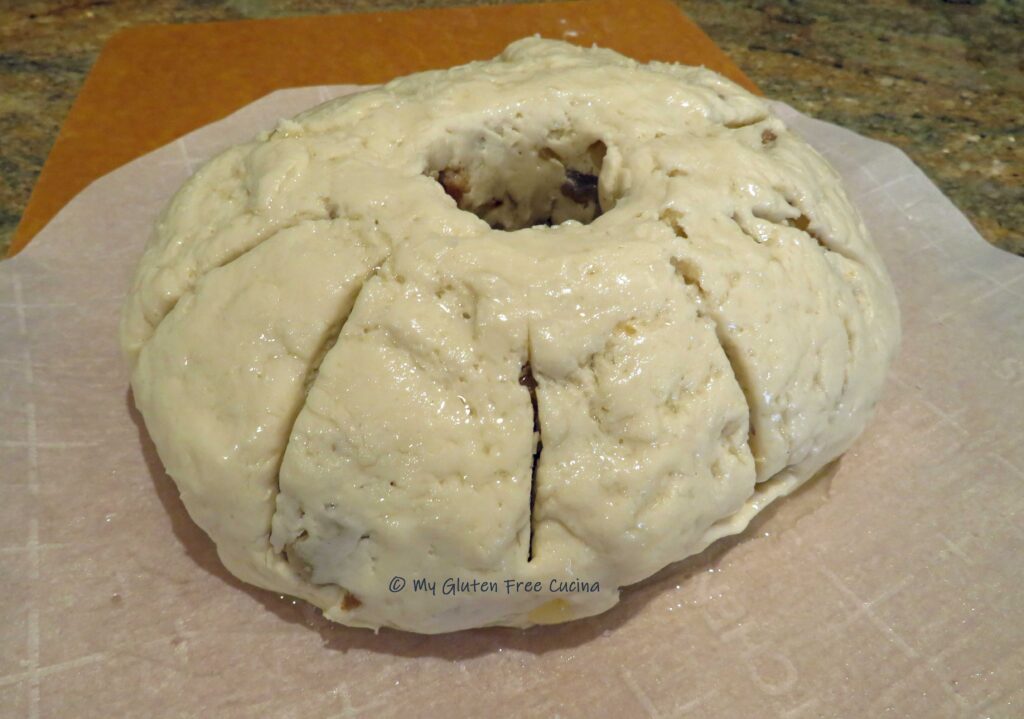
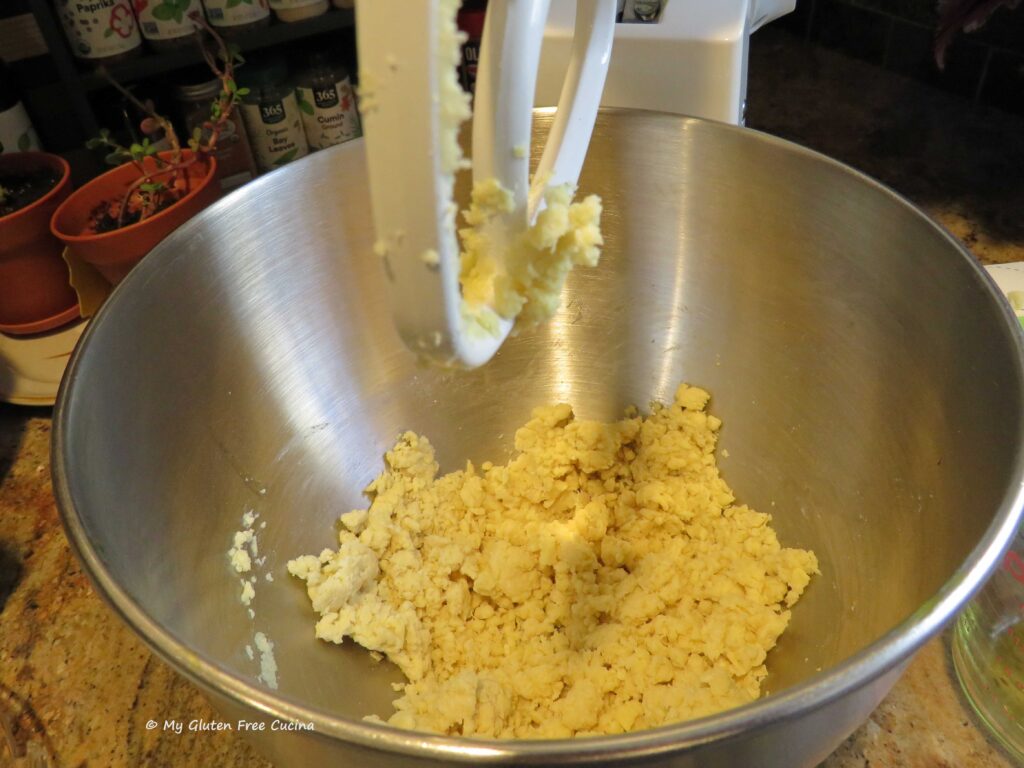 Add the remaining water 1 tbsp. at a time until you have a very soft, smooth dough, like this.
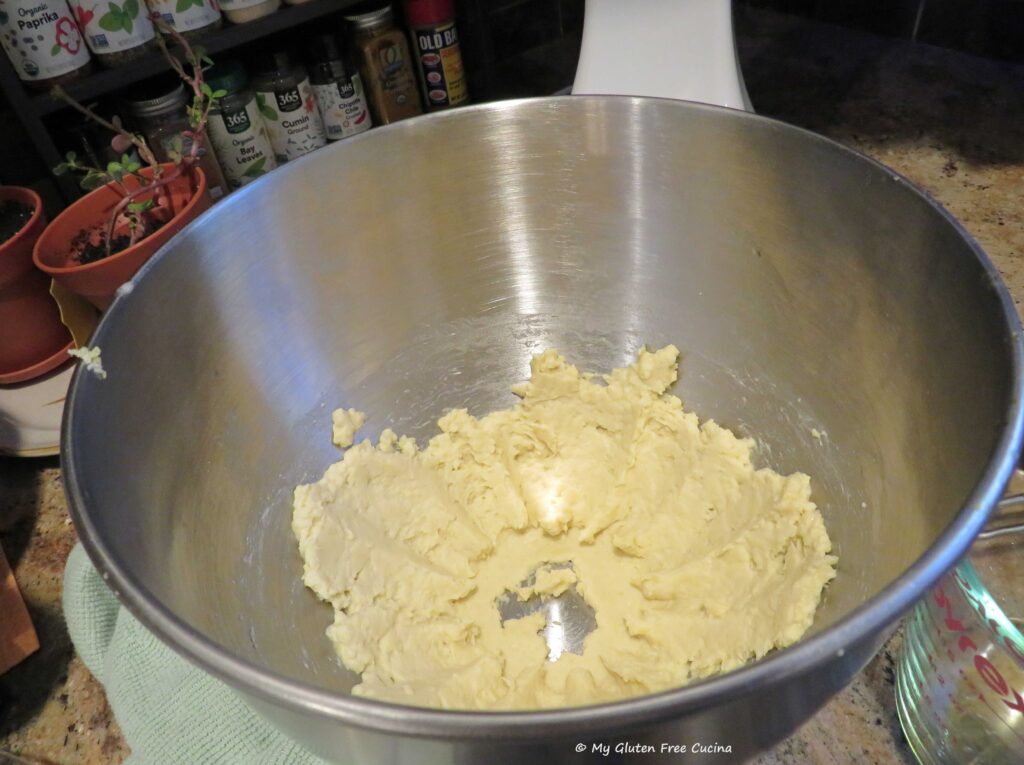
 Use a spatula to gather the dough into a ball, then cover and let it rest at room temperature for about 20 minutes.
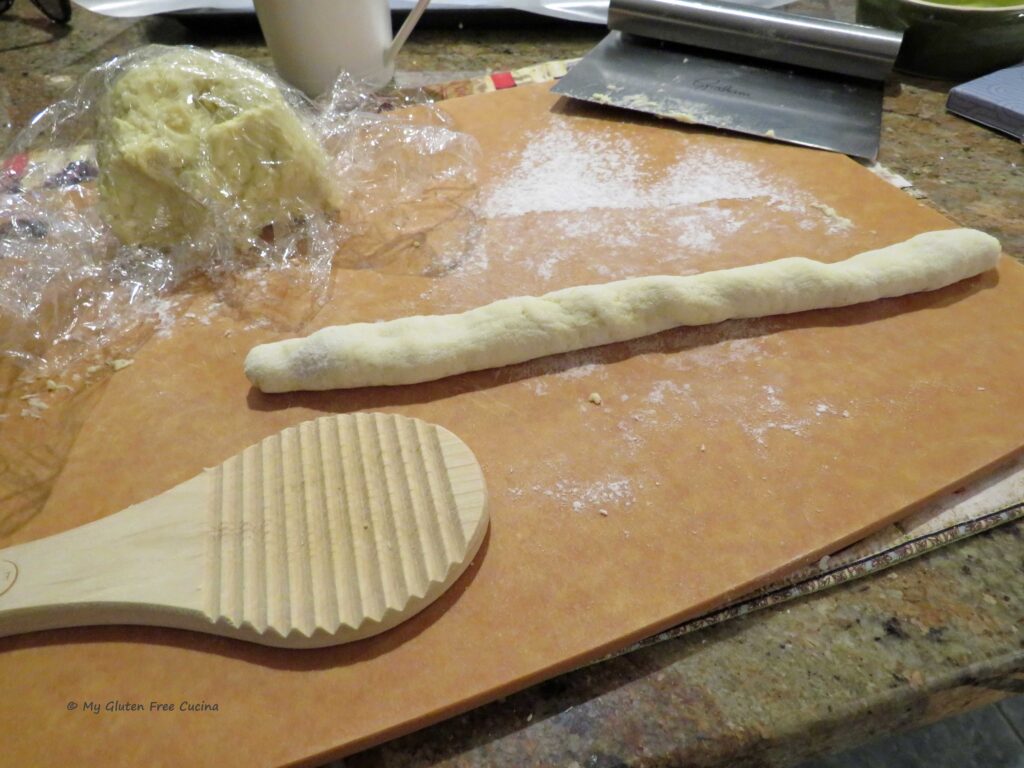
 Now roll each piece over the Malloreddus paddle, you can use your fingers or a bench knife. Be sure to keep the paddle generously floured as you work. A
 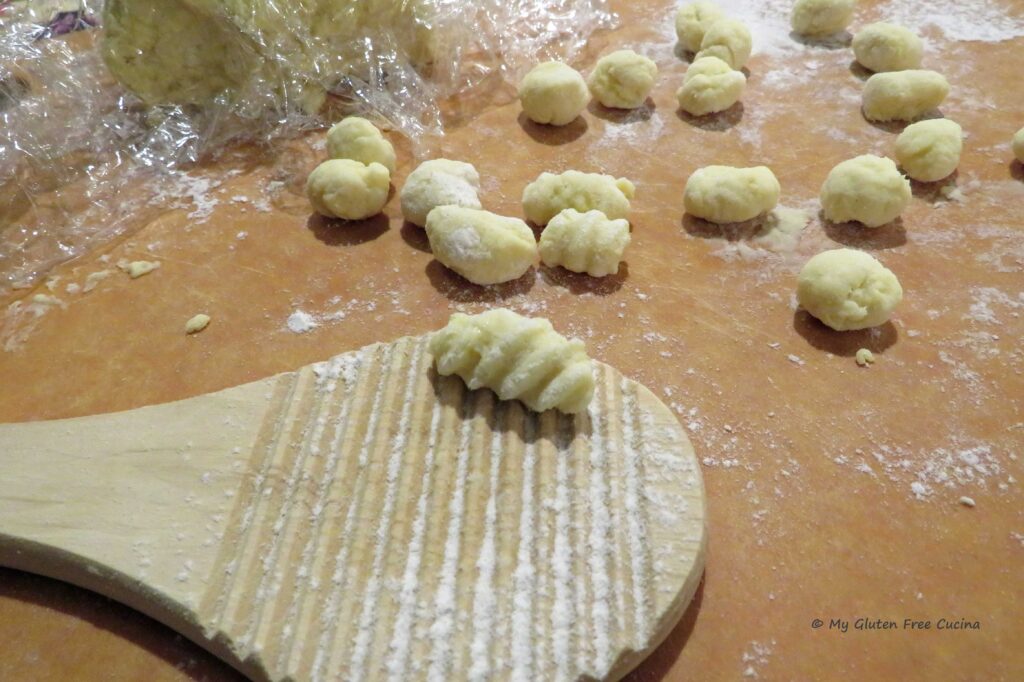 Arrange the pasta on a lightly floured baking pan in a single layer. I lined mine with wax paper. At this point, you can cover the pasta with plastic wrap and refrigerate it until you are ready to start cooking.
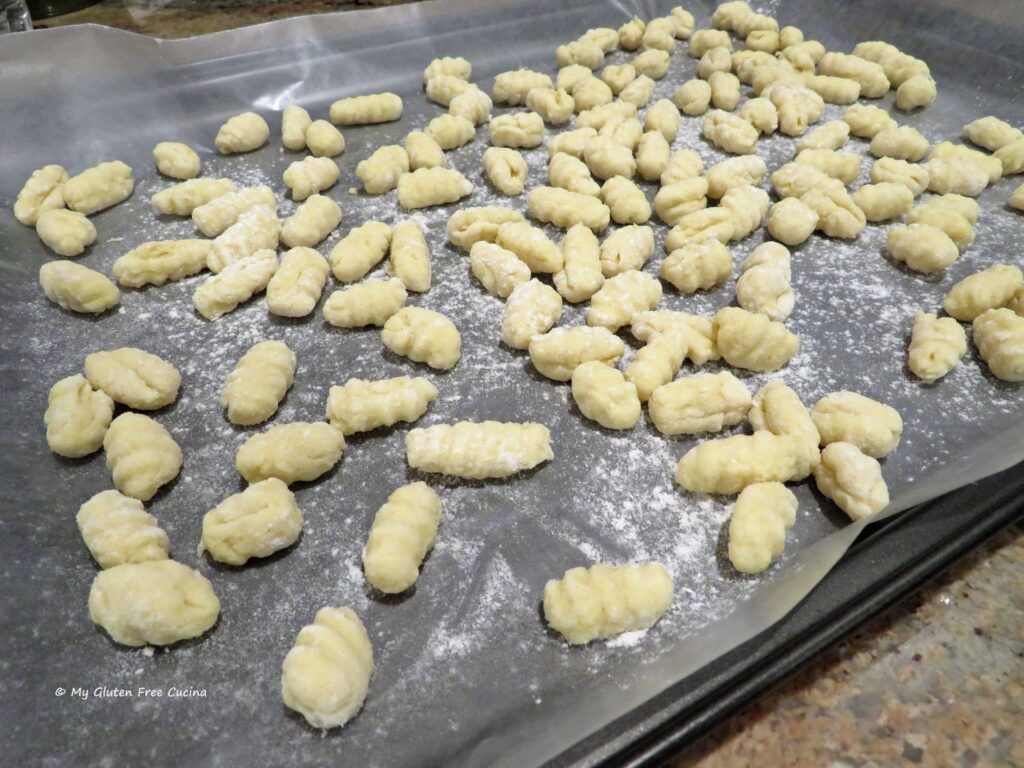 For longer term storage, place the pan in the freezer for a few hours, then transfer the pasta to a freezer safe bag.
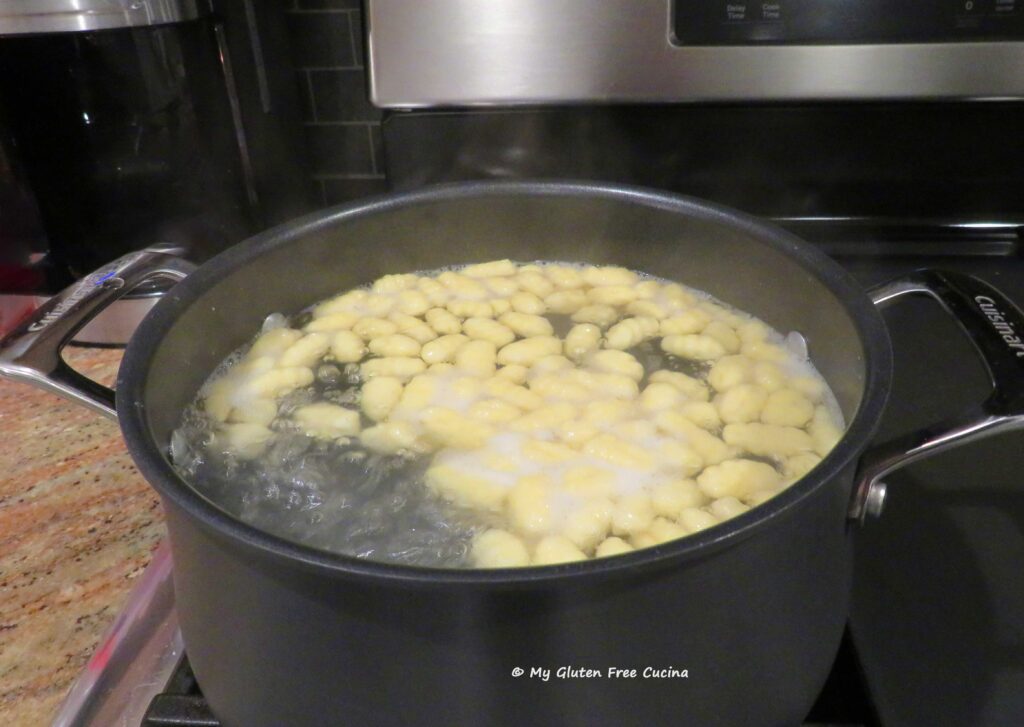

 Read on
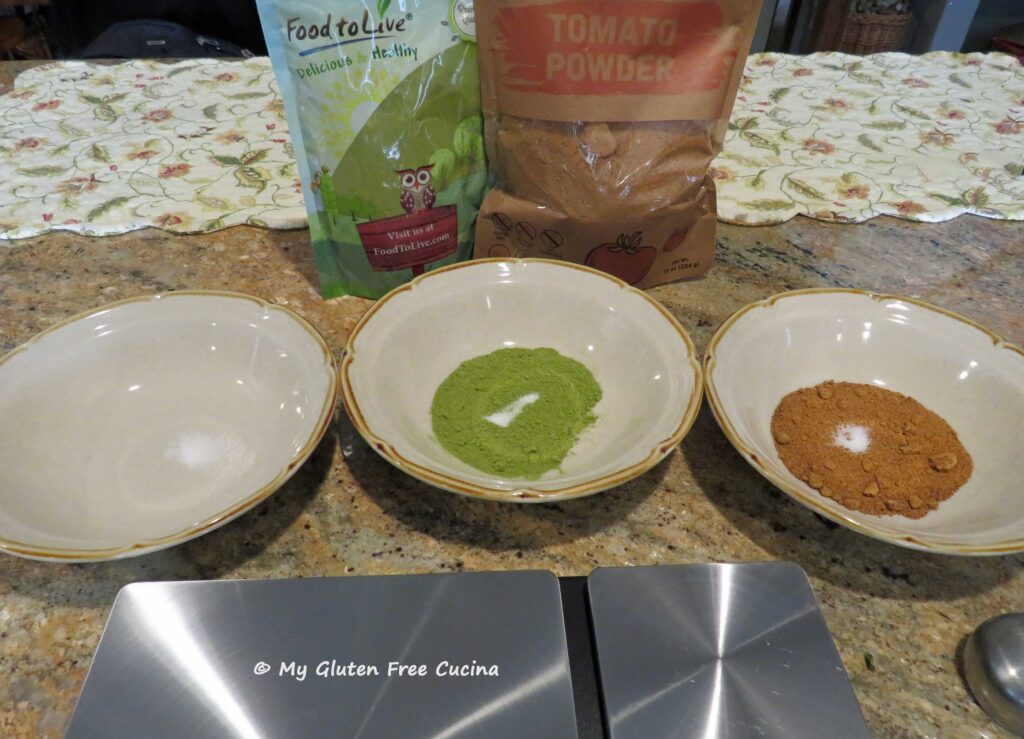
 Preparation:
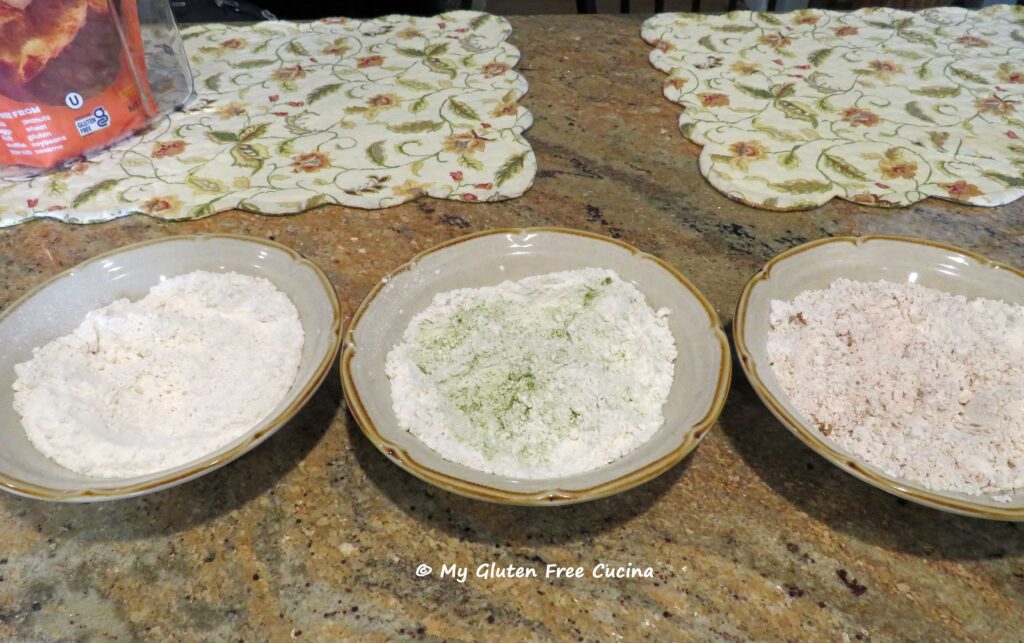 Next, working with one bowl at a time, add one egg to the bowl of a
 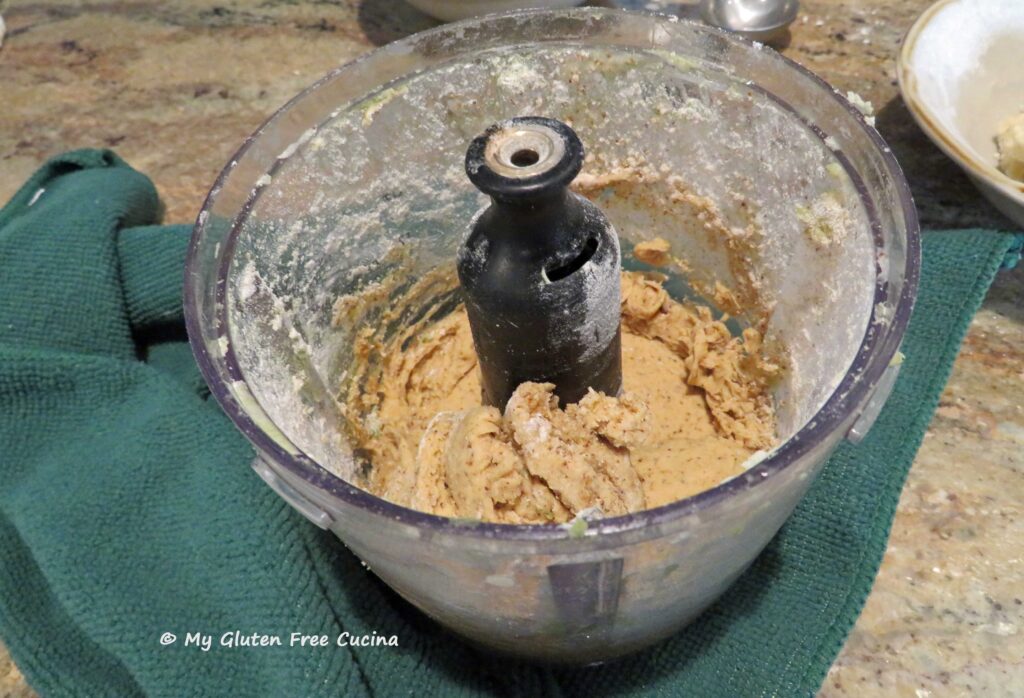 Hint: make the white dough first, so that you don’t have to wash the chopper in between batches.
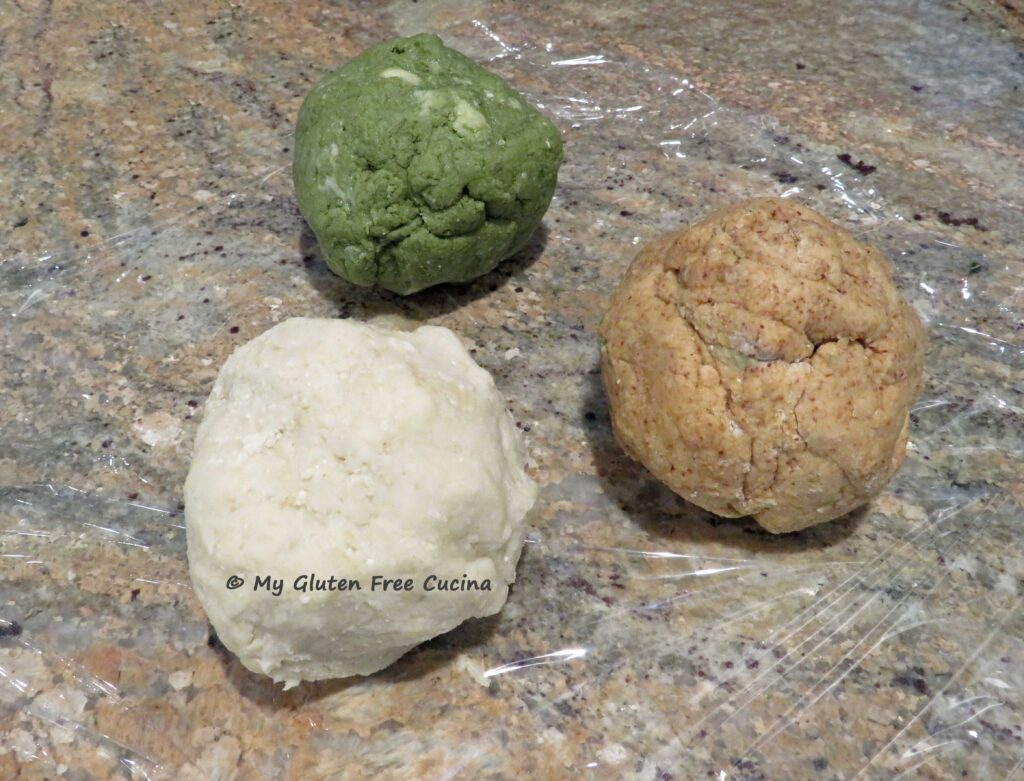 Lightly flour a large cutting board. Working with one color dough at a time, divide the ball in half and roll each section into a rope. Be patient, if it doesn’t roll easily dust with a little flour and gently press down with your palms as you roll the dough back and forth.
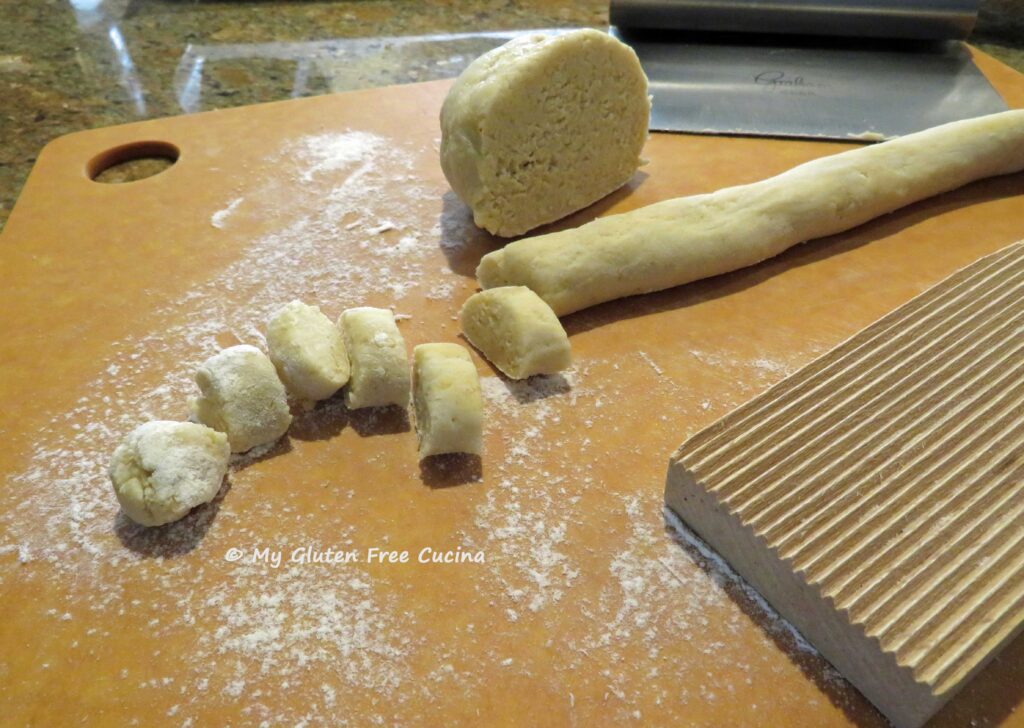 Roll each piece of dough between your palms then use your hand or a bench knife to roll it over a floured gnocchi board to create the ridges.
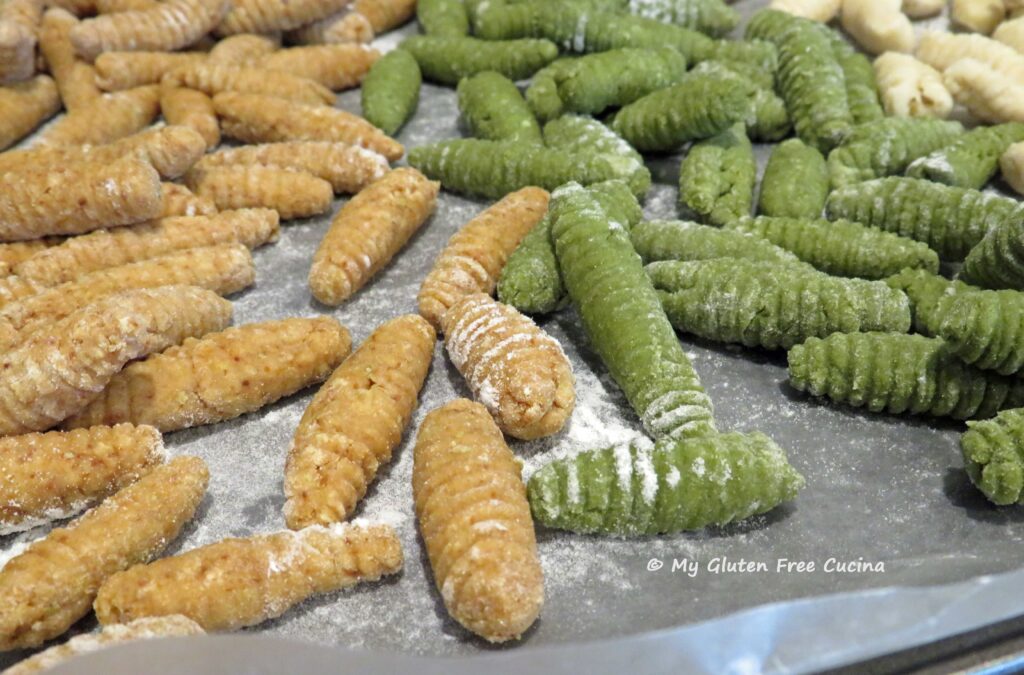
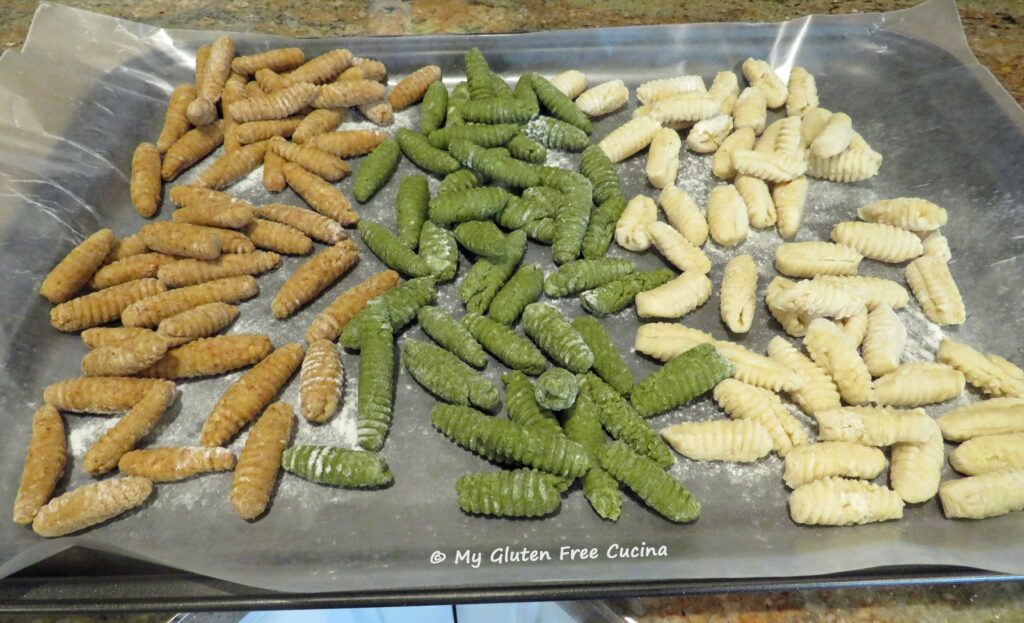
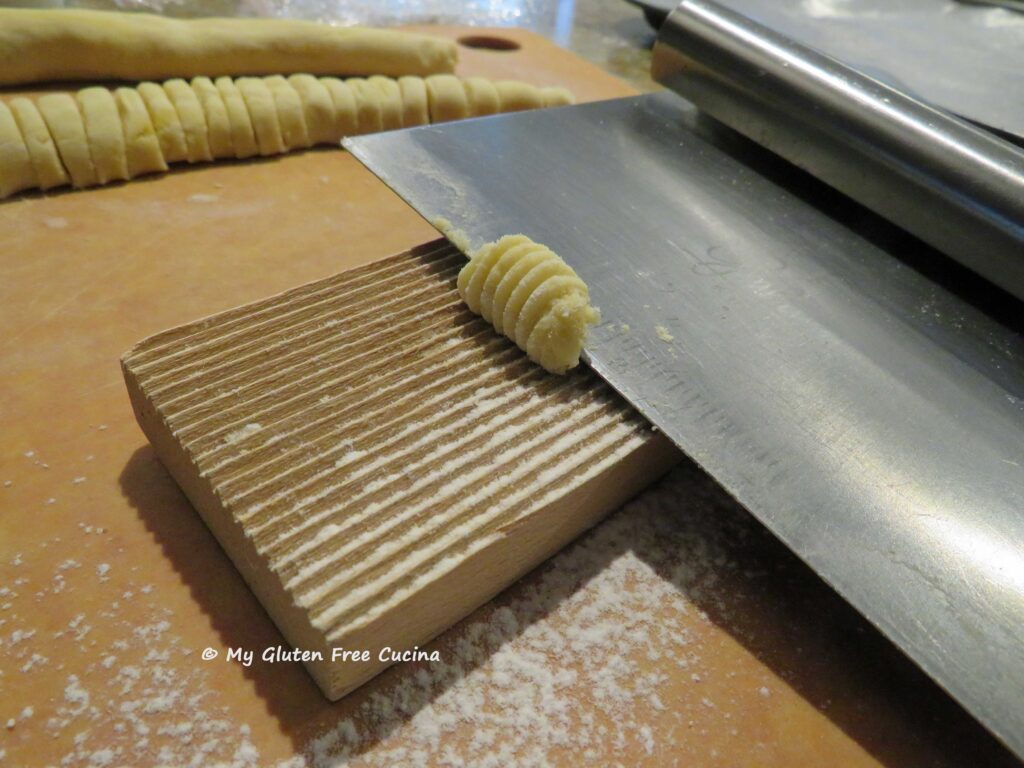 Place the finished pasta in a single layer on a floured baking sheet. I lined mine with wax paper.
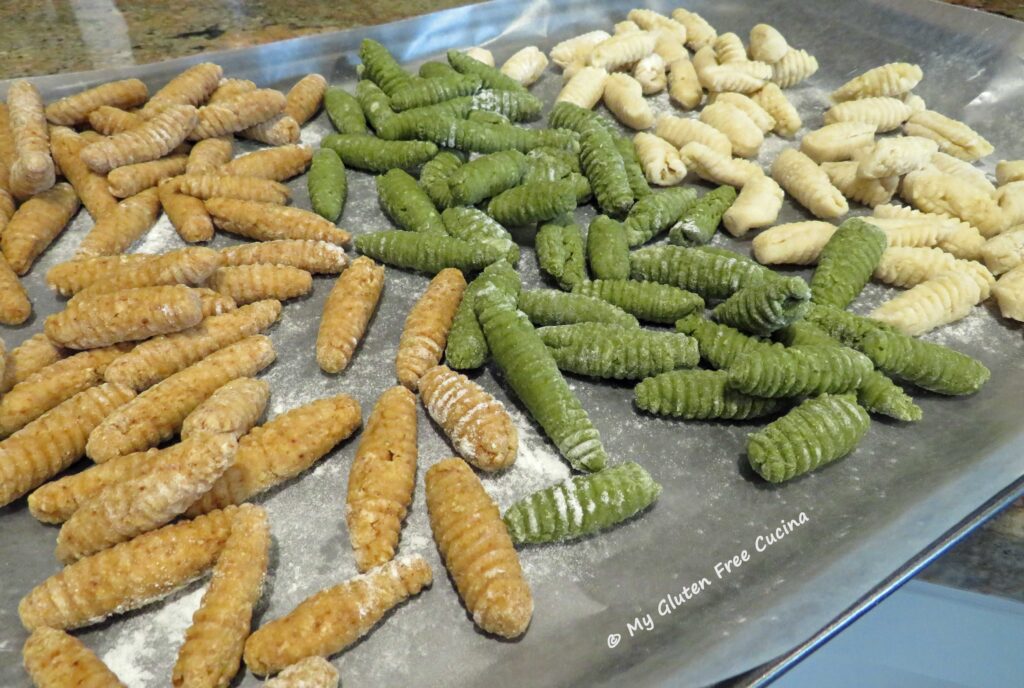 You can keep the pasta in the refrigerator if cooking the same day. Beyond that I recommend freezing it in an airtight container or freezer safe bag. I placed mine in the freezer right on the baking sheet and when they were firmed up, I transferred them to a
 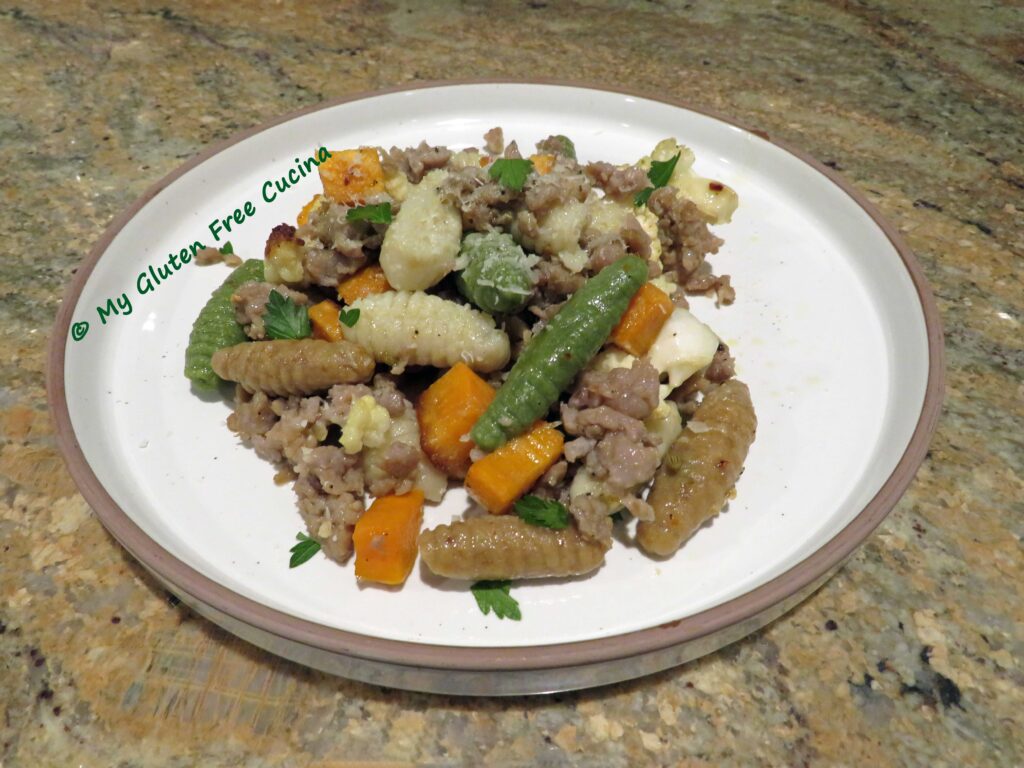 Making the pasta was a little time consuming, but I did it on a Sunday and froze it to have during the week. Freezing did not affect the texture at all, and the pasta cooked perfectly to al dente.


 Ingredients:
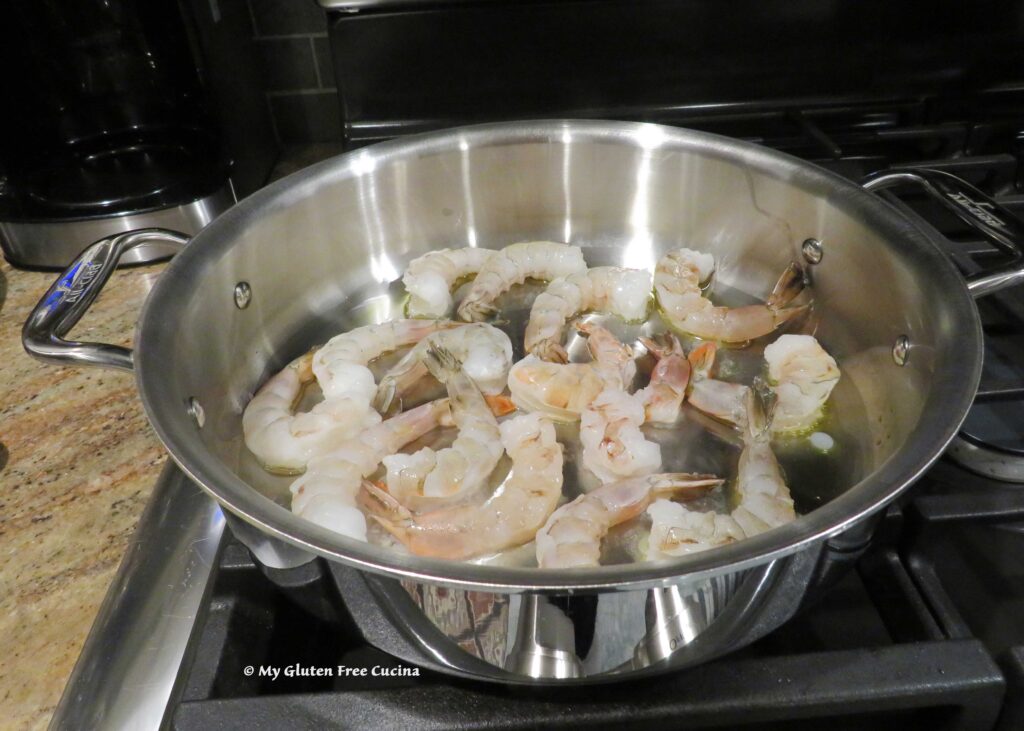
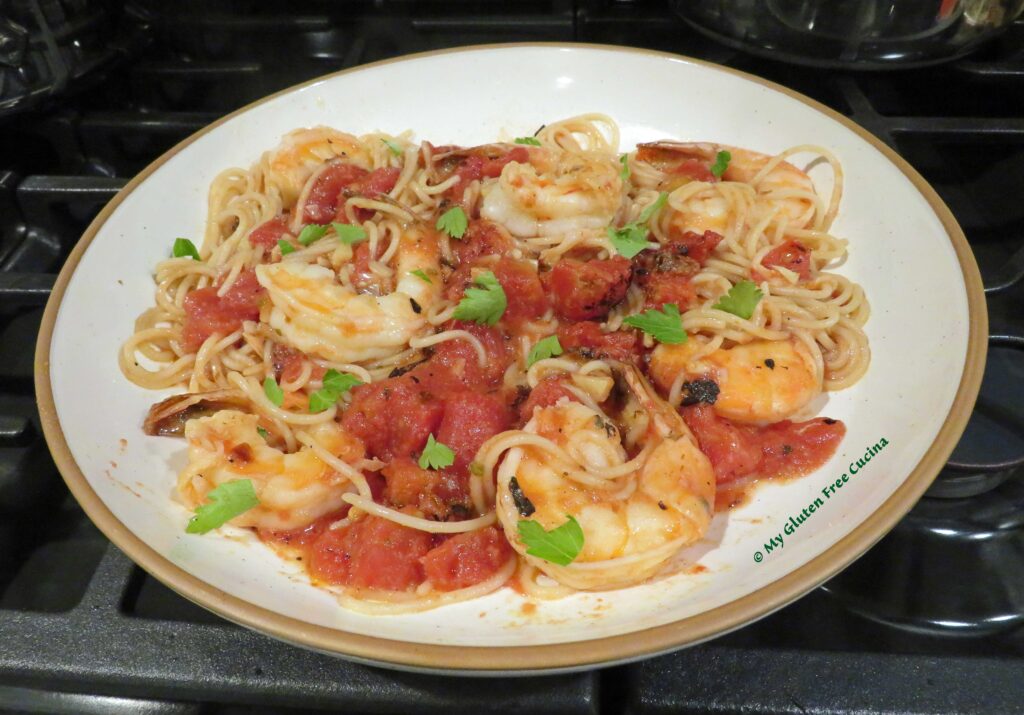
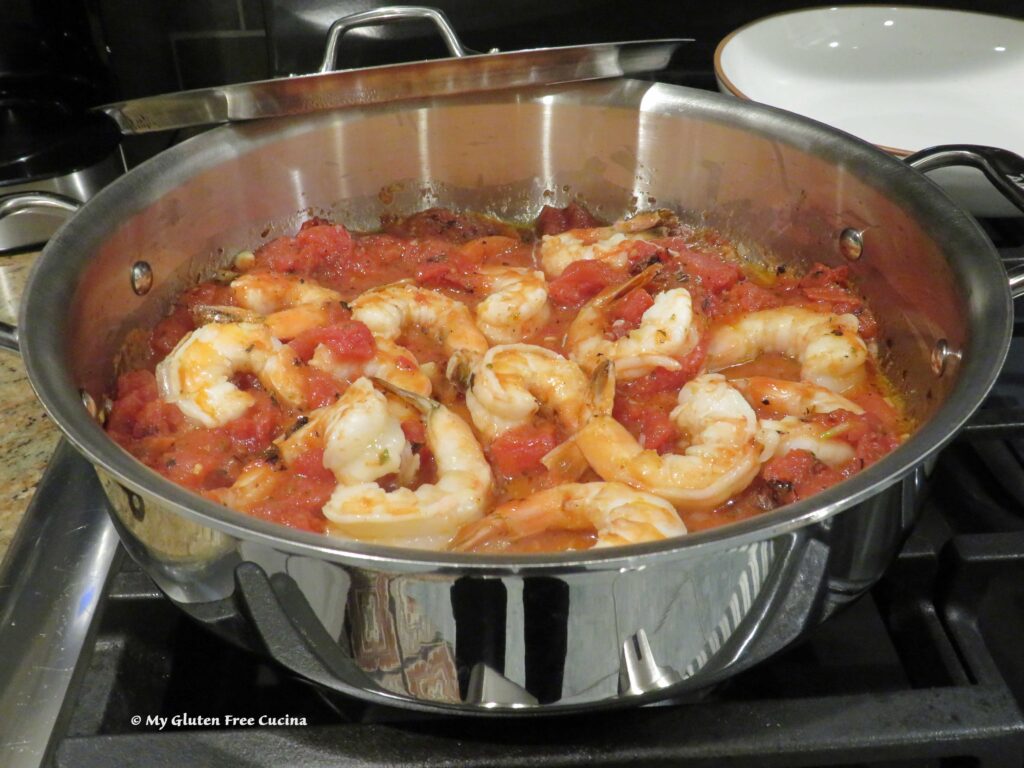
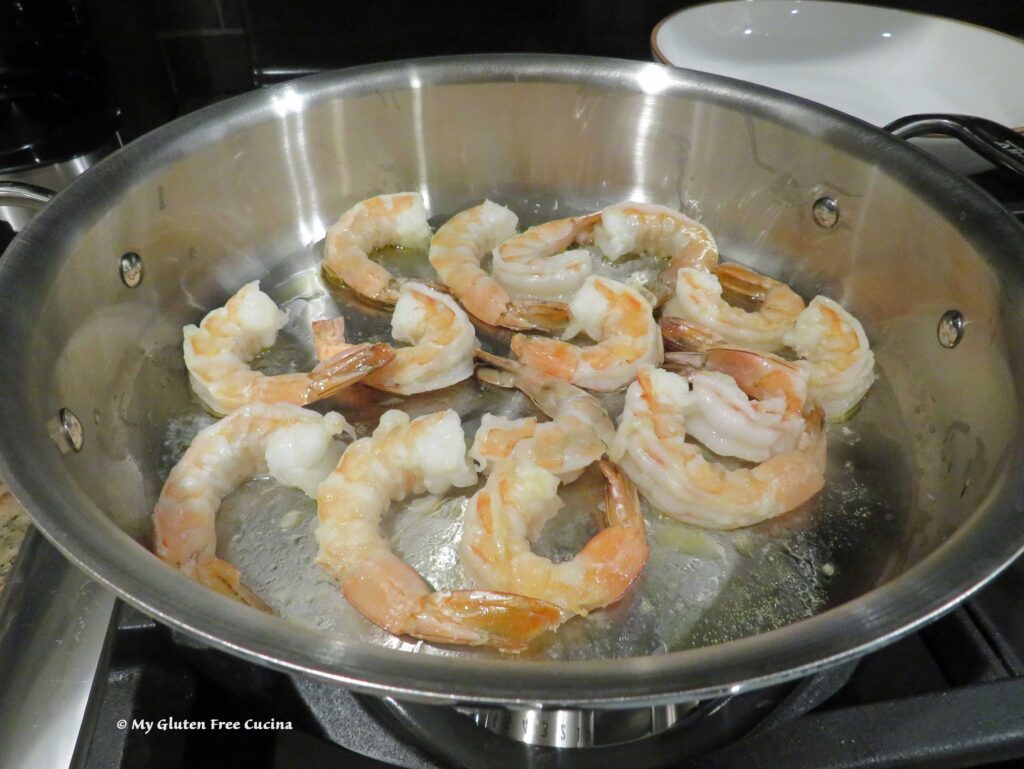 Remove the shrimp to a bowl and add another tbsp. olive oil to the skillet. Add the garlic and red pepper flakes, and cook for 30 seconds, stirring several times.
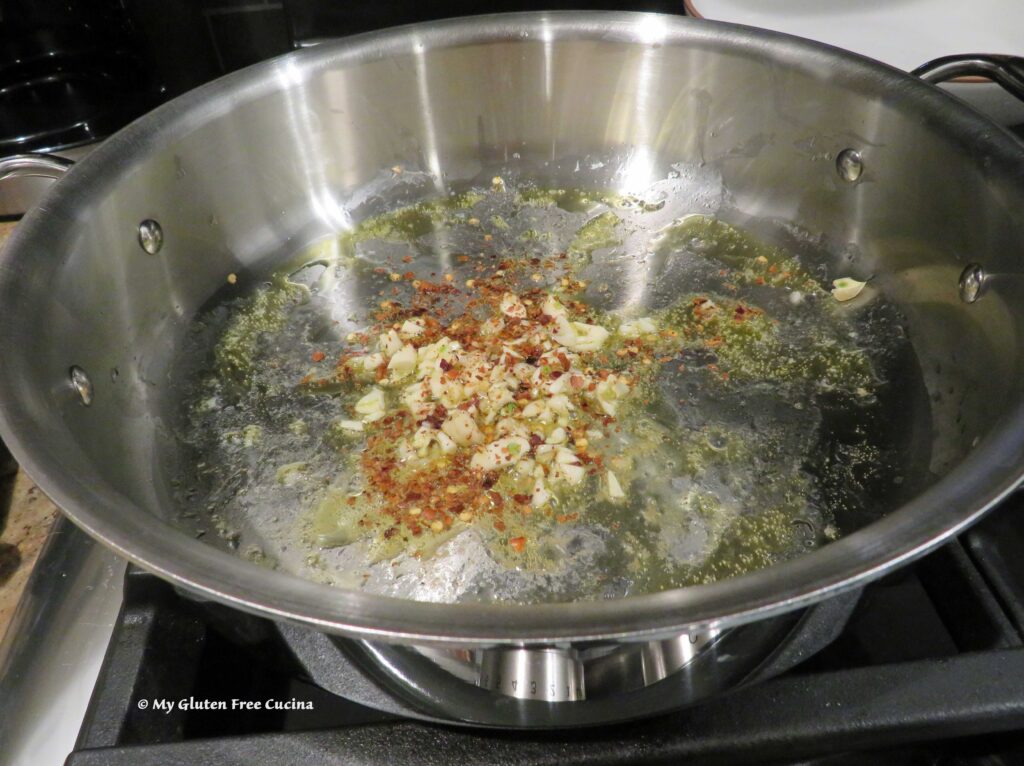 Add the fire roasted tomatoes with juice, 1/2 tsp. oregano and salt to taste.
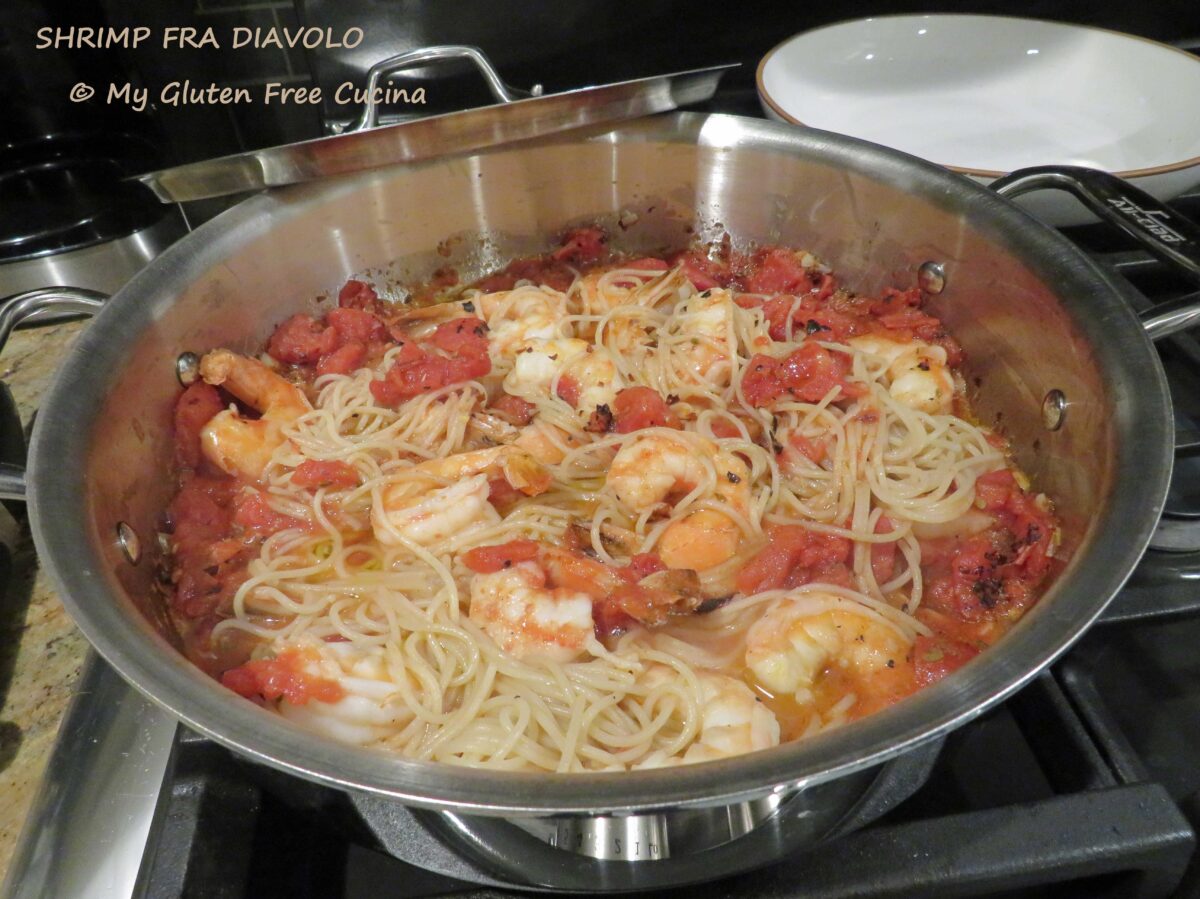
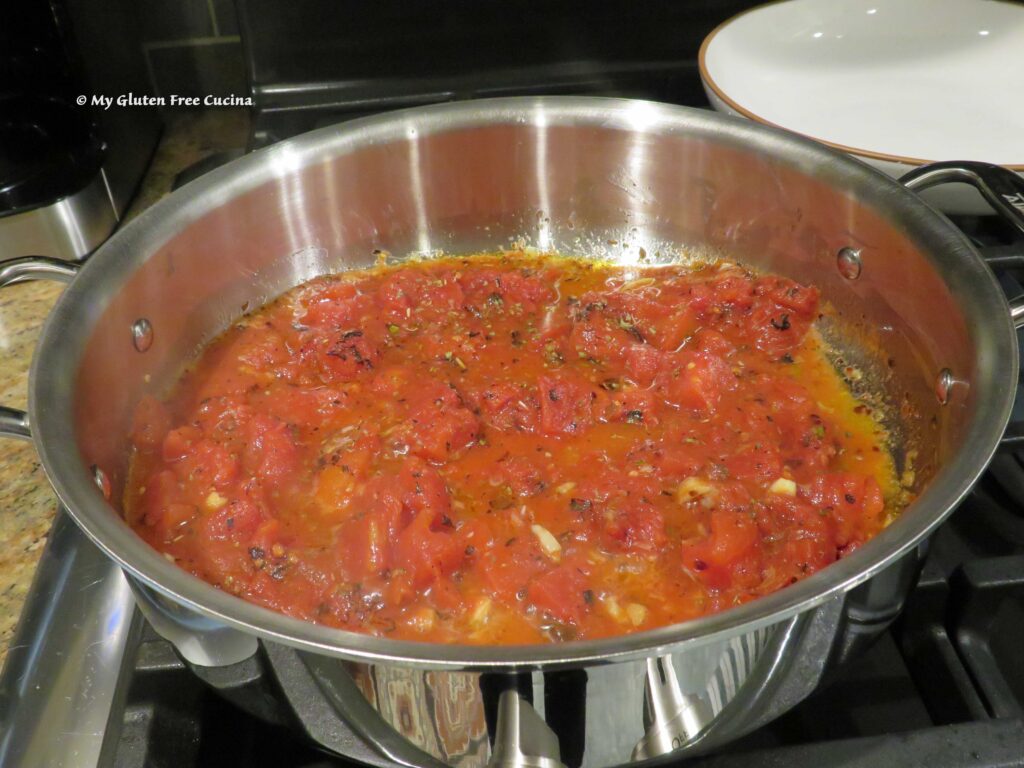 Cook the pasta to 2 minutes less than package directions. With 4 minutes to go on the pasta, add the shrimp to the sauce.
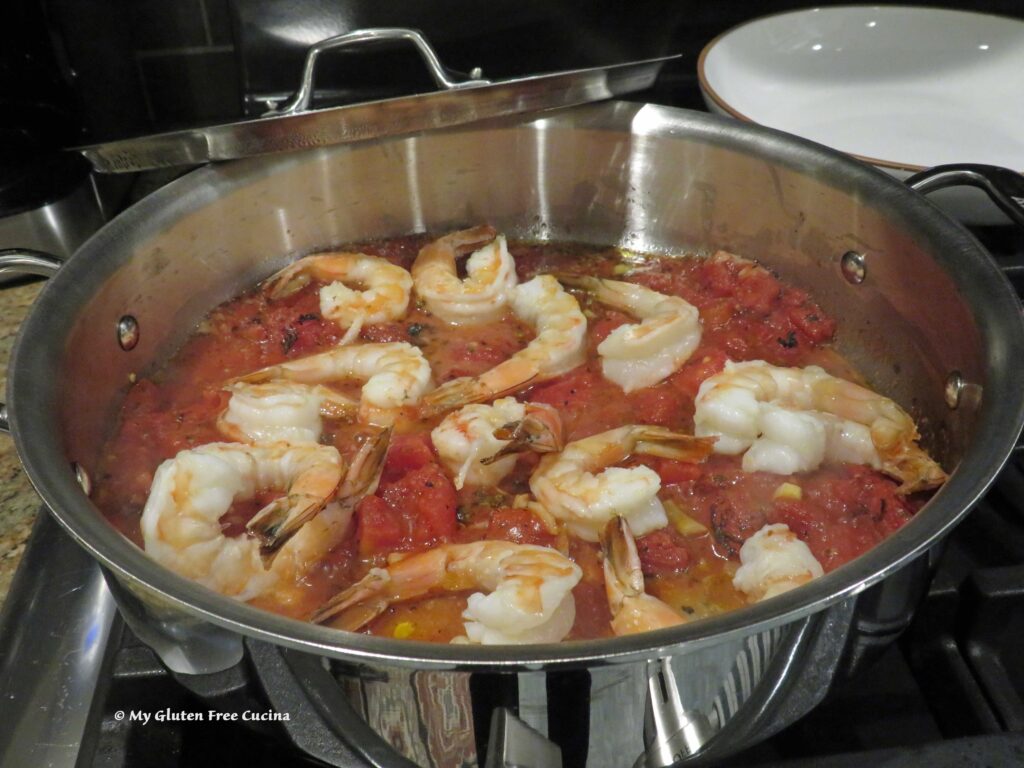 Drain the pasta, add it right into the sauce and toss with 1 more tbsp. olive oil and more red pepper flakes if you dare! ♨️
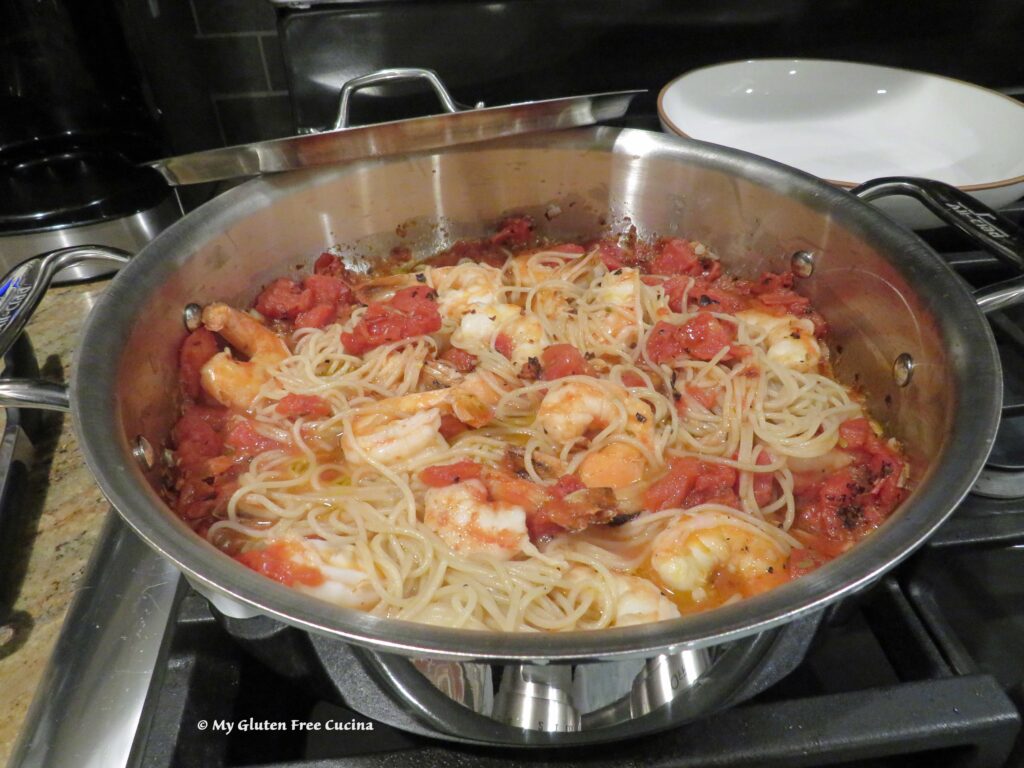 Transfer to serving bowls and garnish with fresh Italian parsley.