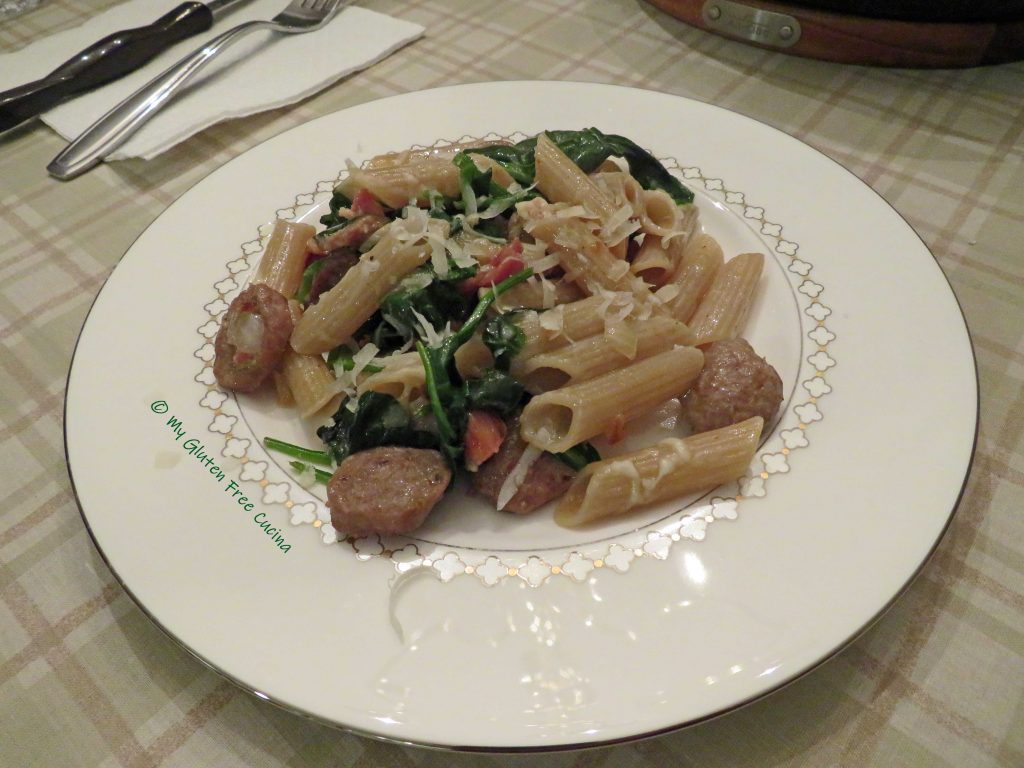
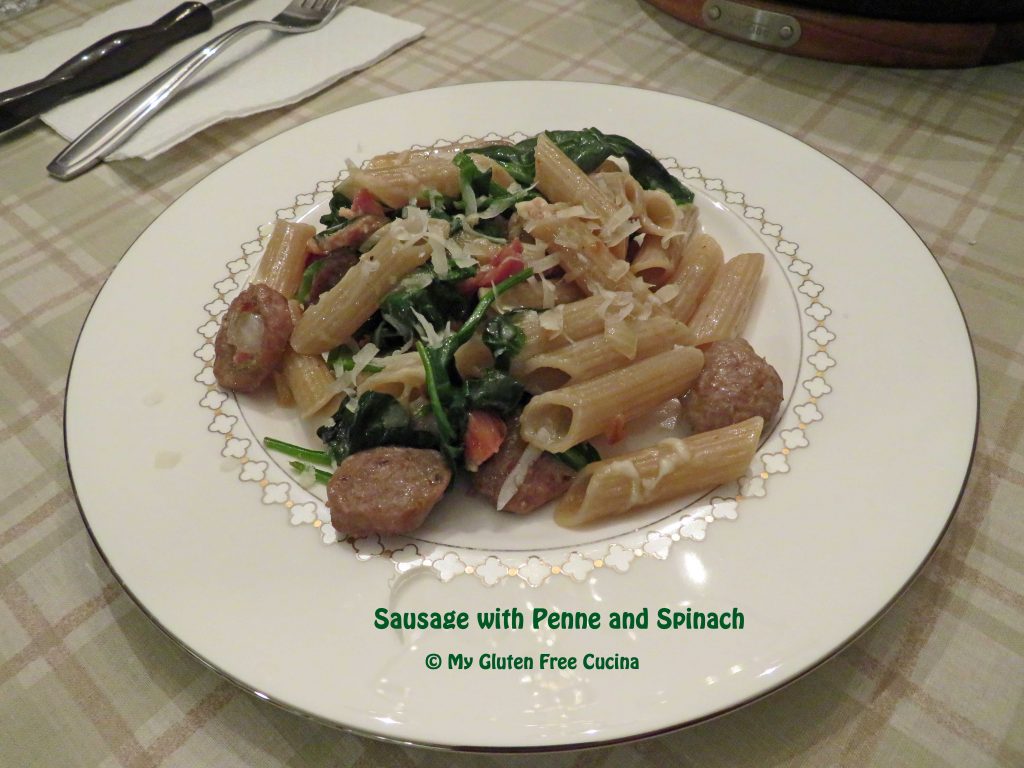
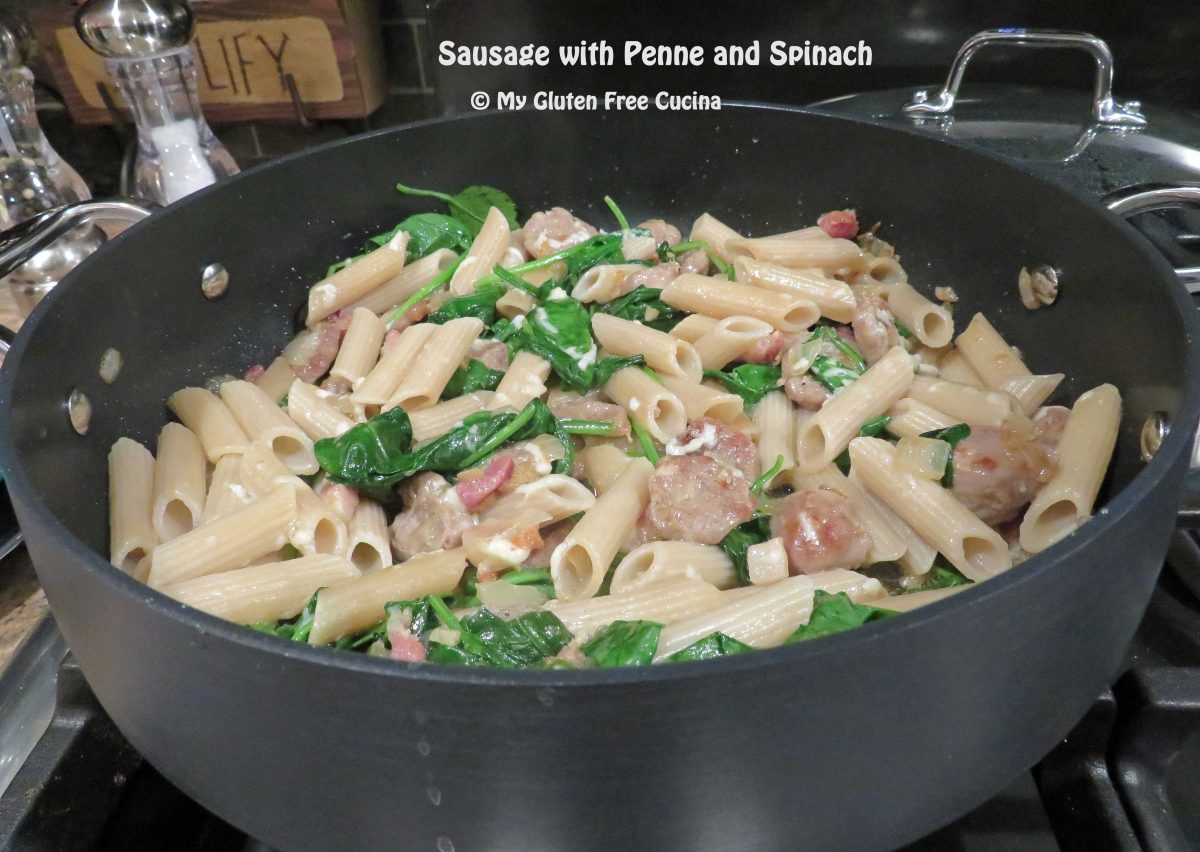
Sausage with Penne and Spinach

For an easy gluten free weeknight meal, look no further than this delicious skillet dinner.  Thanks to my sister for turning me on to the sausage and spinach combo, she made this meal for me shortly after my Celiac diagnosis!  Today I always like to have a variety of sausage on hand in my freezer pantry.  It’s delicious and the bold seasonings are enough to flavor an entire dish.  So, grab a pack, along with some gluten free penne and fresh baby spinach and let’s prepare a quick, satisfying weeknight dinner.

This post contains affiliate links.

3-4 Servings

Ingredients:

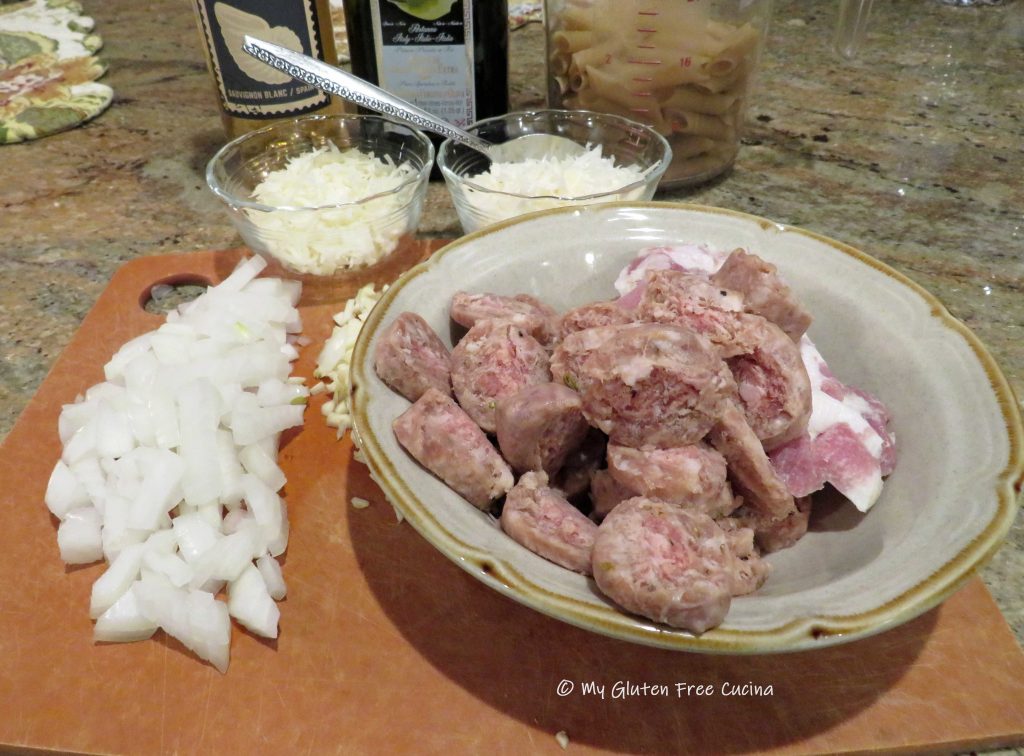
  • 1/2 lb. gluten free Italian sausage sliced into coins
  • 2 oz. diced pancetta
  • 1/2 lb. gluten free penne
  • 1/2 bag fresh baby spinach
  • 1/2 sweet onion, small dice
  • 2 cloves of garlic, minced
  • 1/4 cup white wine (not cooking wine)
  • 1 ladle of pasta water
  • olive oil
  • salt and pepper to taste
  • grated cheese for finishing (Parmesan or Romano)
  • Italian parsley for garnish optional

Preparation:

Cook the penne for 5 minutes less than the package directions, drain and set aside, reserving 1 ladle of the pasta water.  I find that most gluten free pasta is done to al dente long before the package instructions.  So, to be on the safe side I always under cook it, then finish it in the skillet.

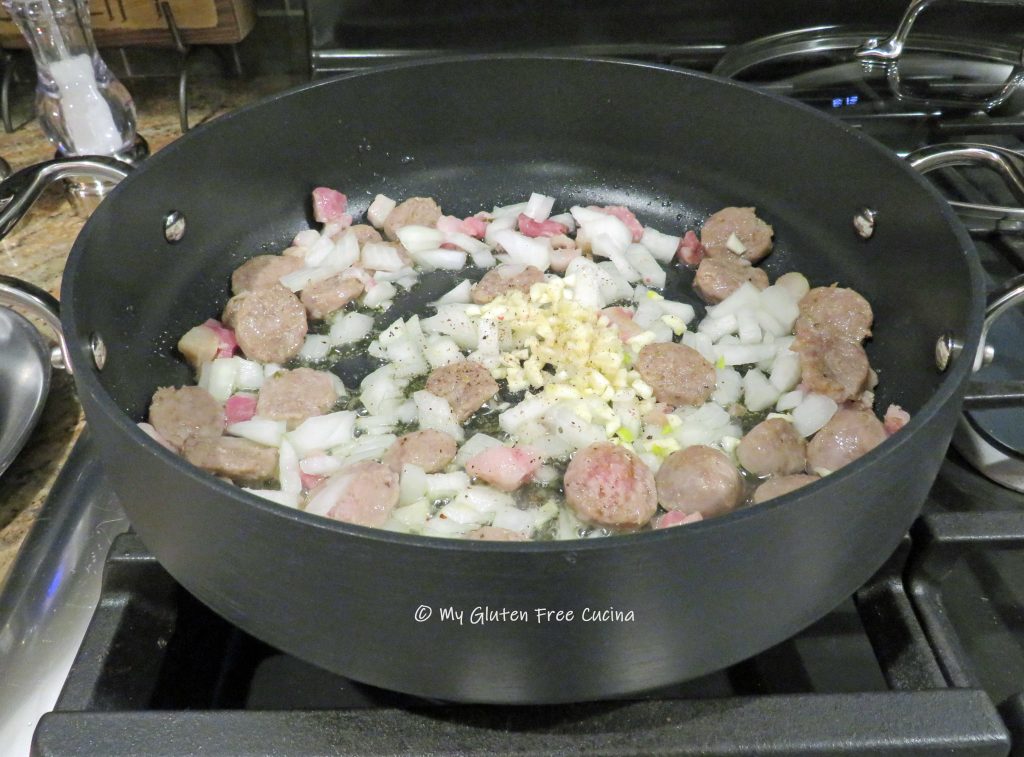
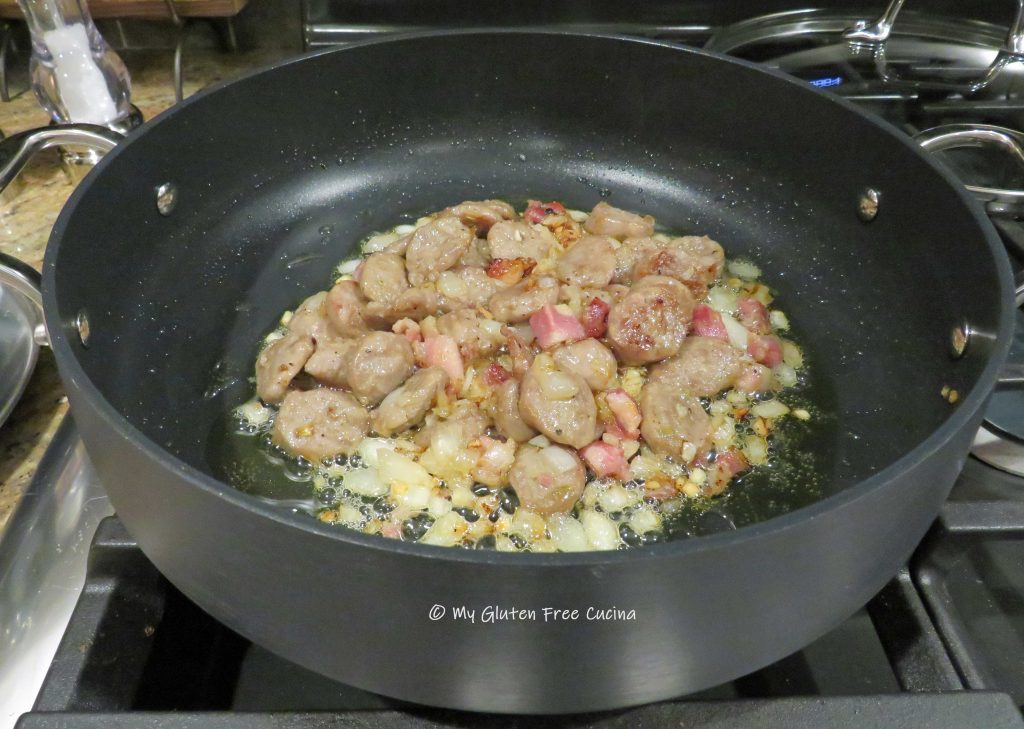
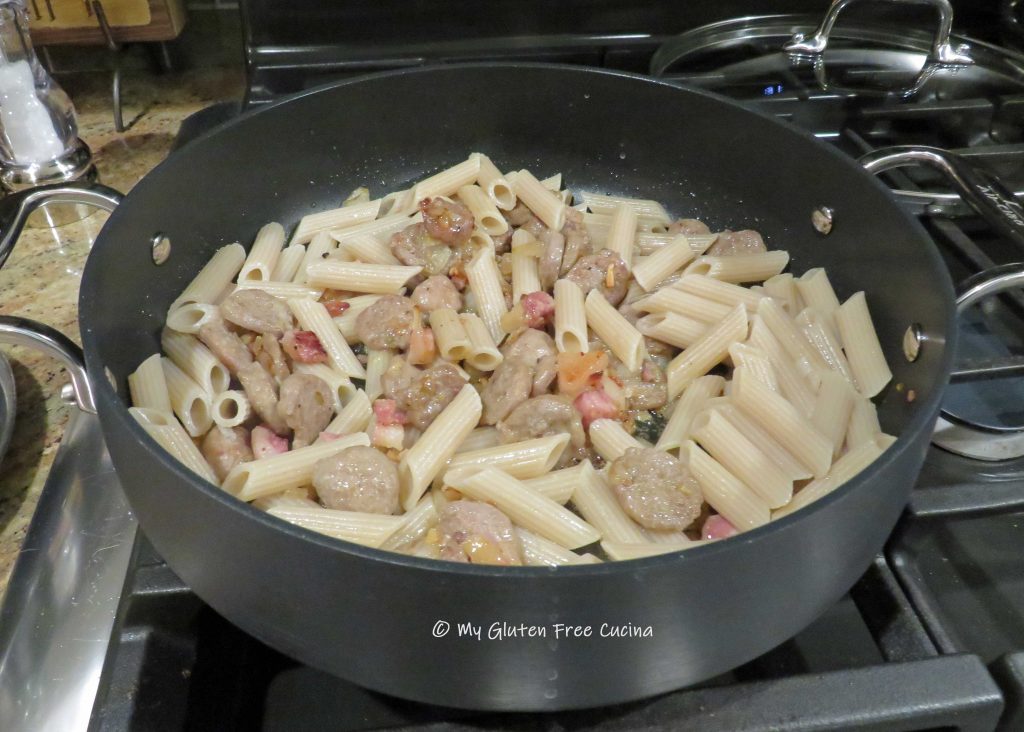
Heat a large skillet over medium low and begin browning the sausage and pancetta in a little olive oil.

When nicely browned on both sides add the onion and garlic.  Continue cooking and stir frequently so the garlic doesn’t burn.

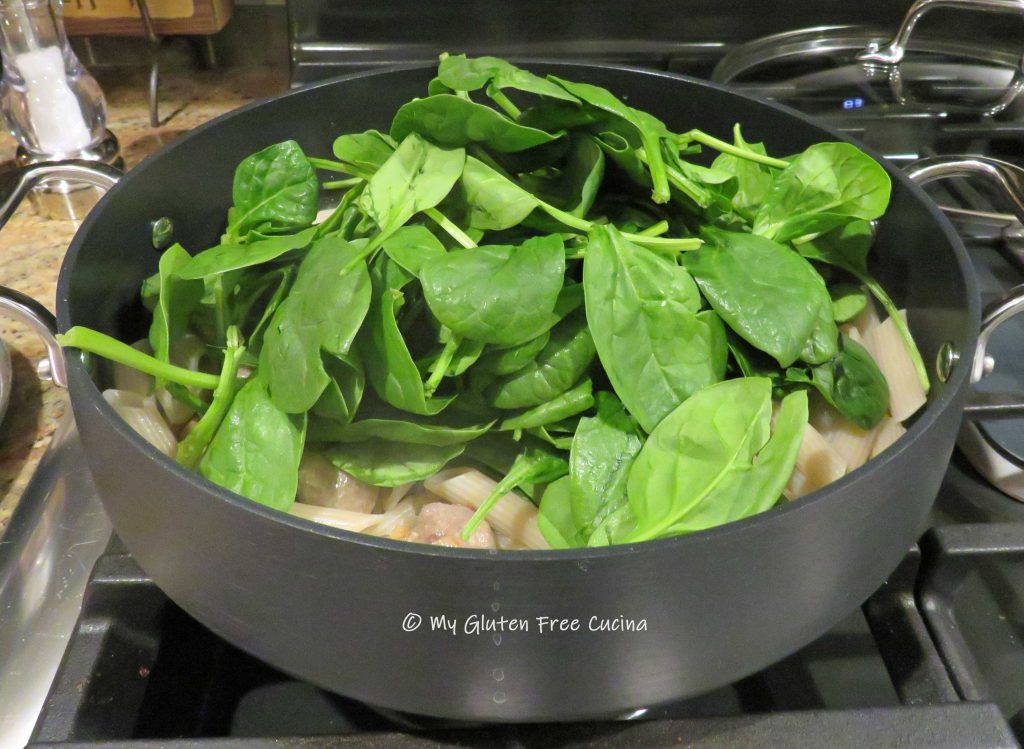
Next add the drained penne, all of the spinach, white wine and a ladle of the pasta water.

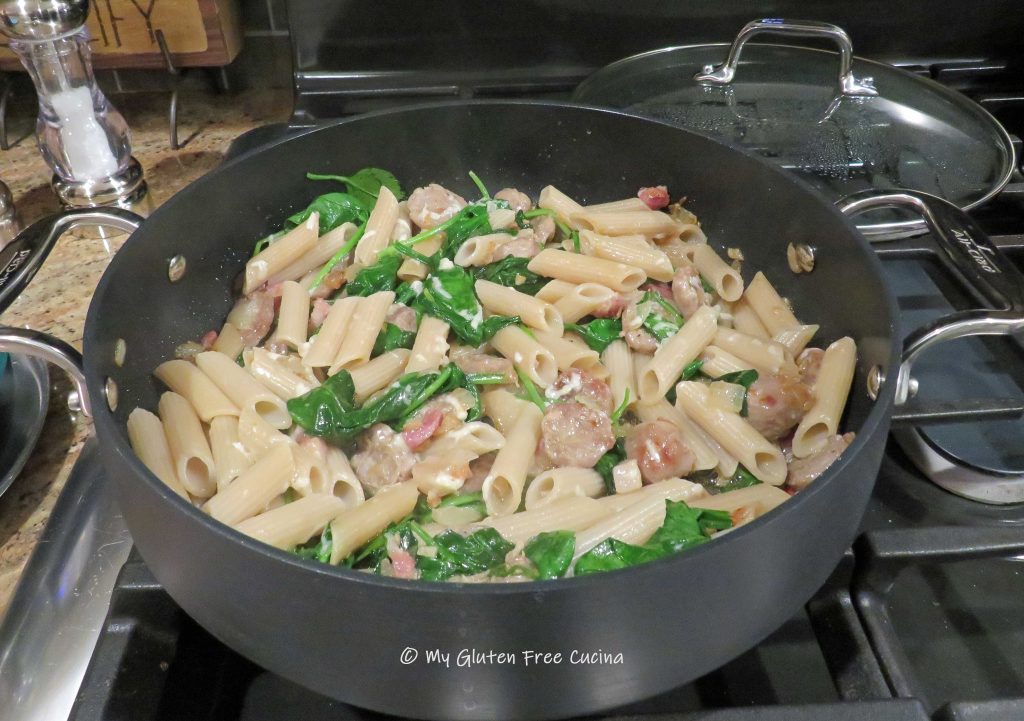
Cover and cook 1-2 minutes longer, or just until the spinach is wilted.  Drizzle with a little more olive oil, toss and finish with grated cheese and chopped parsley.

Dinner is on the table in under a half hour.  Perfect for those busy weeknights!

Notes ♪♫ Today there are so many types of gluten free sausage available.  Just in the 6 years since my Celiac diagnosis, the availability of delicious gluten free sausage has expanded so much.  So don’t hesitate to take advantage of easy meals like this one.  And if you’re worried about sodium or other ingredients, learn to make your own.  Check out my Gluten Free Italian Sausage Patties, and my Gluten Free Breakfast Sausage Patties.  Both are easy to make, and you control what goes into them!


Originally published 6/3/2018             Revised 1/17/2024

Print This Post Print This Post


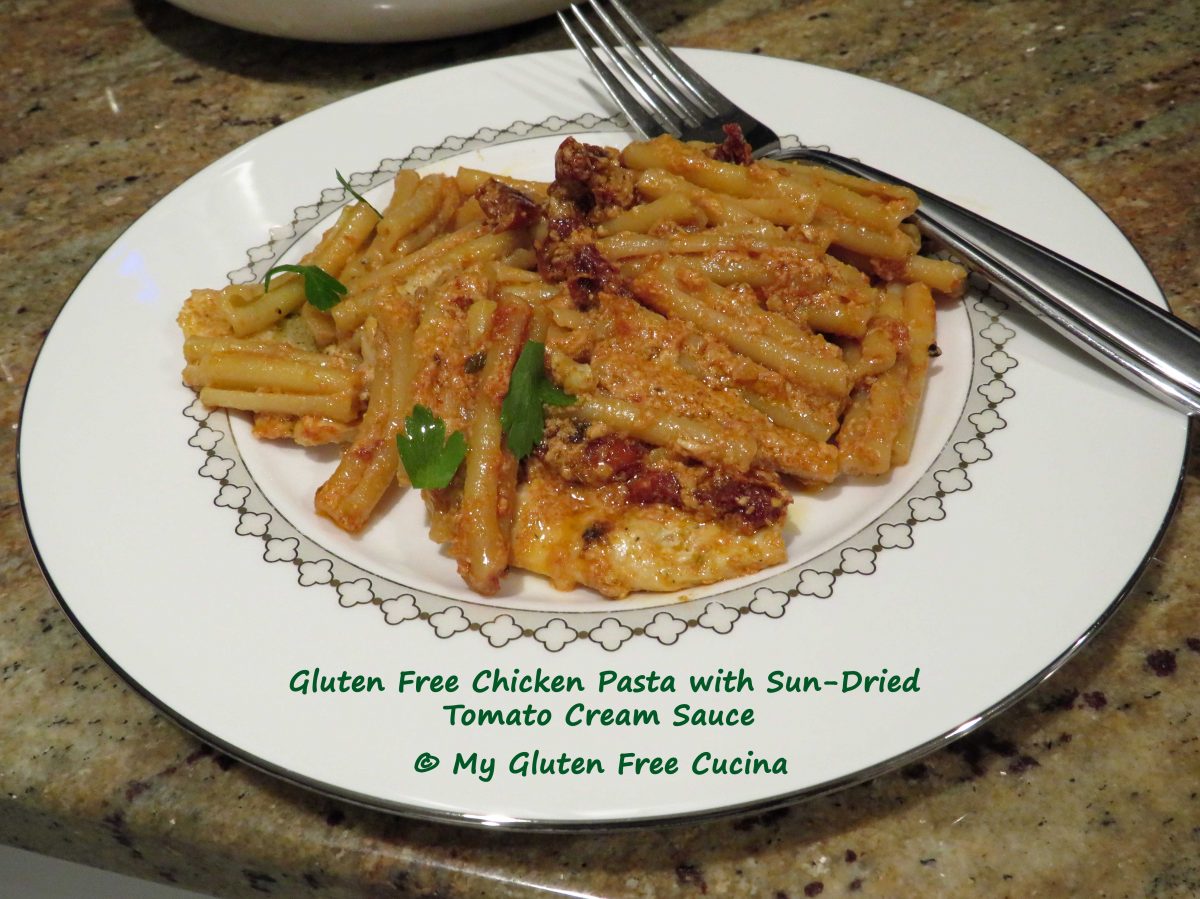
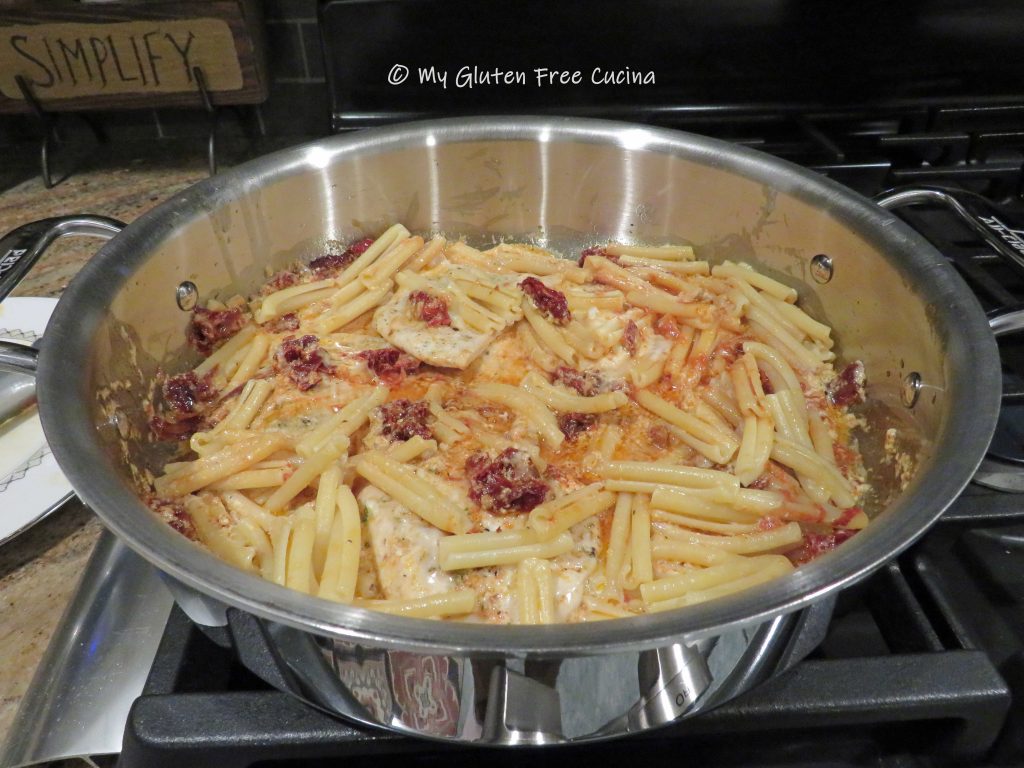
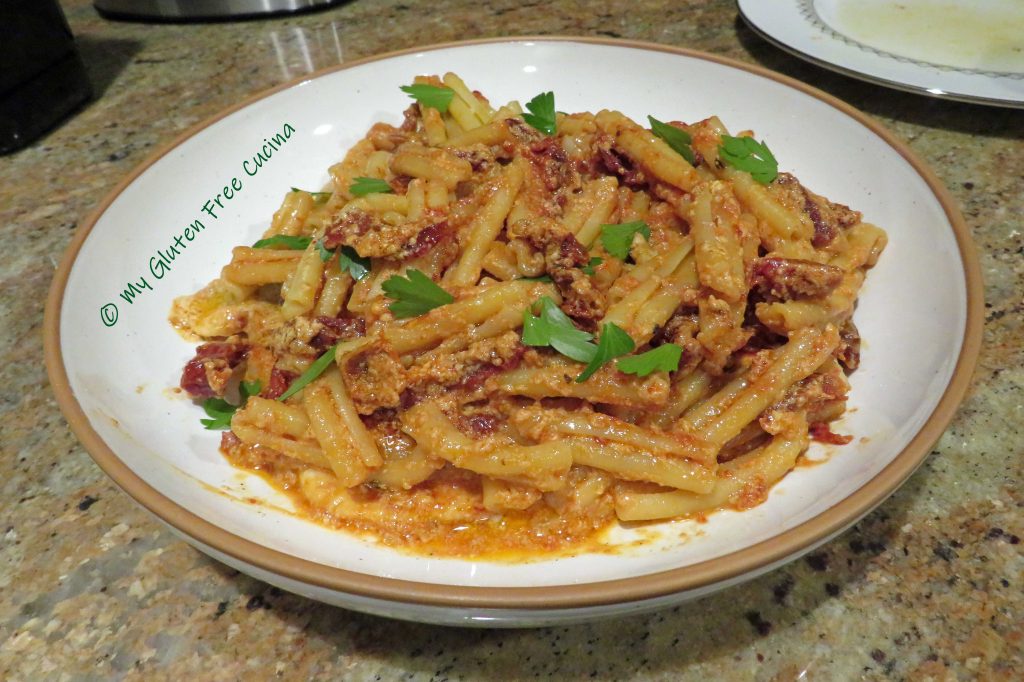
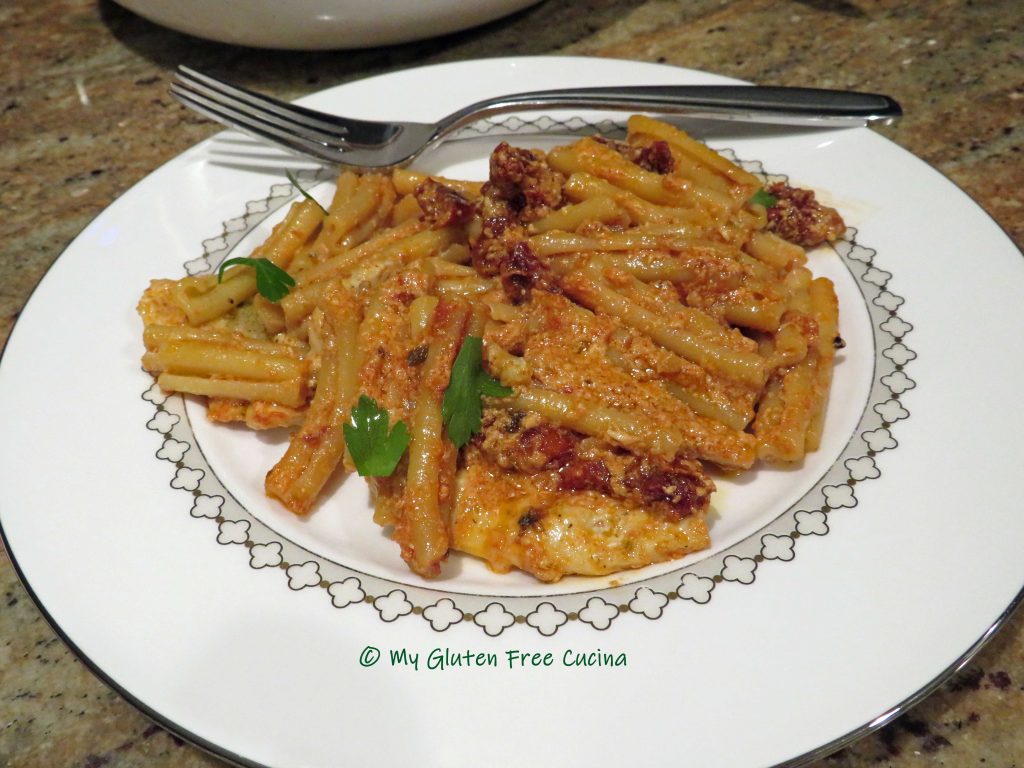
Gluten Free Sun-Dried Tomato Chicken Pasta

Using simple ingredients from the pantry, this plate full of happiness is a feast for the eyes and the taste buds!  Other than the pasta, the ingredients are naturally gluten free.  A fast easy dinner to enjoy any night of the week!

Dinner for two

This post contains affiliate links.

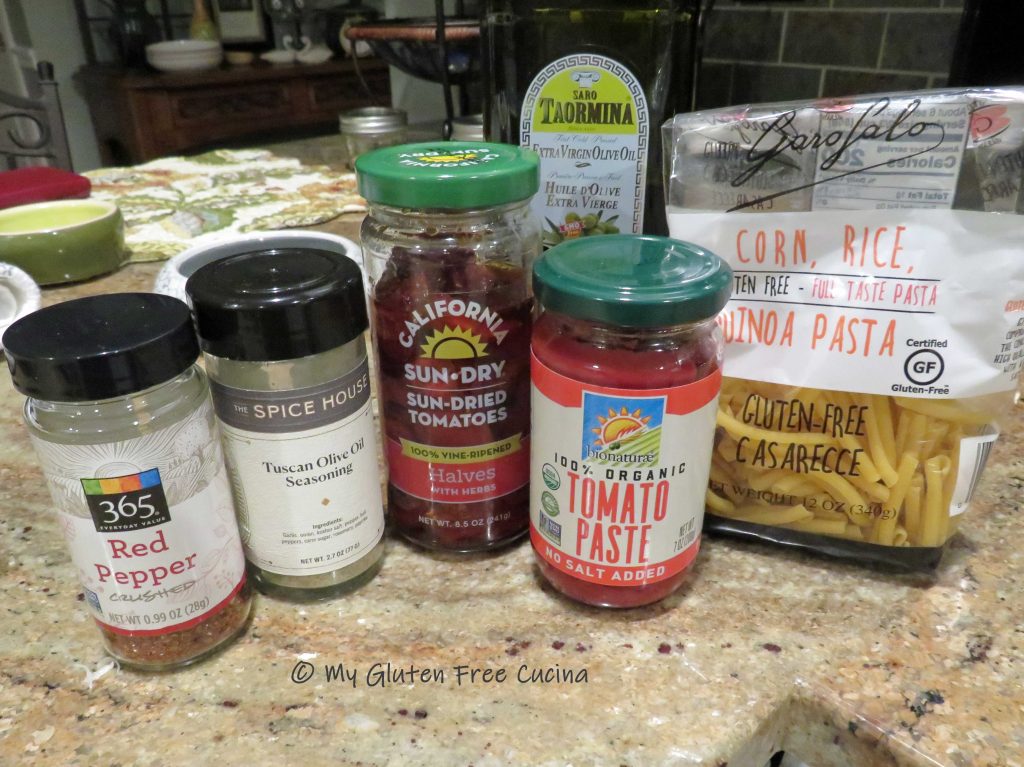
Ingredients:

Preparation:

This is one of those recipes that goes very quickly once you begin, so you want to have all of your ingredients at the ready.  Heat a pot of salted water for the pasta.  Mince the garlic and grate the cheese.

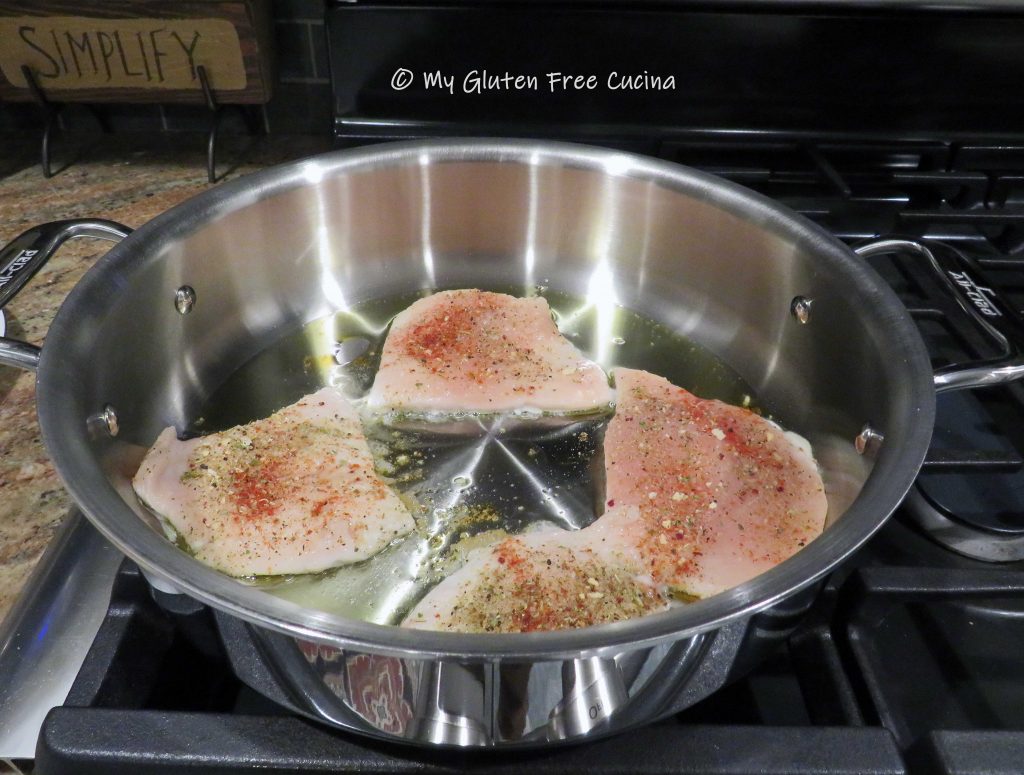
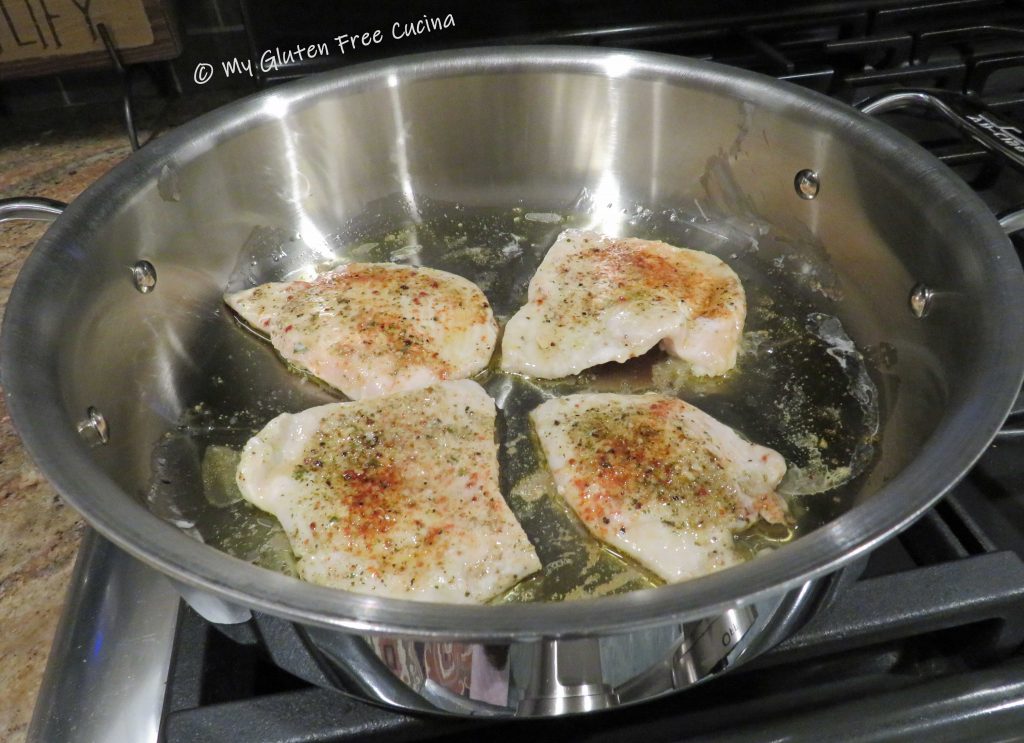
Heat a deep skillet with 1 tbsp. of the olive oil and add the chicken.  Sprinkle it with Italian seasoning and paprika.  Cook for 1 minute each side (longer if you have thicker slices) and remove to a plate.

By now the pasta water should be ready, cook the pasta to a few minutes less than the package directions, it will finish cooking in the sauce.

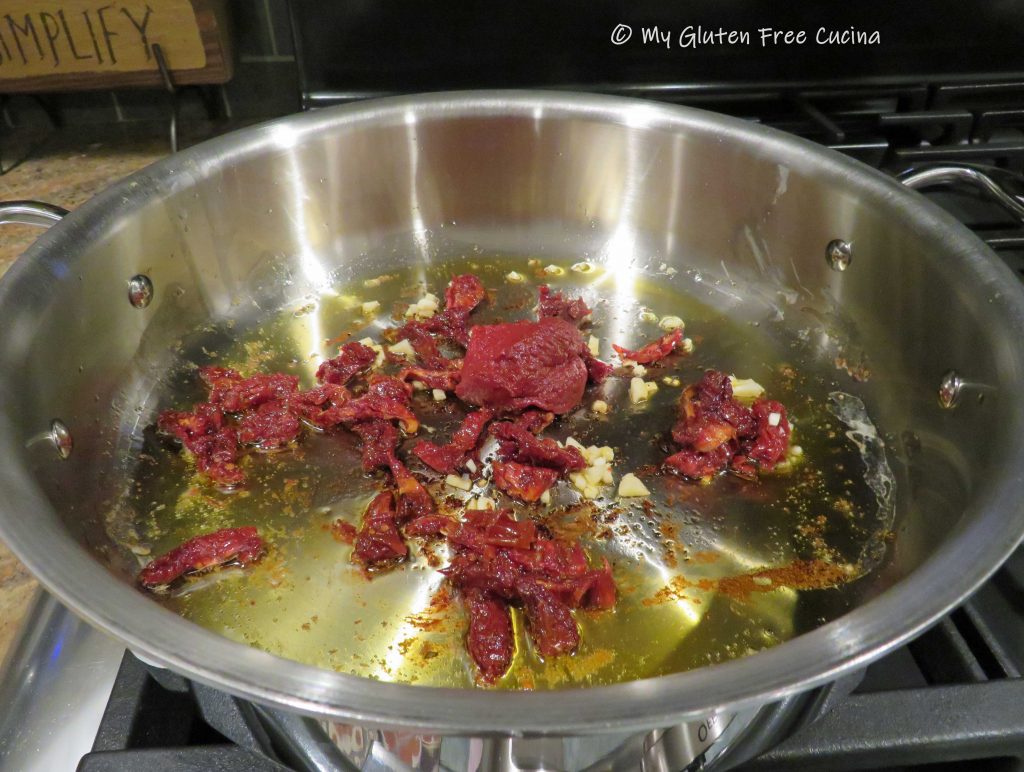
Next add the sun-dried tomatoes to the pan with their oil.  Cook until they begin to sizzle, then remove and rough chop them or use kitchen shears to julienne.

Return the sun-dried tomatoes to the pan with the minced garlic and 1 tbsp. tomato paste.

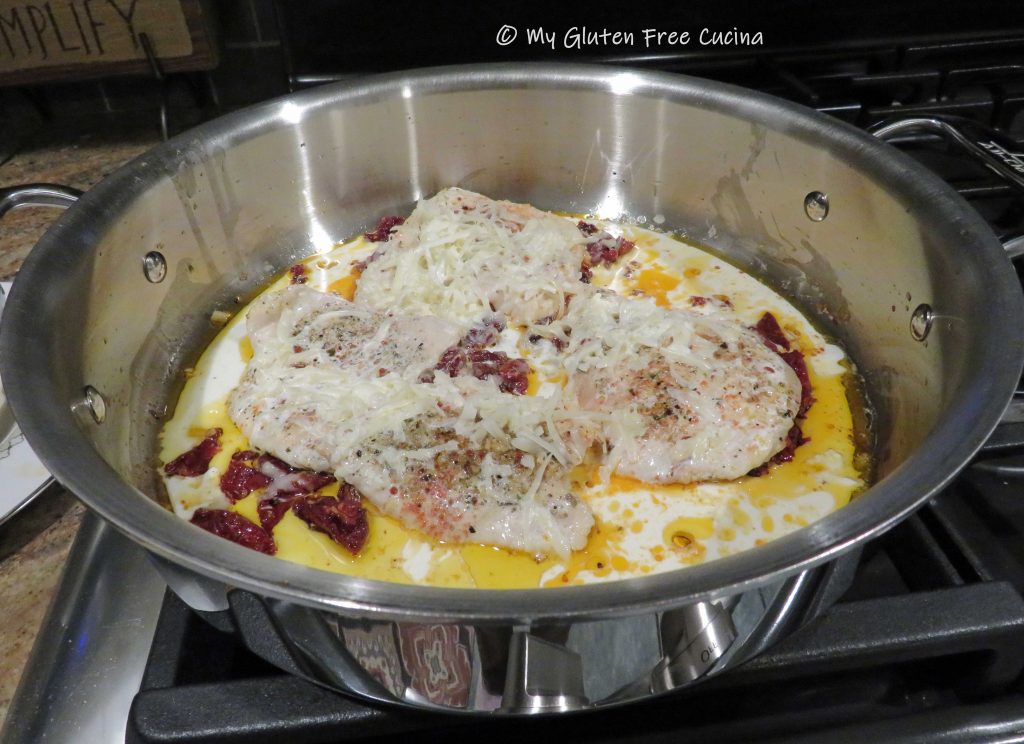
Cook for 1 minute, stir it all together and return the chicken to the pan.

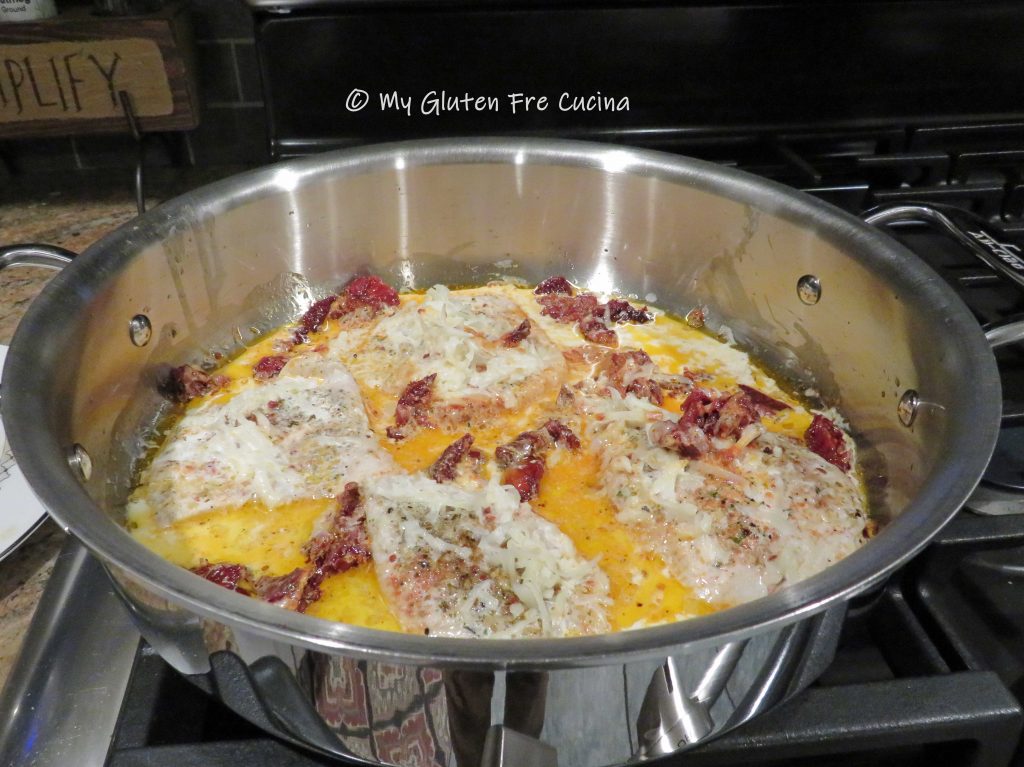
Top it with the Gruyere cheese and pour in the half and half.  Add a pinch of red pepper flakes and stir to combine.

Drain the pasta and add to the pan, toss well and cook for one more minute.

Transfer to a serving dish, drizzle with the remaining tbsp. of olive oil and garnish with Italian parsley.

Mmm, mmm, mmm.  This was SO good!  Sometimes I even amaze myself.

Notes ♪♫ For this dish, use sun-dried tomatoes in oil.  The oil in the jar is infused with flavor and gives the entire dish a beautiful color.

Print This Post Print This Post

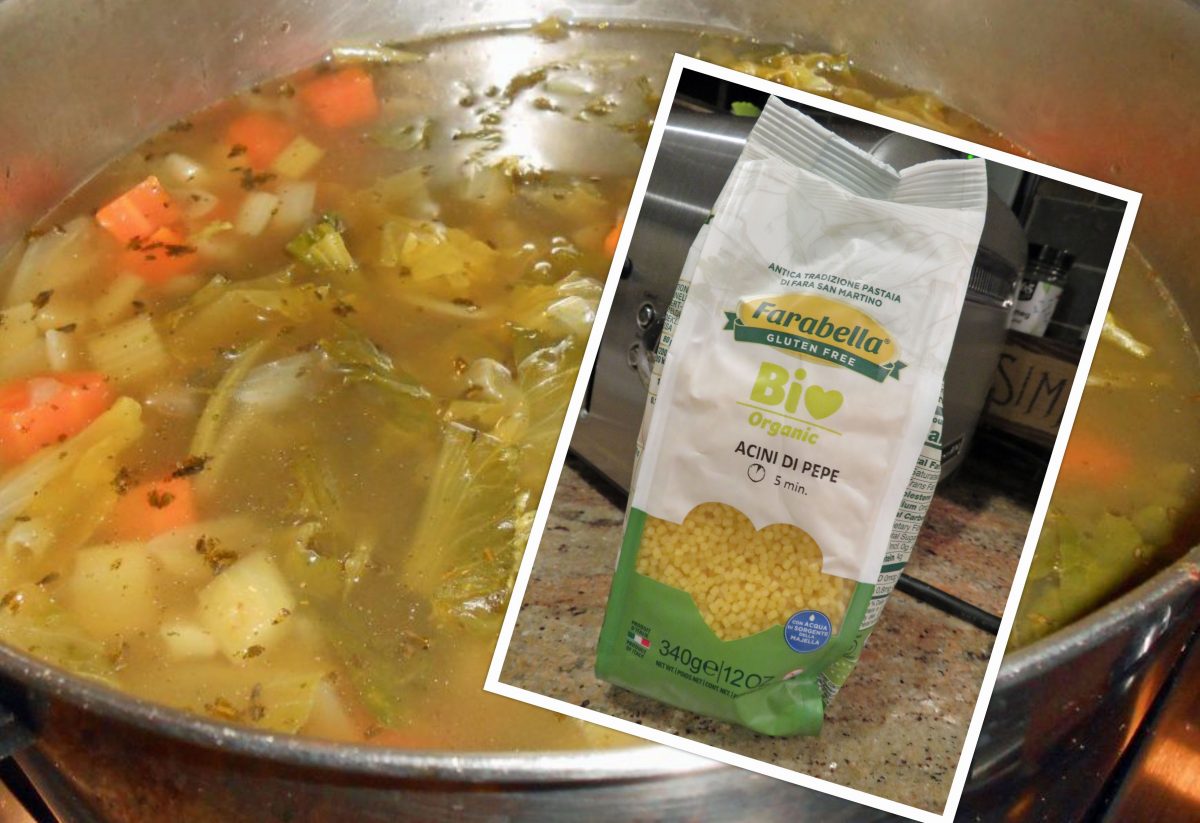
Where to Find Gluten Free Soup Pasta

Updated for 2023

Soup season is here, and the holidays aren’t far behind.  The first few years of my gluten free life, I searched high and low for soup pasta.  If you are struggling to find a gluten free pasta for your holiday soups and winter comfort food, here are a few links that I hope you find helpful.

This post contains affiliate links.

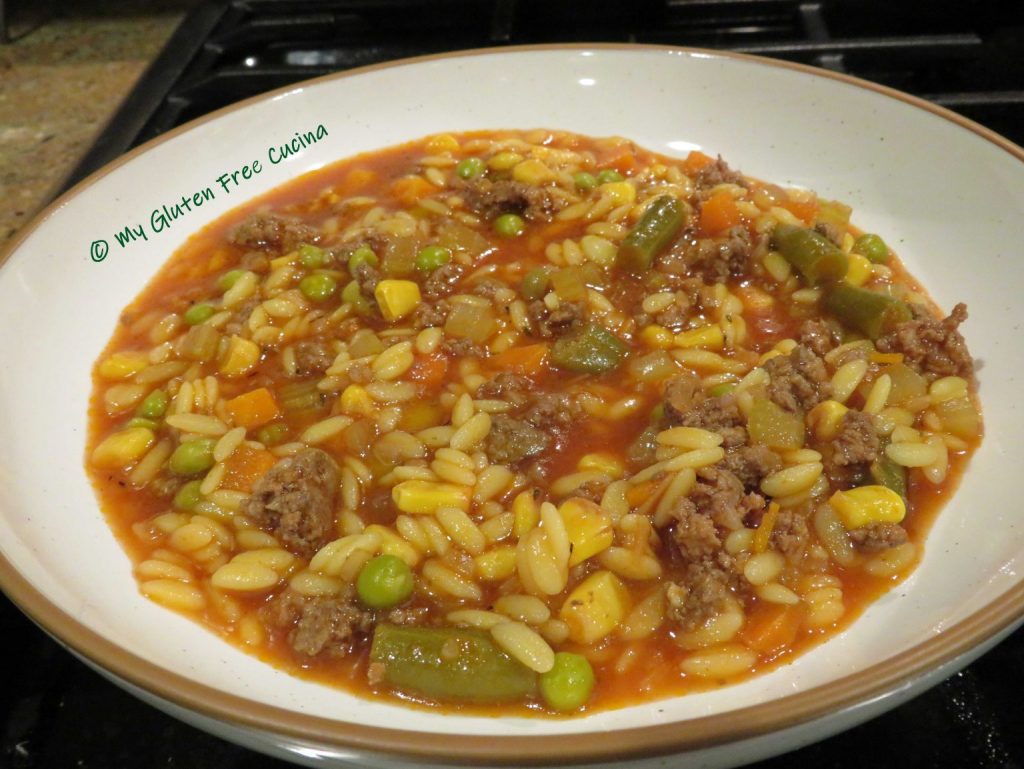
Gluten Free Orzo – Probably the most familiar of all soup pastas, now you can have Gluten Free Orzo pasta at home.  Try it in my Venus de Milo Soup.

Gluten Free Anellini – This one makes me nostalgic for my grandmother’s kitchen.  When I was little, she would make it for me, with just a pat of butter.

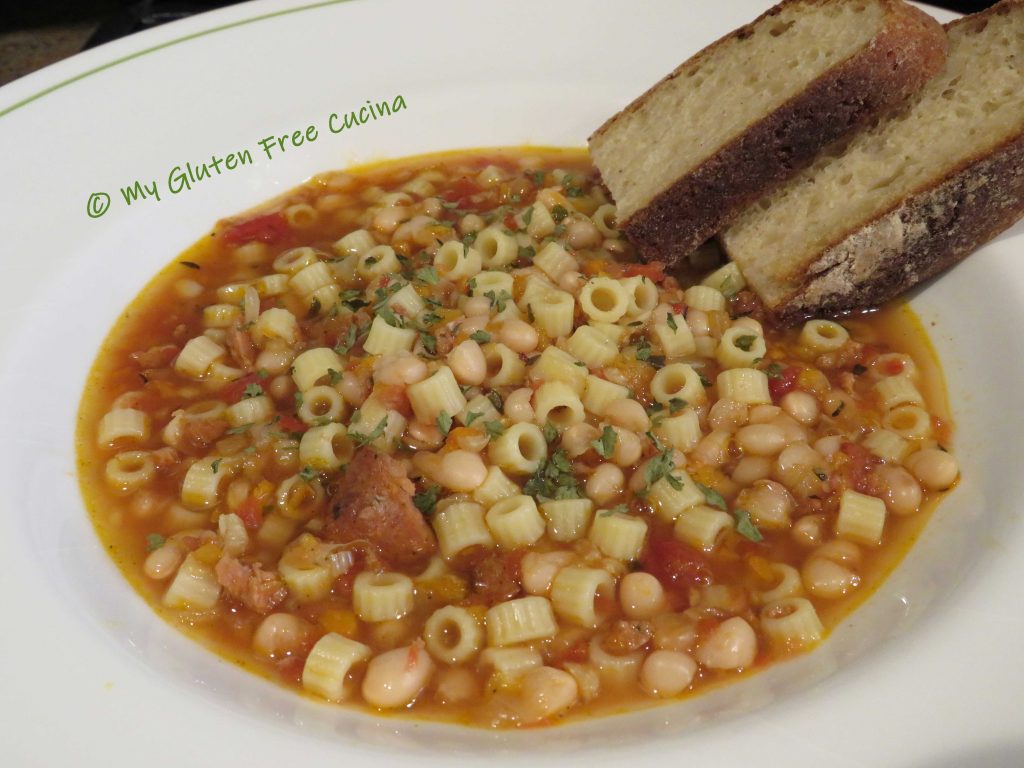
Gluten Free Ditalini – Another classic shape, perfect for Pasta e Fagioli.


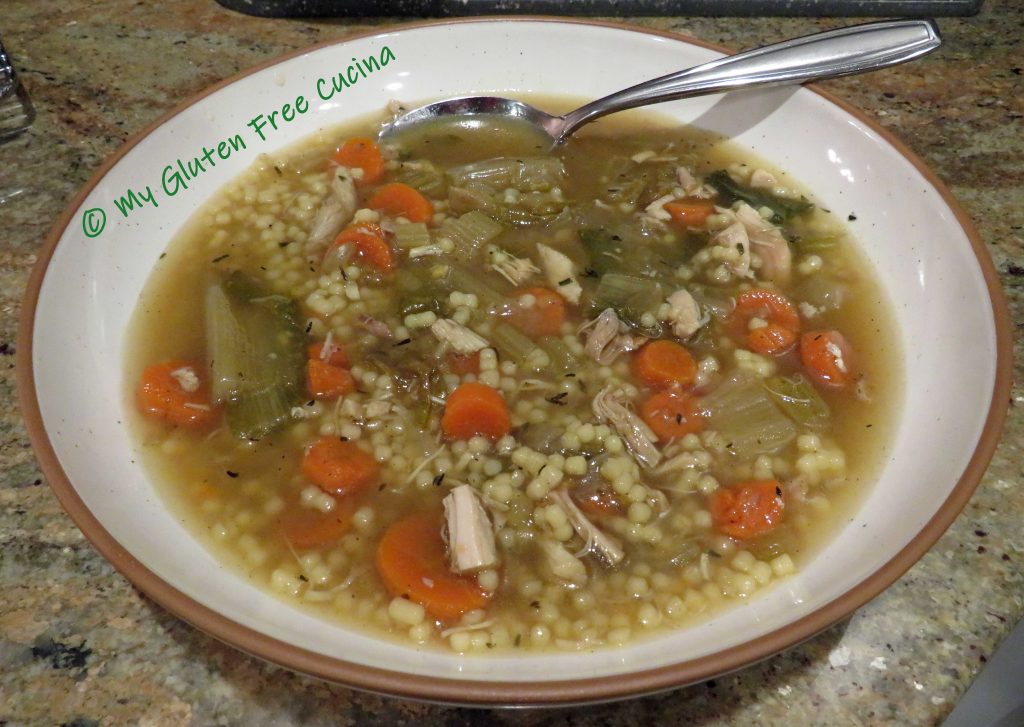
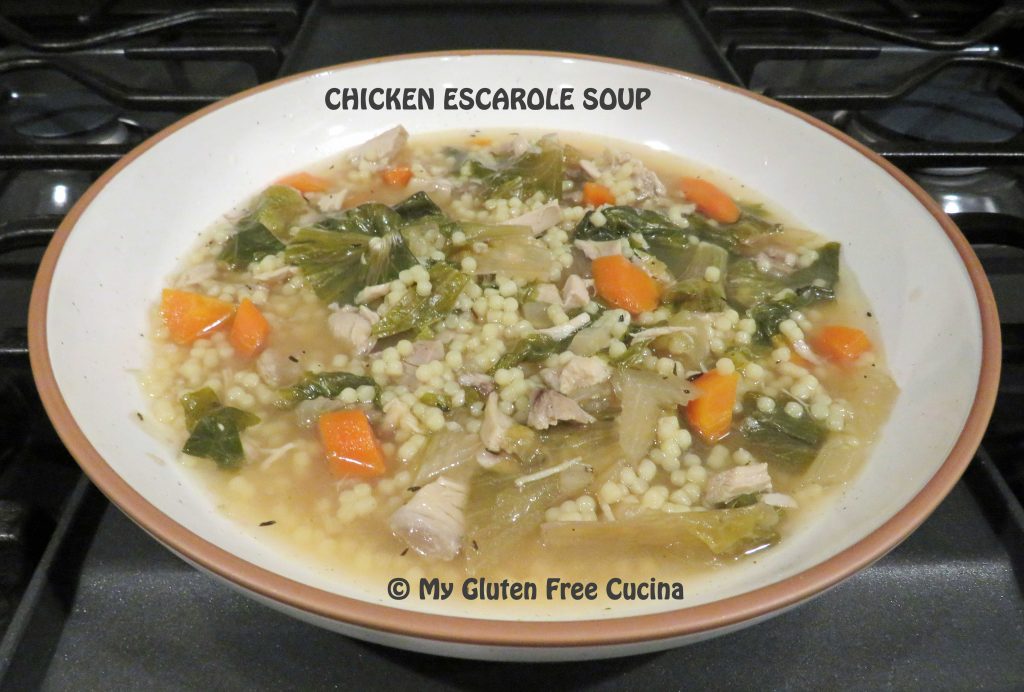
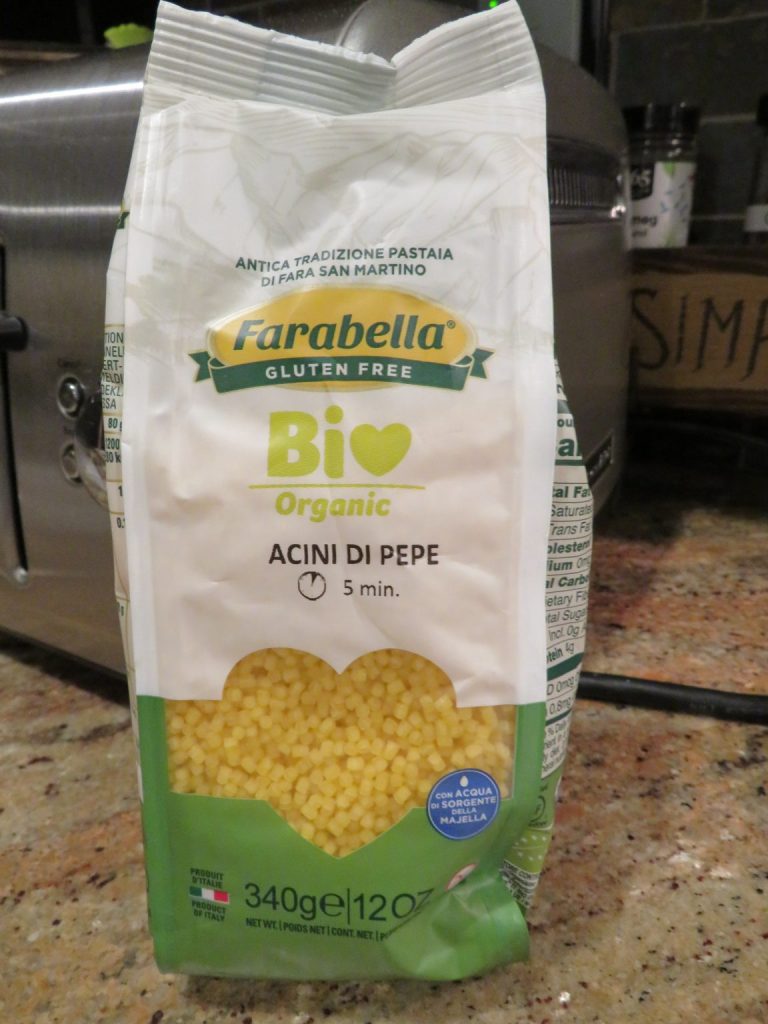
Gluten Free Acini di Pepe – I was especially thrilled to find this as it is the pasta my mother used in her Chicken Escarole Soup.

Gluten Free Stelline (Little Stars) – Who remembers Chicken and Stars?  Recreate this childhood favorite with gluten free stars from Jovial, Get it here!

Right Rice – If you like chickpea pasta, try Right Rice.   It’s high protein, vegan and gluten free.  Stir gently as it tends to break apart in soup.

I hope you found this post helpful.  What other gluten free soup pasta have you found?  Tell me in the comments!

Notes ♪♫ Some gluten free pastas, especially those made with corn flour will release a huge amount of starch into the water when cooked, and it can be a gummy mess.  For that reason, I recommend that these pastas be cooked separately and rinsed before adding to your soup.

Print This Post Print This Post

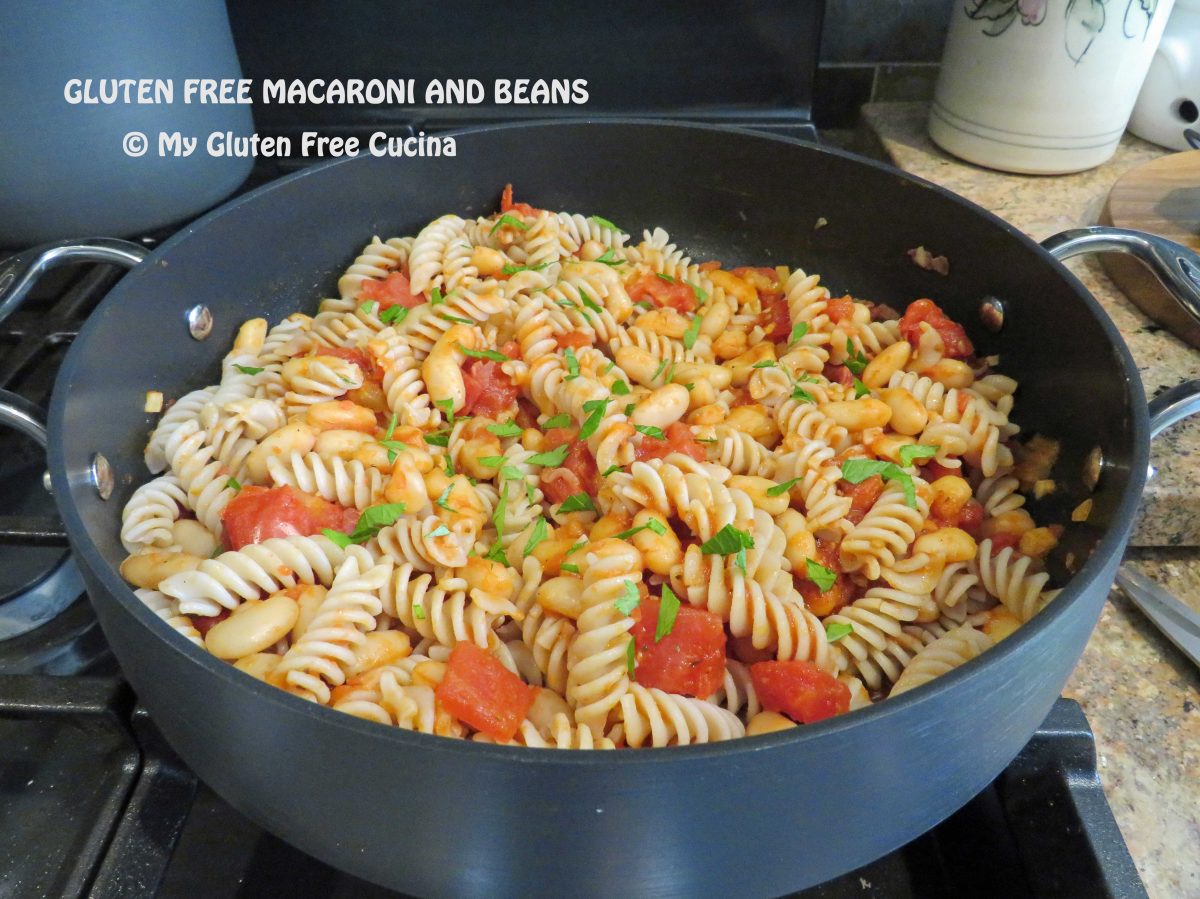
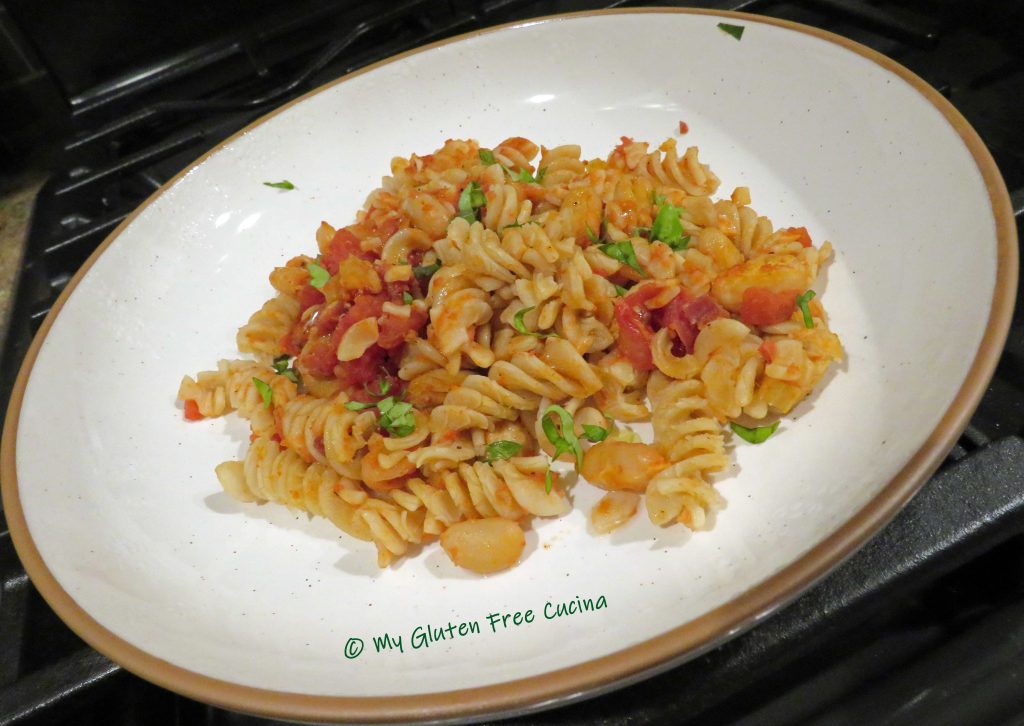
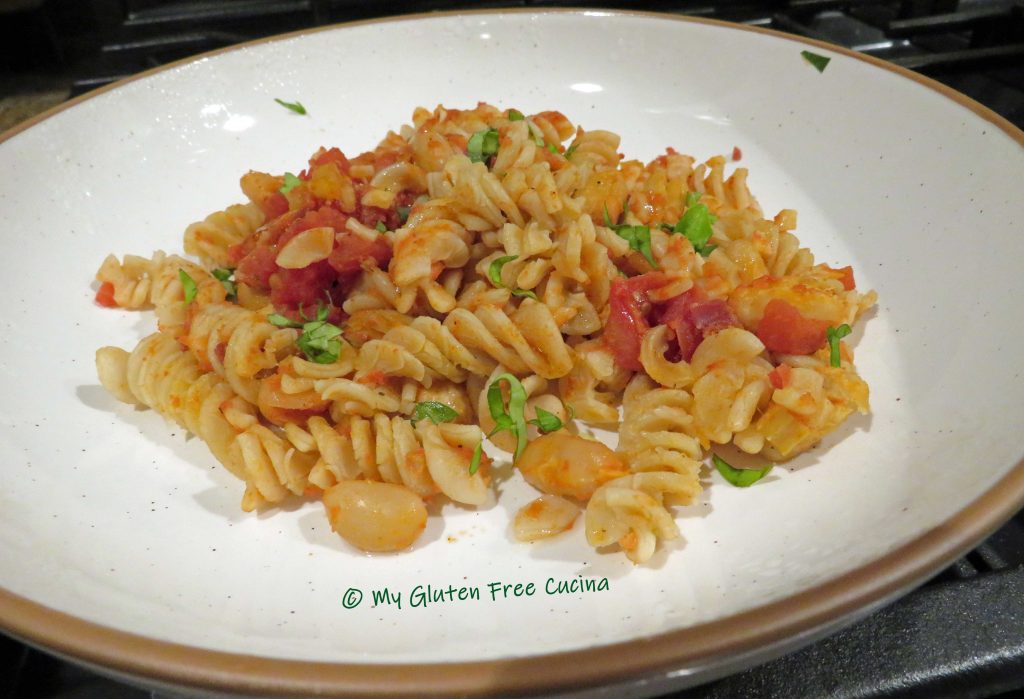
Gluten Free Macaroni and Beans

I’ve been making this fast and easy peasant dish for over 30 years.  Long before I knew I had Celiac!  It satisfies my craving for comfort food with a minimal amount of fuss.  I serve it right in the pan for easy cleanup.

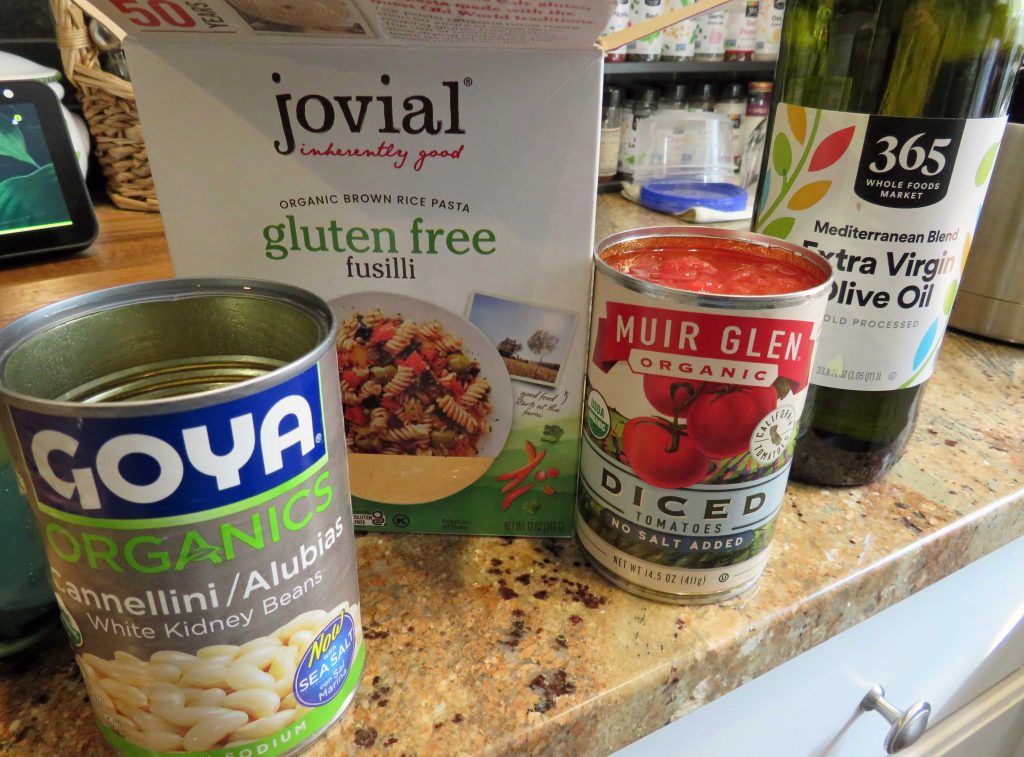
After I was diagnosed, I quickly realized that the pasta was the only ingredient that had to be changed to make this meal gluten free!  I used one of my favorites, Jovial Brown Rice Fusilli cooked to al dente.

The recipe is not difficult, and you probably have most of the ingredients in your pantry!  Here’s what you will need…

This post contains affiliate links.

Ingredients:

  • 1 can diced tomatoes
  • 1 can cannellini beans, drained and rinsed
  • 4 cloves garlic, minced
  • 1 stalk celery, small dice
  • 2 oz. pancetta or bacon, diced
  • 2 tbsp. tomato paste
  • olive oil
  • 3/4 tsp. Italian seasoning
  • fresh ground pepper
  • 8 oz. gluten free pasta
  • fresh basil
  • fresh Italian parsley
  • parmesan cheese

Preparation:

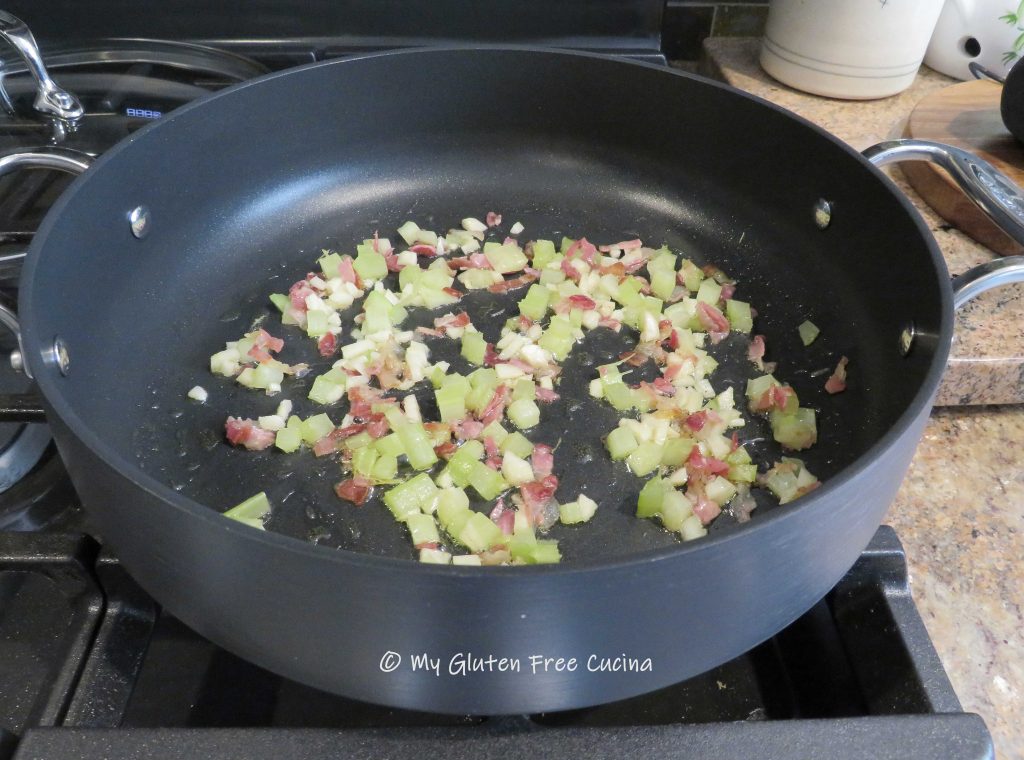
Render the pancetta or bacon in a deep skillet.  Add a little olive oil, along with the celery.  Cook for 3 minutes then add the garlic.  Cook for 1 minute more, stirring frequently.

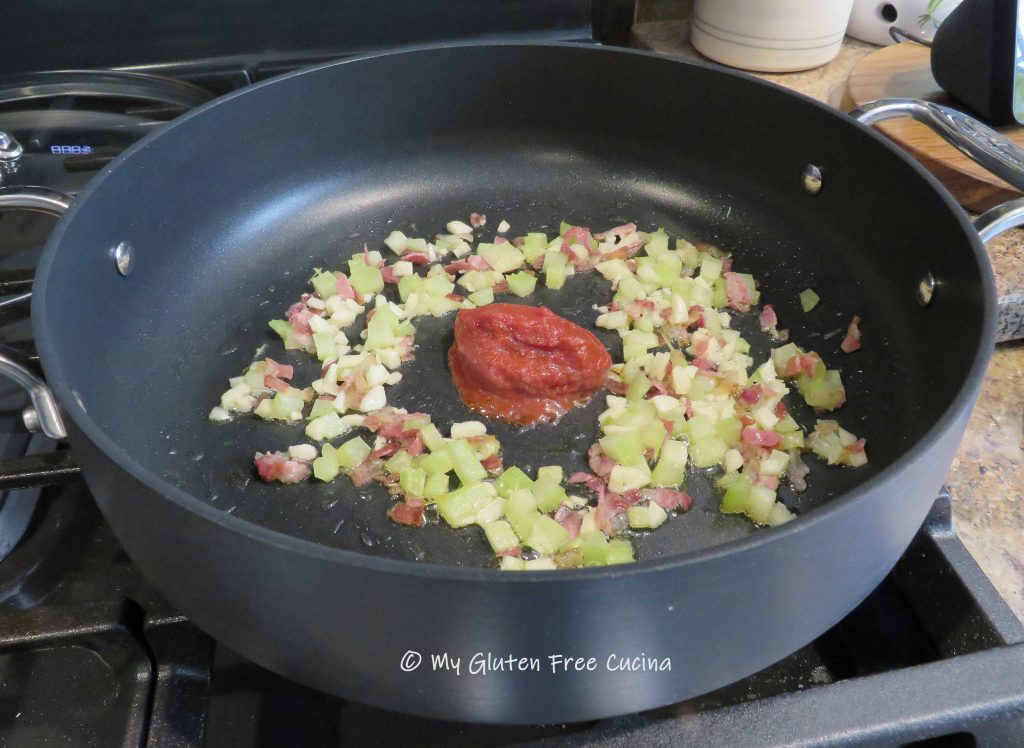
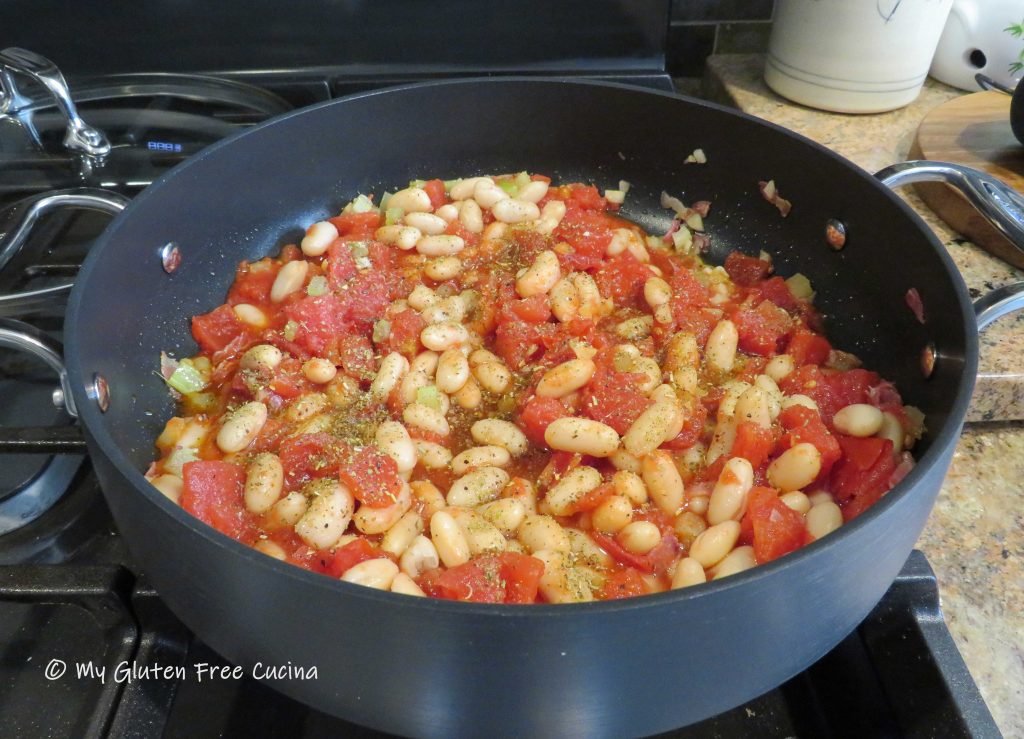
Make a space in the center of the skillet and drop in the tomato paste.  Toast it for just a minute, then stir in the drained beans and diced tomatoes, with all of their juices.

Sprinkle with Italian seasoning and fresh ground pepper to taste, then simmer on low for 15 minutes.

Cook pasta according to package directions.

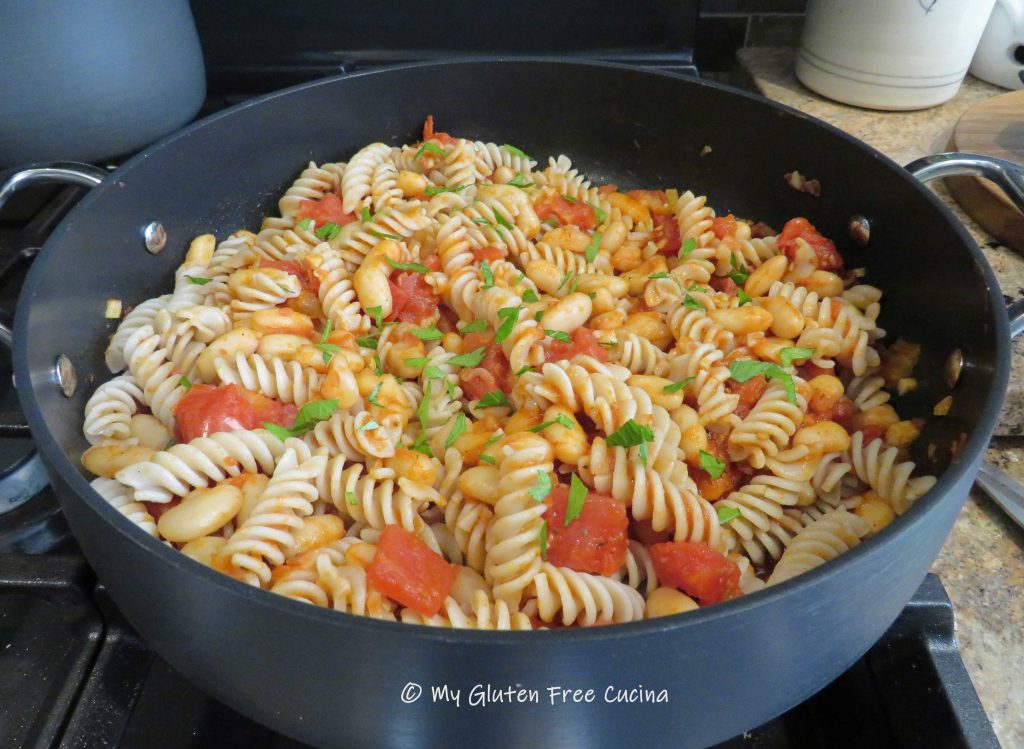
Drain the pasta and add it right into the skillet.  It’s peasant food, you don’t need a serving dish!  Toss well and garnish with a drizzle of olive oil and some chopped fresh herbs.  I used Italian parsley and basil from my garden.

Serve with grated cheese if you like.

Notes ♪♫ Is pancetta a part of your gluten free pantry?  I buy the 4 oz. packages of diced uncured pancetta and store them in the freezer.  It adds just the right amount of salt and flavor to dishes like this one!

Originally published July 19, 2022                      Updated August 8, 2023

Print This Post Print This Post

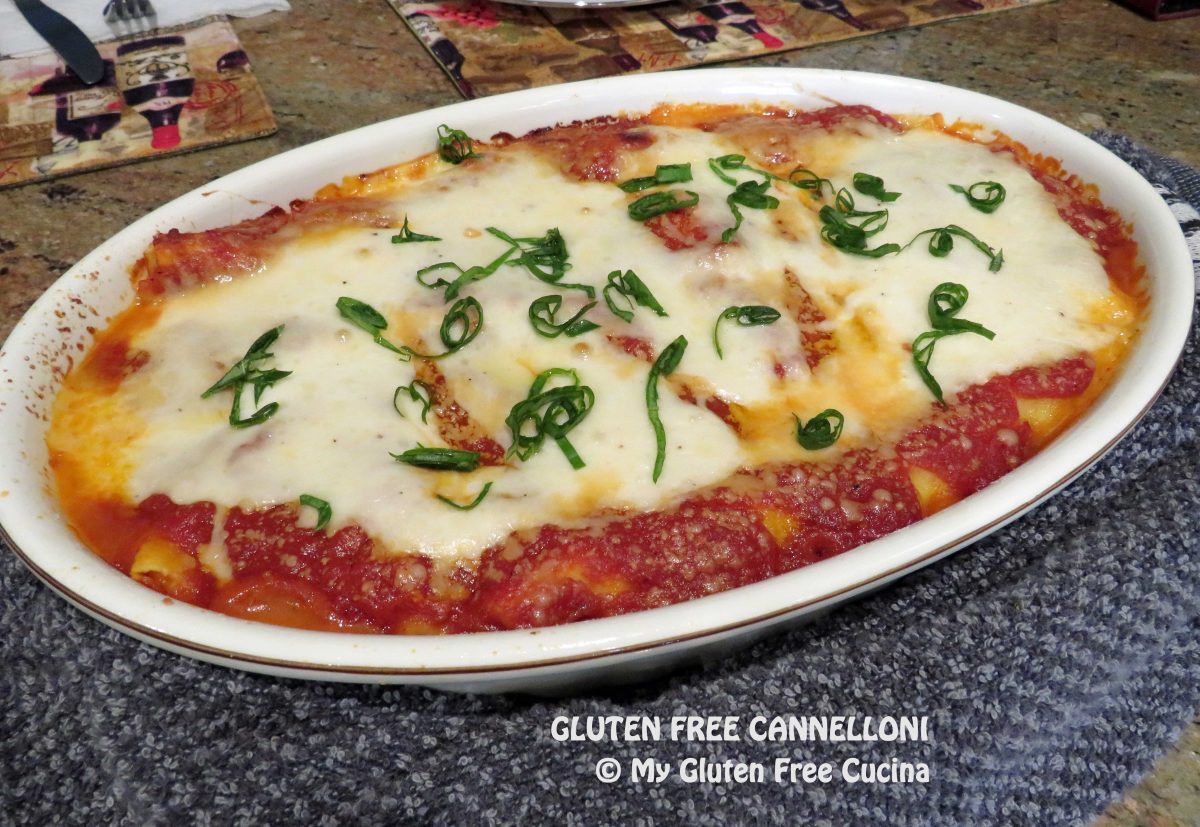
Gluten Free Cannelloni with Béchamel

Did you ever spend the better part of a day working on a recipe, and think you may never make it again?  Because it’s too much work?  That’s how I was feeling as I worked on this dish – until I took that first bite.  Oh, my goodness, this was absolutely divine!
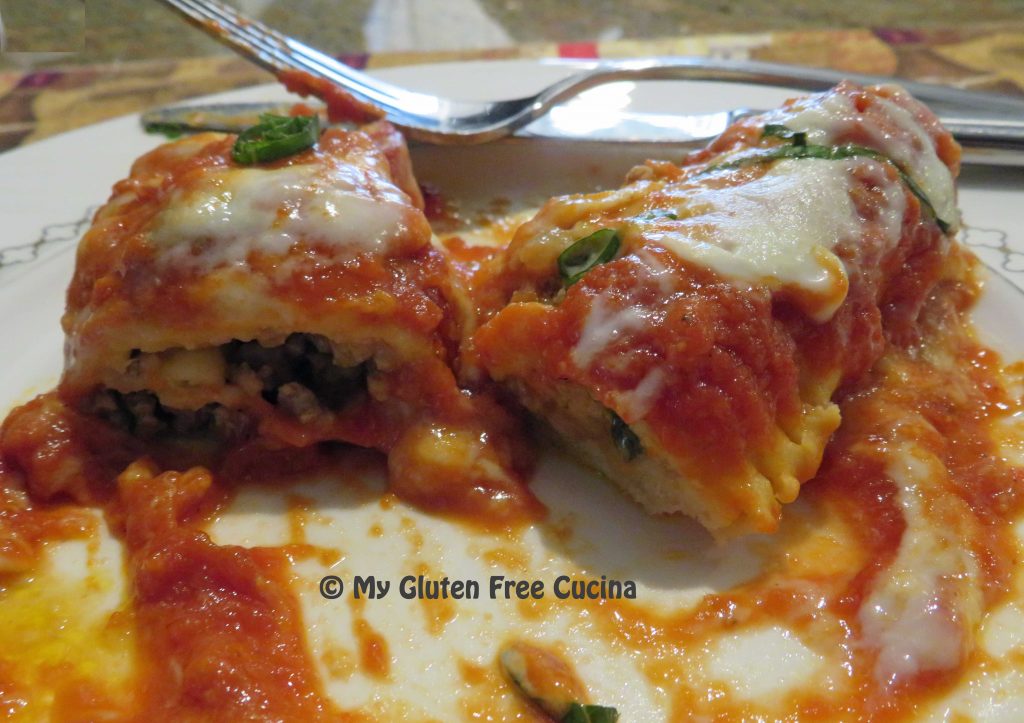
Cannelloni con Besciamella – Cannelloni with Béchamel is a labor-intensive dish that is well worth the time and effort, it is swoon worthy!  Recipes like this one are a wonderful way to pass a Sunday afternoon.  For those who can’t spend all that time, I have broken down the recipe into four steps, some of which can be made ahead.  So, whether you go for the entire recipe or spread it over 2 days, I’ve got you covered.  Also, see notes at the end for shortcuts!

8 Servings
This post contains affiliate links.

The pasta dough was made with Better Batter Original Blend, and I used my KitchenAid pasta roller attachment to roll out the sheets of fresh pasta.

Shop Better Batter and use my code MGFC30 at checkout to receive 30% off any non-sale item! 


– – – – – – – – – – – – – – – – – – – – – – – – – – – – – – – –  –

THE STEPS

1. the Marinara        2. the Filling        3. the Pasta        4. the Béchamel

– – – – – – – – – – – – – – – – – – – – – – – – – – – – – – – –  –

Step 1 – Make the marinara sauce (can be made ahead)

Heat the olive oil in a medium saucepan.  Add the onion and garlic and cook 2 minutes on low heat.  Add the tomato paste in the center of the pan.  Let it toast for a minute then stir it all together.

Add the tomatoes, seasoning, sugar and red pepper flakes.
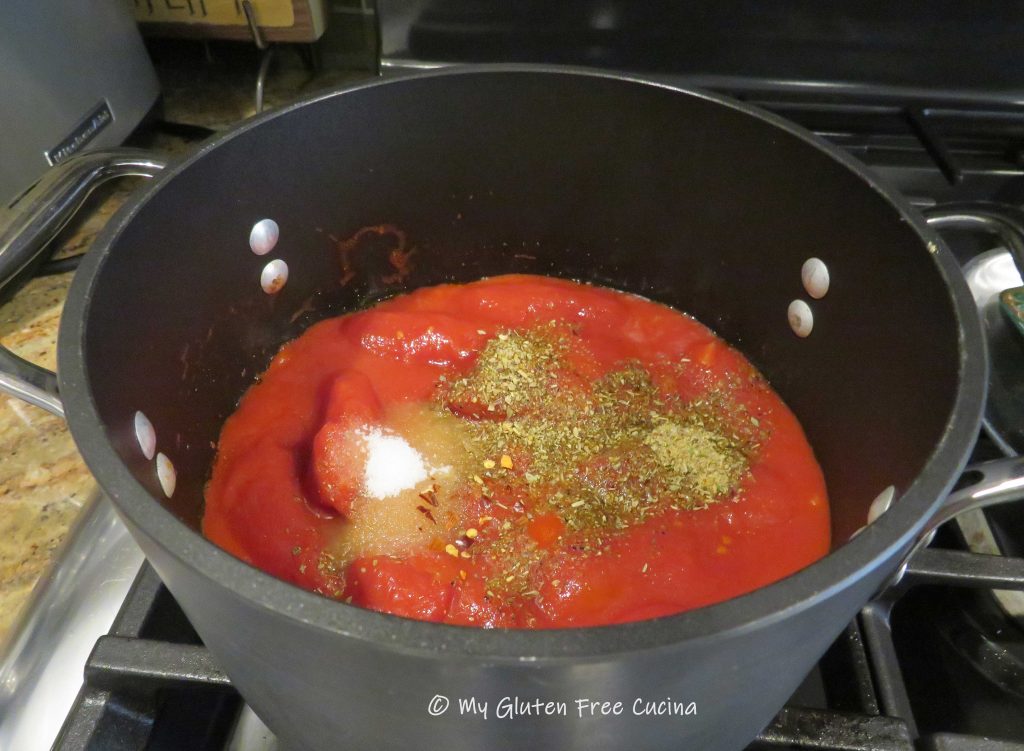
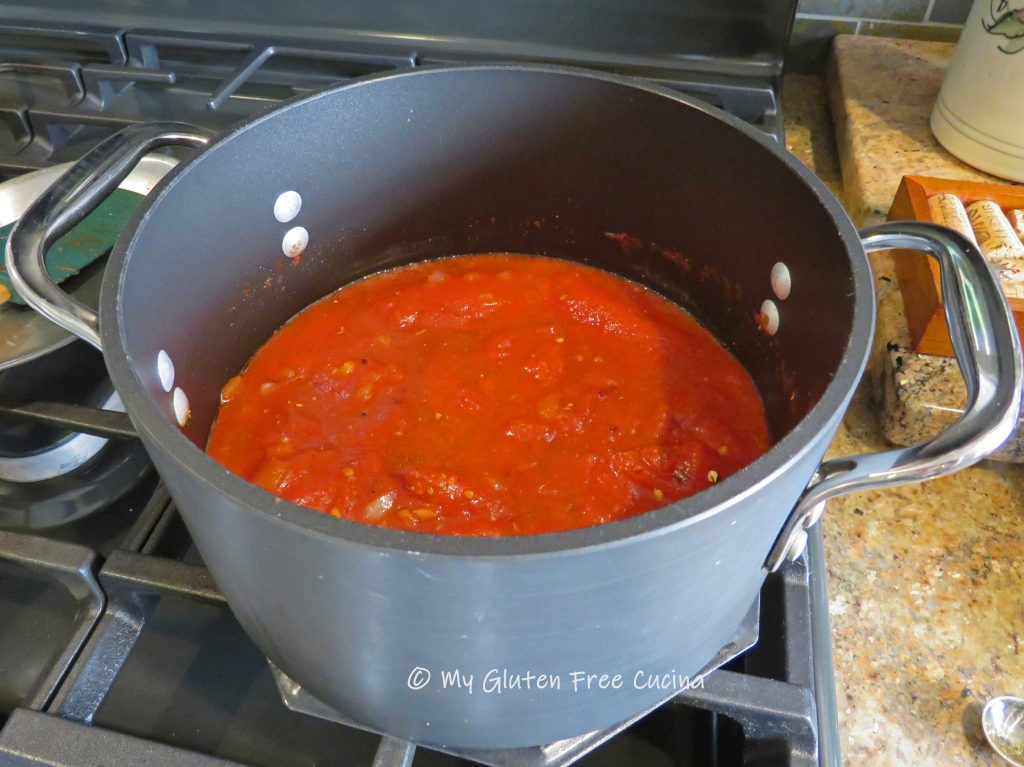
Cover and simmer on low for 2 hours, stirring occasionally.  I like to use a simmer mat, so the bottom doesn’t burn.  Toward the end of cooking, use a stick blender to process into a sauce.
Step 2 – Make the filling (can be made ahead)

  • 1 tbsp. olive oil
  • 1/2 lb. ground pork
  • 1/2 sweet onion, divided use
  • 1/3 cup white wine
  • 1 small carrot
  • 1 small celery stalk
  • salt, to taste
  • 2 tsp. tomato paste
  • 1 cup chicken stock
  • 1/3 cup beef stock
  • 1 tsp. arrowroot flour
  • 1 cup baby spinach, chopped
  • 2/3 cup grated parmesan
  • 1 tsp. fresh grated orange zest

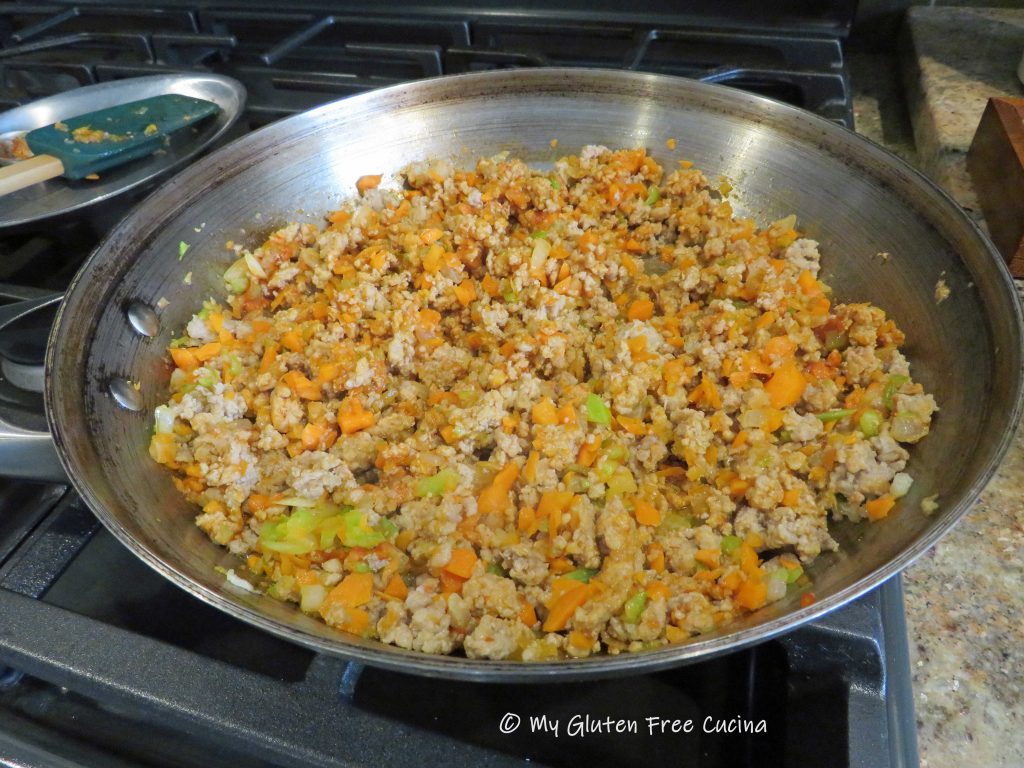
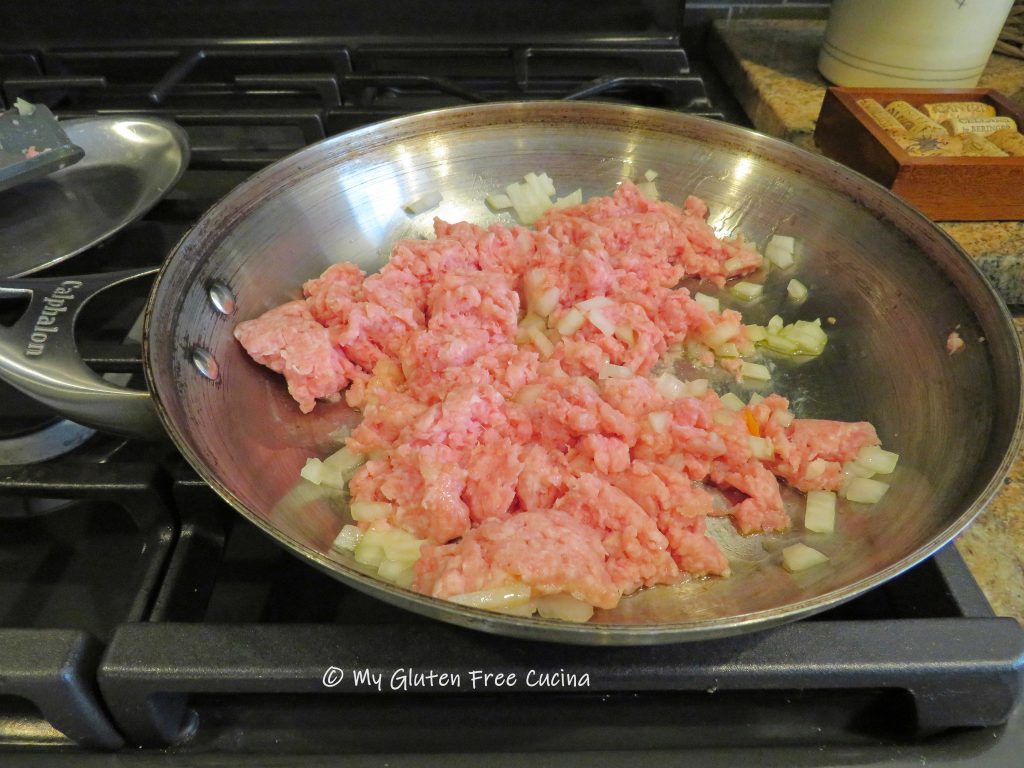
Cut half of the sweet onion into small dice (about 1/3 cup).  Add the olive oil to a stainless-steel skillet on medium low heat.  Cook the diced onion and ground pork, breaking up the meat with a spatula.
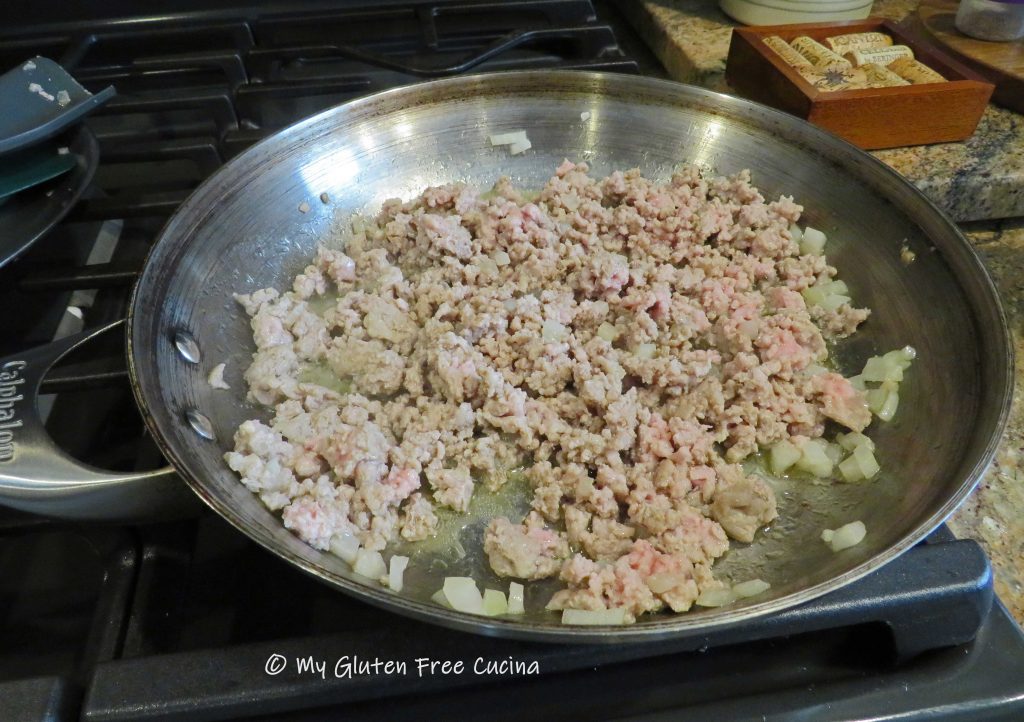
Add the wine and continue cooking slowly, stirring frequently until most of the liquid evaporates.
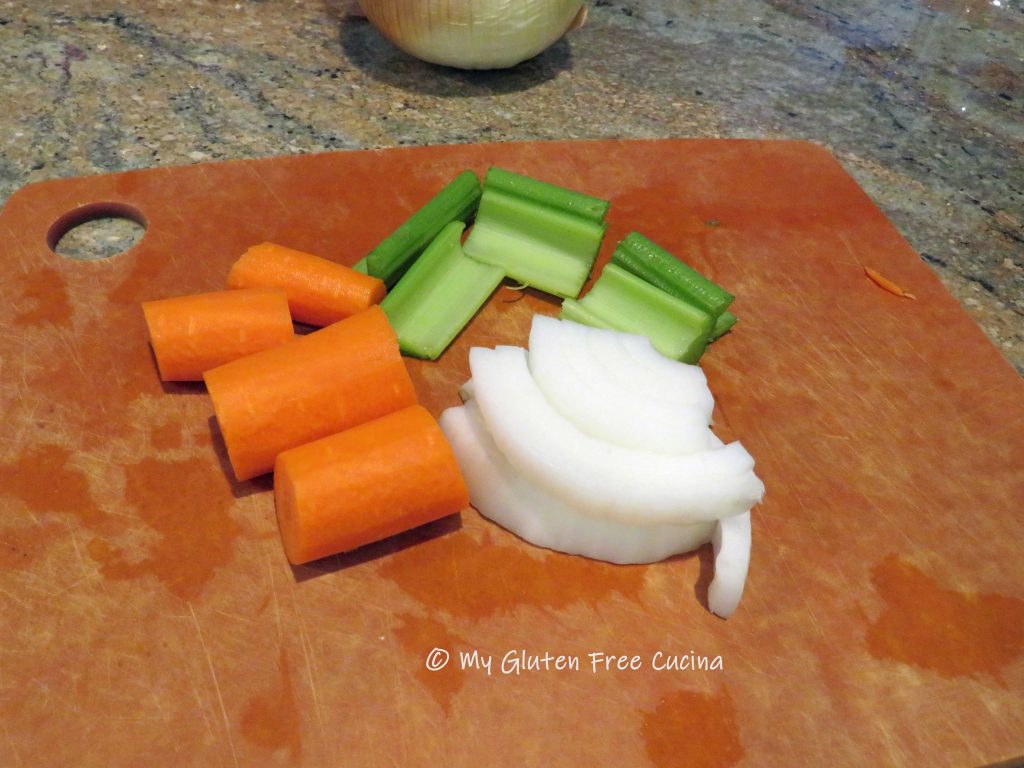
Mince the carrot, celery and remaining onion in an electric chopper.

Add the minced veggies to the pork and stir well.

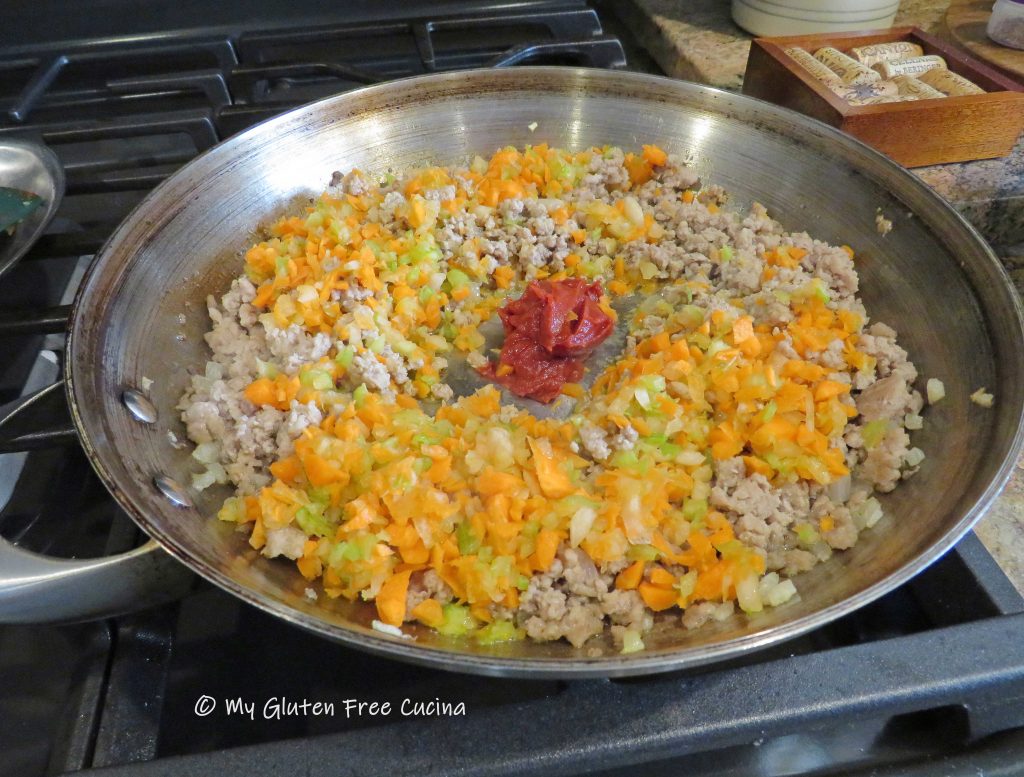
Make a spot in the center of the pan and add the tomato paste.  Let it toast for a minute before stirring it into the pork and veggies.
Add the broth with salt to taste.

Sprinkle the arrowroot evenly over the mixture and stir it in.  Simmer on low until the filling has thickened.  Stir in the baby spinach.  The filling should be moist, but not watery.

Transfer to a bowl and stir in the orange zest and parmesan.  Set it aside while you make the pasta and béchamel.

Step 3 – Make the pasta

Combine 140 g. flour and salt.  In the bowl of a stand mixer, whisk the eggs and olive oil together.  Add the flour mixture and beat with the paddle attachment for 5 minutes to form a soft dough.

Bring the dough together and sprinkle with more flour, then wrap in plastic wrap.  Let the dough rest for 15 minutes.

Divide the dough into 4 sections and work with one piece at a time.  Begin feeding it through the pasta roller, starting with the thickest setting.  Pass it through several times, adding more flour as needed, then begin increasing the roller setting each time until you have a sheet that is thin without tearing the dough.

For this recipe, setting 3 on a KitchenAid pasta roller attachment is the perfect thickness.  Repeat with each section and lay the sheets on floured parchment or wax paper.

Cut each section into 5-6″ pieces.

Step 4 – Make the Béchamel

  • 1-1/2 tbsp. butter
  • 1-1/2 tbsp. arrowroot flour
  • 1/4 cup heavy cream or half and half
  • 1/2 cup 2% milk
  • 1/4 cup stock (chicken, beef or vegetable)
  • salt and pepper to taste

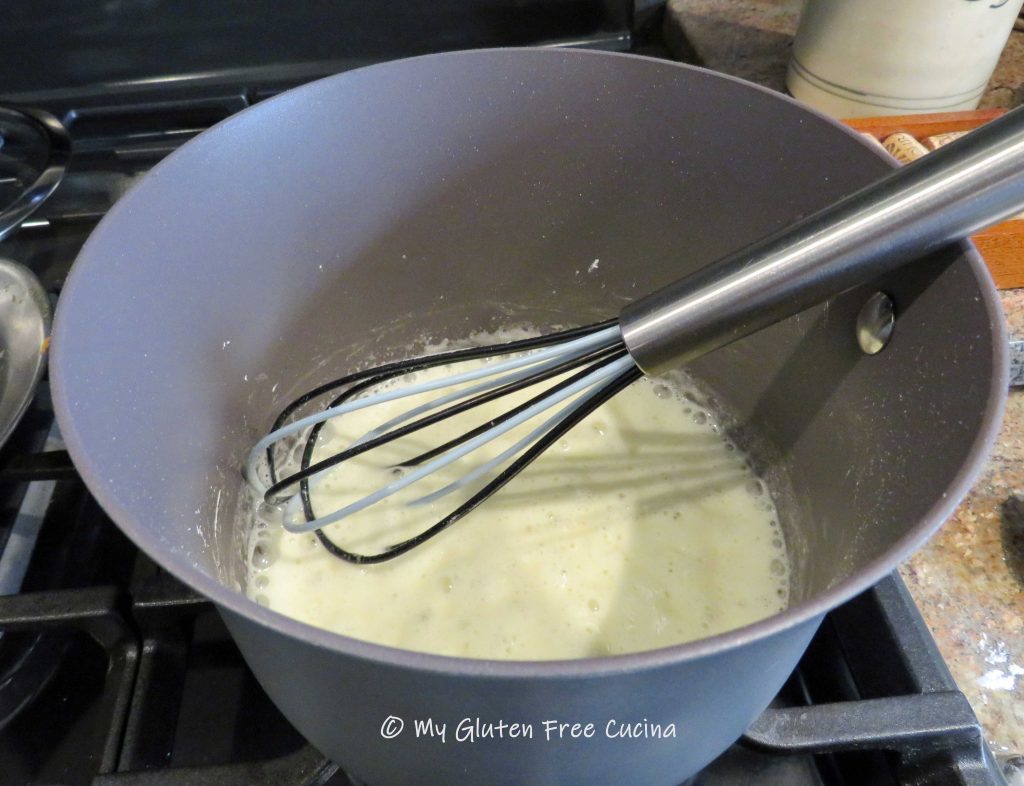
Melt the butter in a small nonstick saucepan.  Whisk in the arrowroot flour and cook 2-3 minutes over low heat, whisking constantly.

Drizzle in the milk, cream and broth and whisk continuously until thickened.  Season with salt and pepper.  Keep warm.

Assemble!

Finally!  The hard work is done, and it’s time to assemble.  Preheat the oven to 400º.

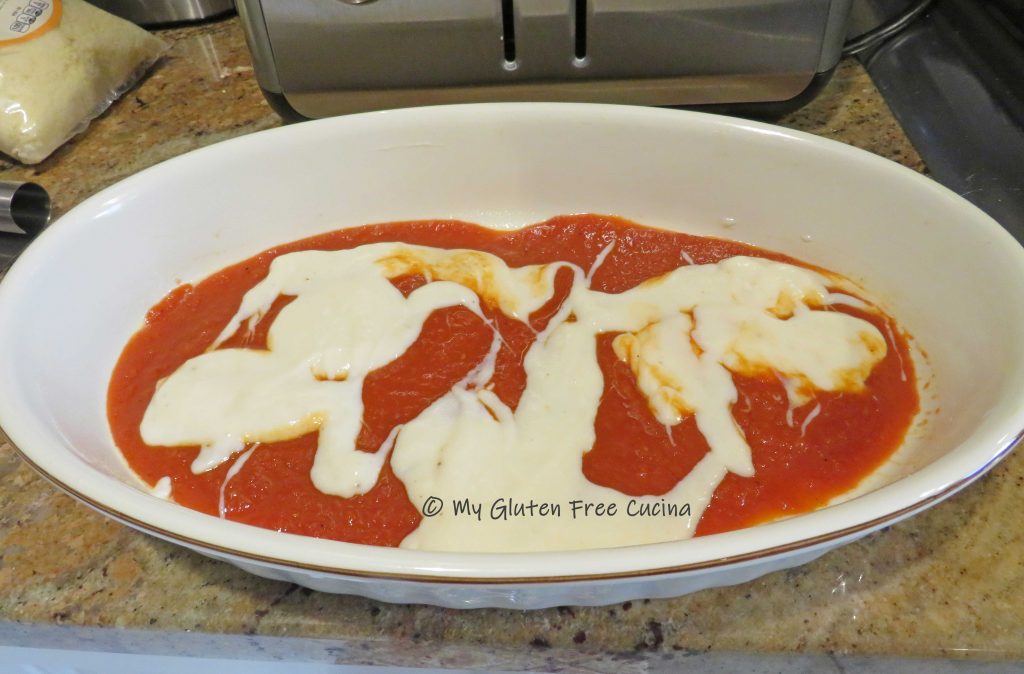
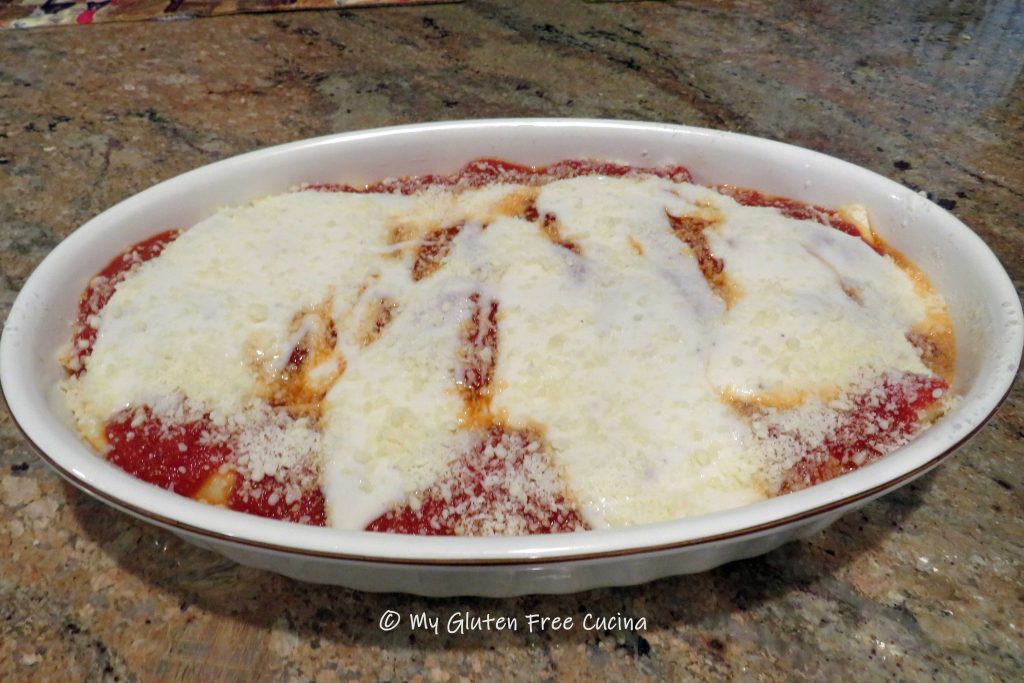
Coat a casserole dish with cooking spray.  Ladle enough marinara to cover the bottom of the pan, and top with a few ladles of Béchamel.

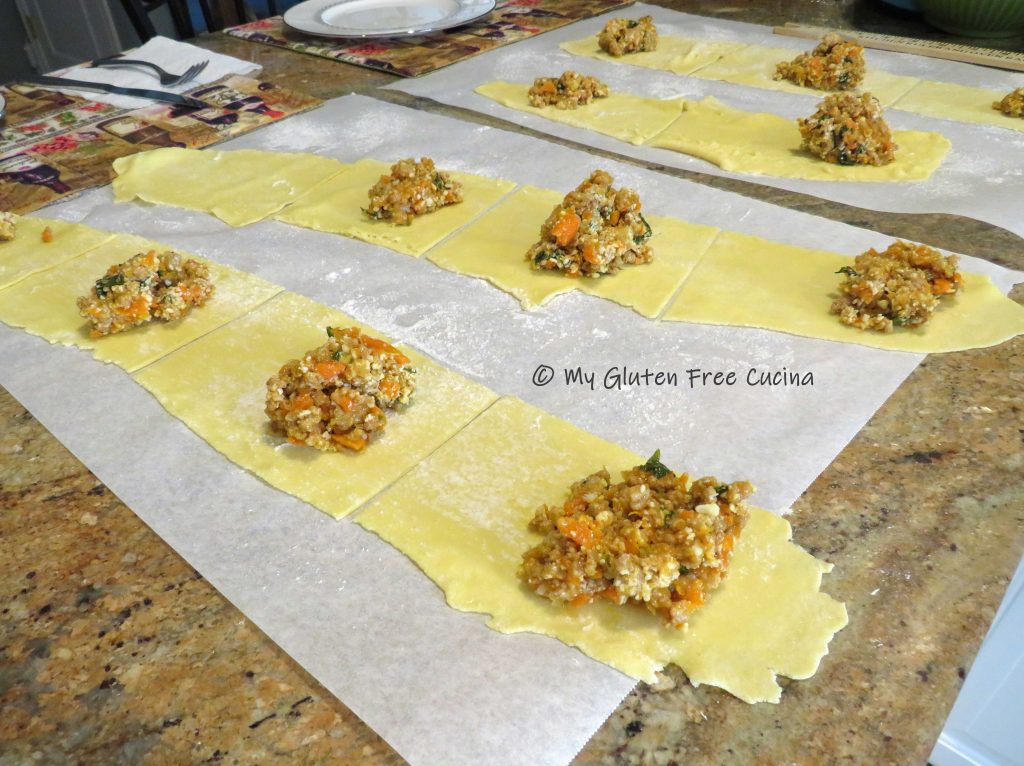
Spoon the filling evenly onto each section of pasta.

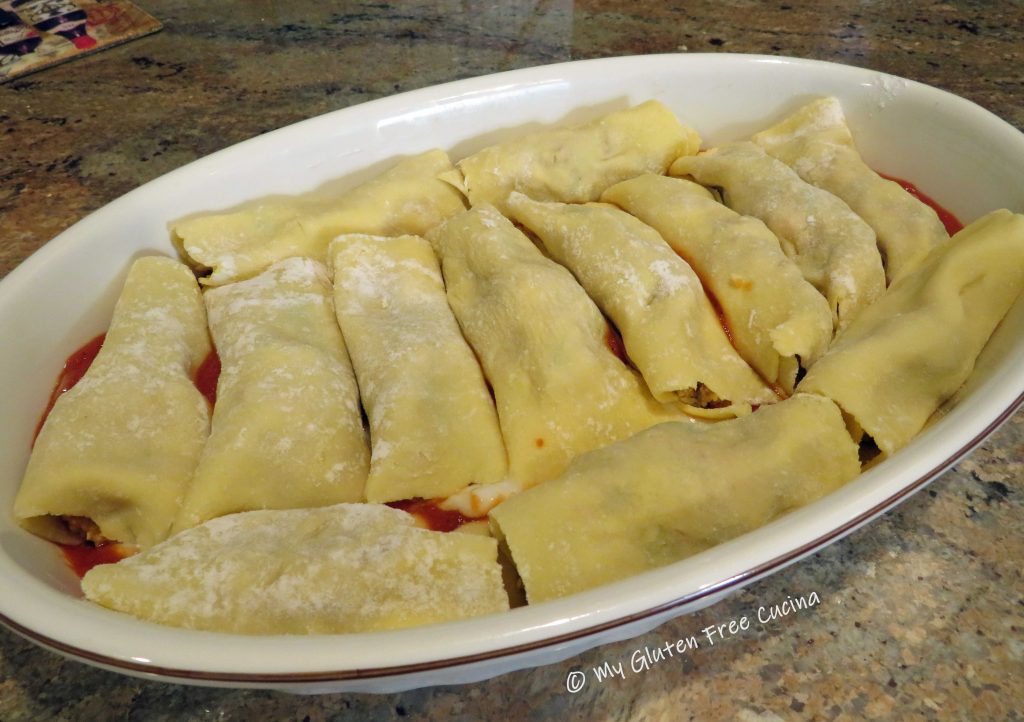
Roll each section into a cylinder and arrange the bundles in a single layer, seam side down in the casserole dish.

Spread the remaining sauce over the cannelloni, then top with more Béchamel.  Be sure that all of the pasta is generously covered with the sauce, including the edges.  Sprinkle the top with grated parmesan cheese and cover the dish with foil.

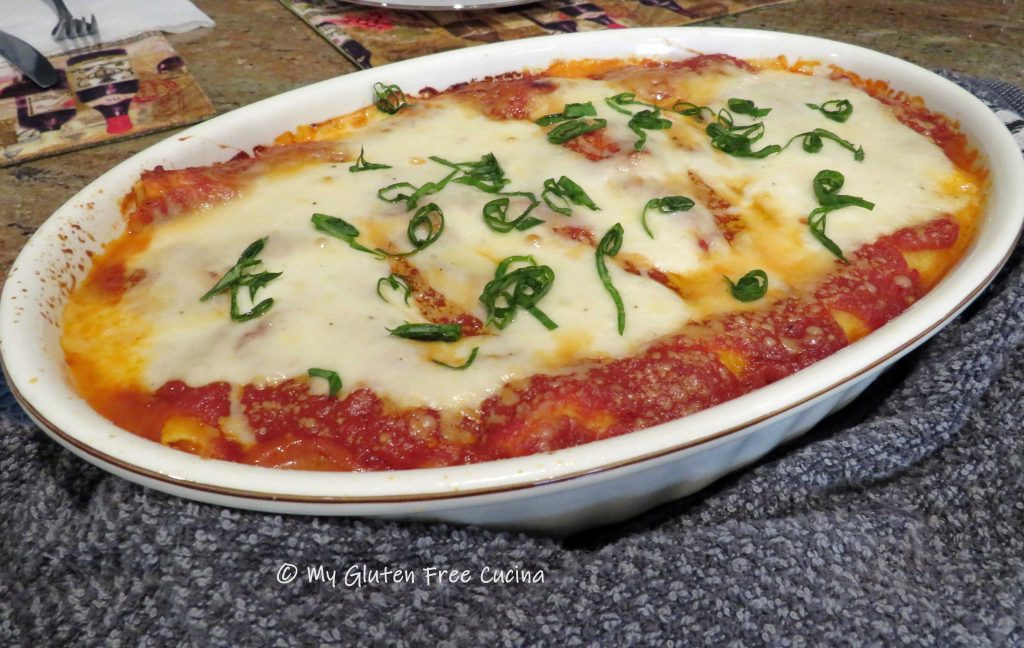
Bake for 15 minutes, then carefully remove the foil and bake for another 15 minutes.

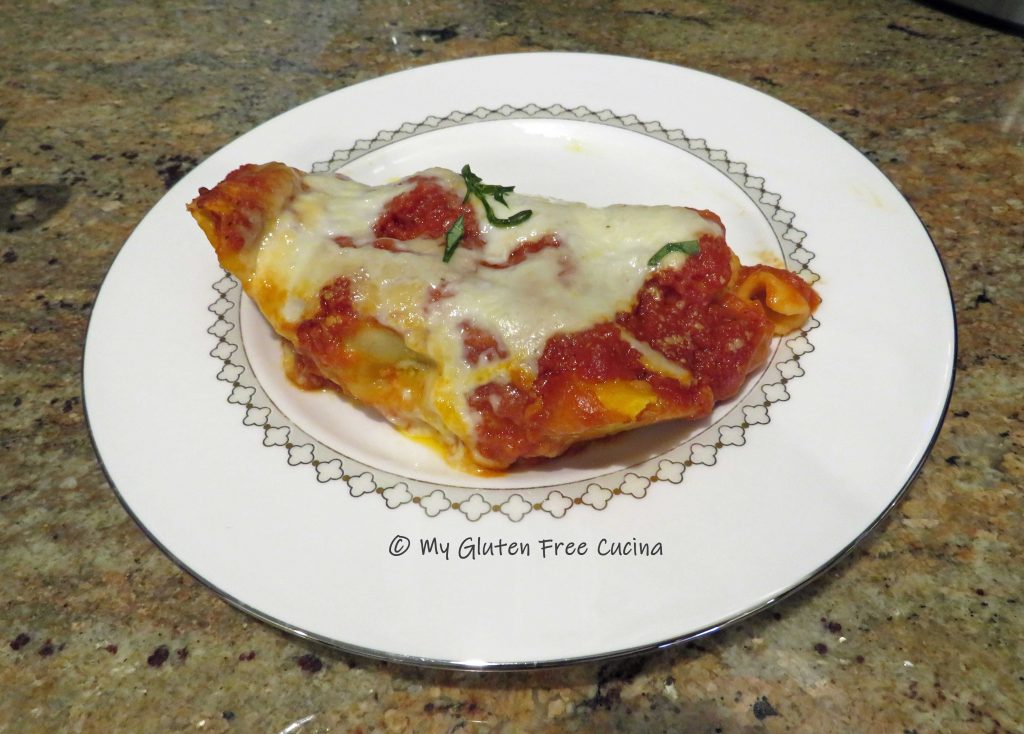
As the pasta bakes it will absorb liquid and thicken the sauce.  The filling is delicious and moist.  Garnish with fresh basil and dig in!

Notes:

I won’t tell if you use a gluten free jar sauce (wink!).

Use a wine that you can/would drink.  Do NOT use cooking wine!

♪♫ Don’t skip the fresh orange zest.  It adds a subtle burst of amazing flavor to the finished dish!

♫♫ Homemade pasta is fabulous, but if you’re not up to the task, try to find fresh gluten free lasagna sheets such as Taste Republic.  You will need about 8 lasagna sheets for this recipe.  Lay them out on floured parchment and cut each sheet in half.  I do not recommend using dry pasta in this recipe, as it needs to be cooked in advance in order to roll properly and will not absorb enough liquid, resulting in a soggy finished dish.

Print This Post Print This Post

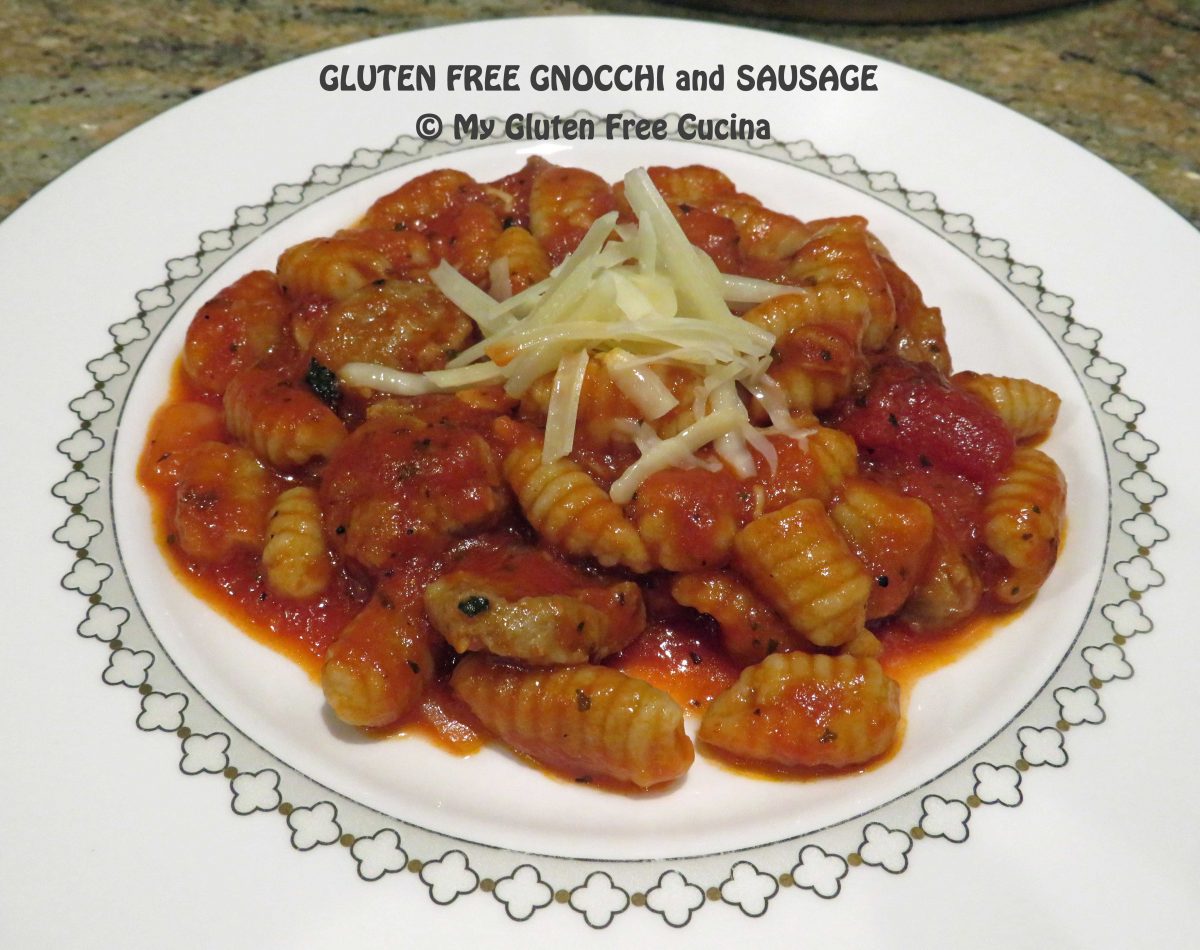
Gluten Free Gnocchi with Sausage

Homemade Gnocchi are my favorite pasta to prepare on a Sunday afternoon.  There is something soothing about rolling these dumplings one by one.  The joy only continues when it is time to eat!

This post contains affiliate links.

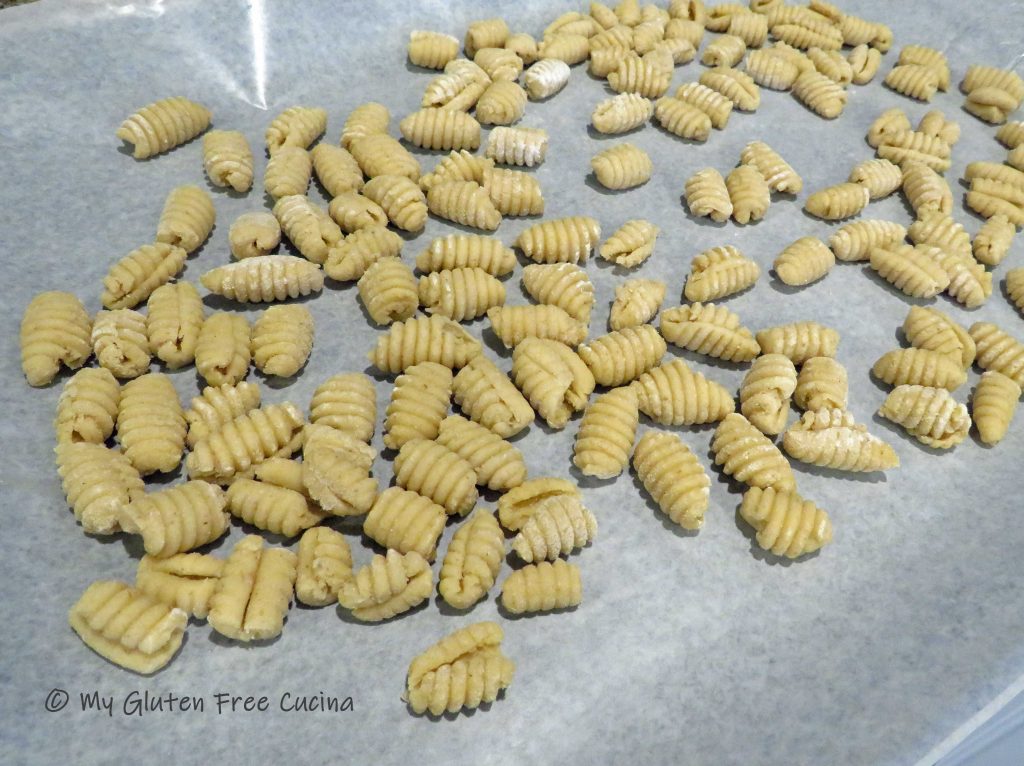
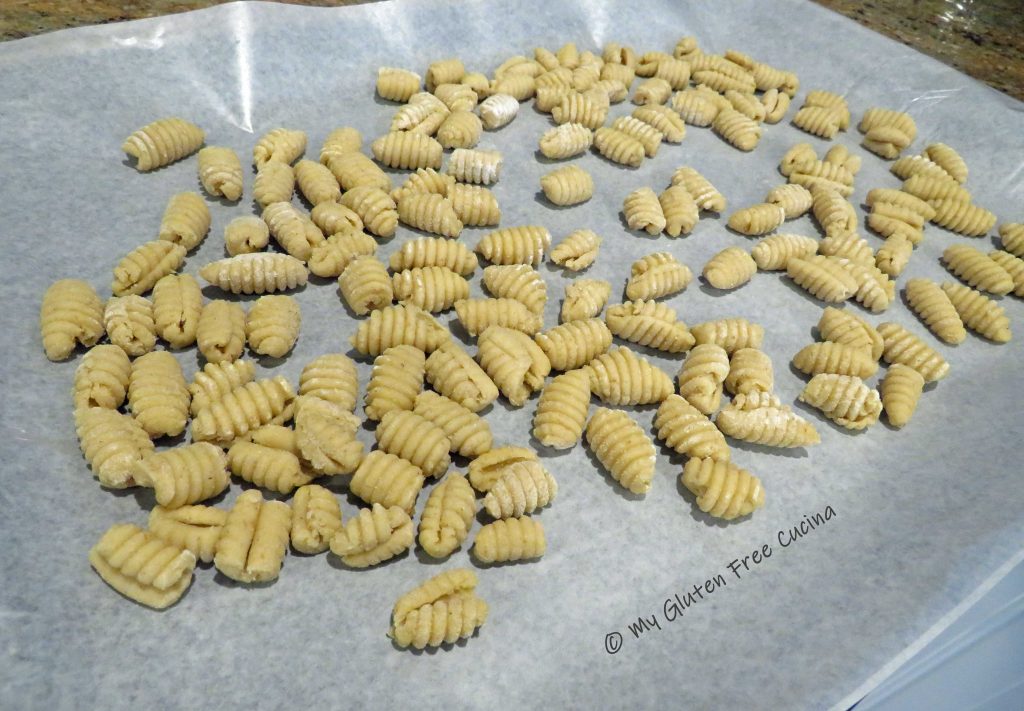
My long-time readers know that I am a huge fan of Better Batter.  You have all heard me sing the praises of their Artisan Flour Blend, for making yeasted bread and pizza.  But did you know, it also makes the most wonderful pasta?  Yes, this beautiful tray of gnocchi was made with the flour that I call my little miracle in a bag!

When you shop Better Batter and use my code MGFC30 at checkout, you will receive 30% off any non-sale item!

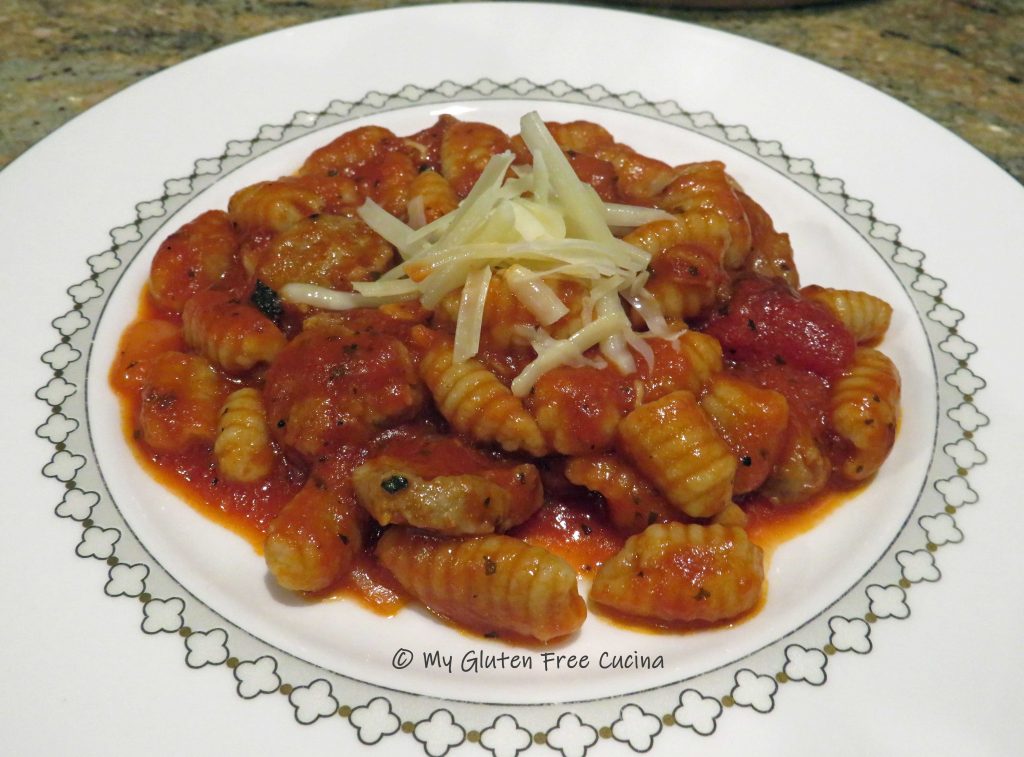
Paired with a simple sauce we had a wonderful Sunday dinner for two.

Ingredients:

  • 120g. Better Batter Artisan Flour Blend
  • 1/2 tsp. salt
  • 1 large egg
  • 2 tbsp. egg whites
  • 1-1/2 tsp. olive oil
  • 2 tbsp. water
  • ——————————-
  • 2 Italian sausage links, sliced into coins
  • 1/2 cup sweet onion, diced
  • 2 garlic cloves, minced
  • 1 can (14.5 oz.) tomato sauce
  • 1/2 tsp. oregano
  • 1 tsp. basil
  • 1 tbsp. olive oil

Preparation:

  1. Combine the first 6 ingredients in the bowl of a stand mixer (flour through water).  Beat with the paddle attachment to form a soft dough.
  2. Bring the dough into a ball, and cover with plastic wrap.  Rest at room temperature 20 minutes.
  3. Line a baking sheet with wax paper and dust with gluten free flour.  Place the dough ball on a floured cutting board and divide into 4 pieces.
  4. Working with 1 section at a time, roll the dough into a long rope, 1/2″ thick.  Cut the rope into 3/4″ pieces and roll each piece over a floured gnocchi board or fork.
  5. Place the formed gnocchi on the baking sheet and refrigerate until ready to cook.

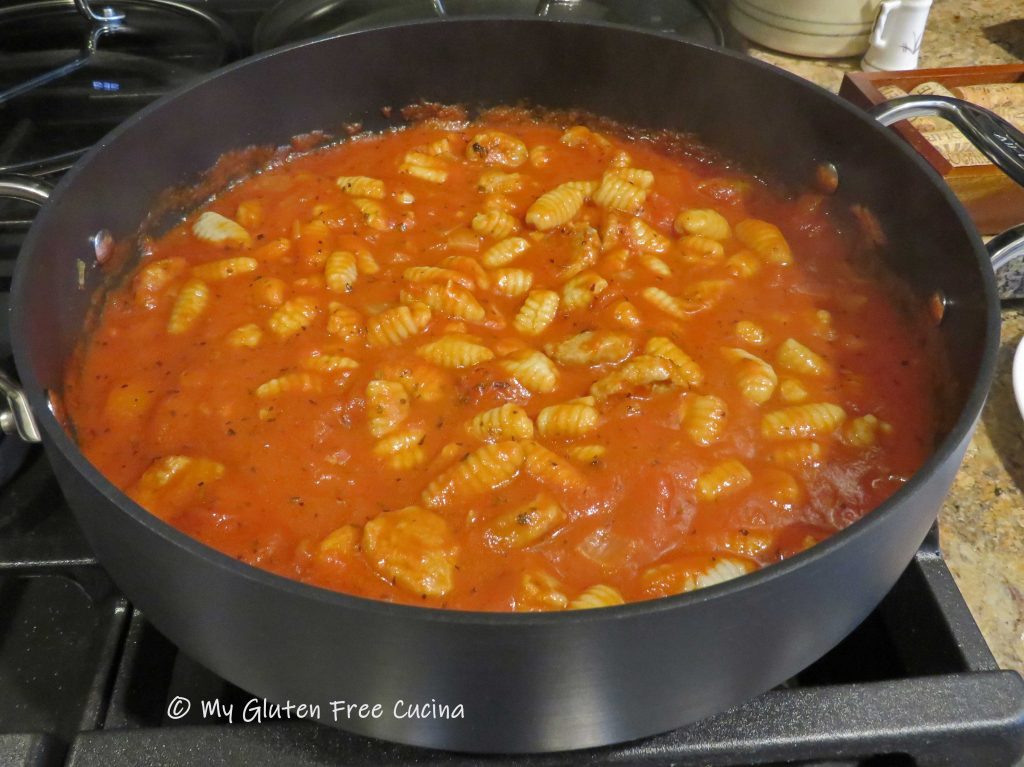
For the sauce, add olive oil to a stock pot or deep skillet and begin cooking the onions, until translucent.  Add the sausage coins and brown on both sides.  Next add the garlic and stir for 30 seconds.  Add the tomato sauce, basil and oregano.  Simmer 30 minutes.

Bring a pot of salted water to a rolling boil.  Add the gnocchi and cook for 3 minutes.  Fresh pasta cooks quickly, don’t overcook!

Drain the pasta and add to the sauce, tossing well to incorporate.

Serve with grated cheese.

Notes ♪♫ Love gnocchi?  There are so many ways to make it!  Check out this Gluten Free Gnocchi with Chicken and Roasted Cauliflower.  Or how about Potato Gnocchi with Cassava Flour?  Or, if you love sweet potato, check out this Sweet Potato Gnocchi made with white and sweet potato!


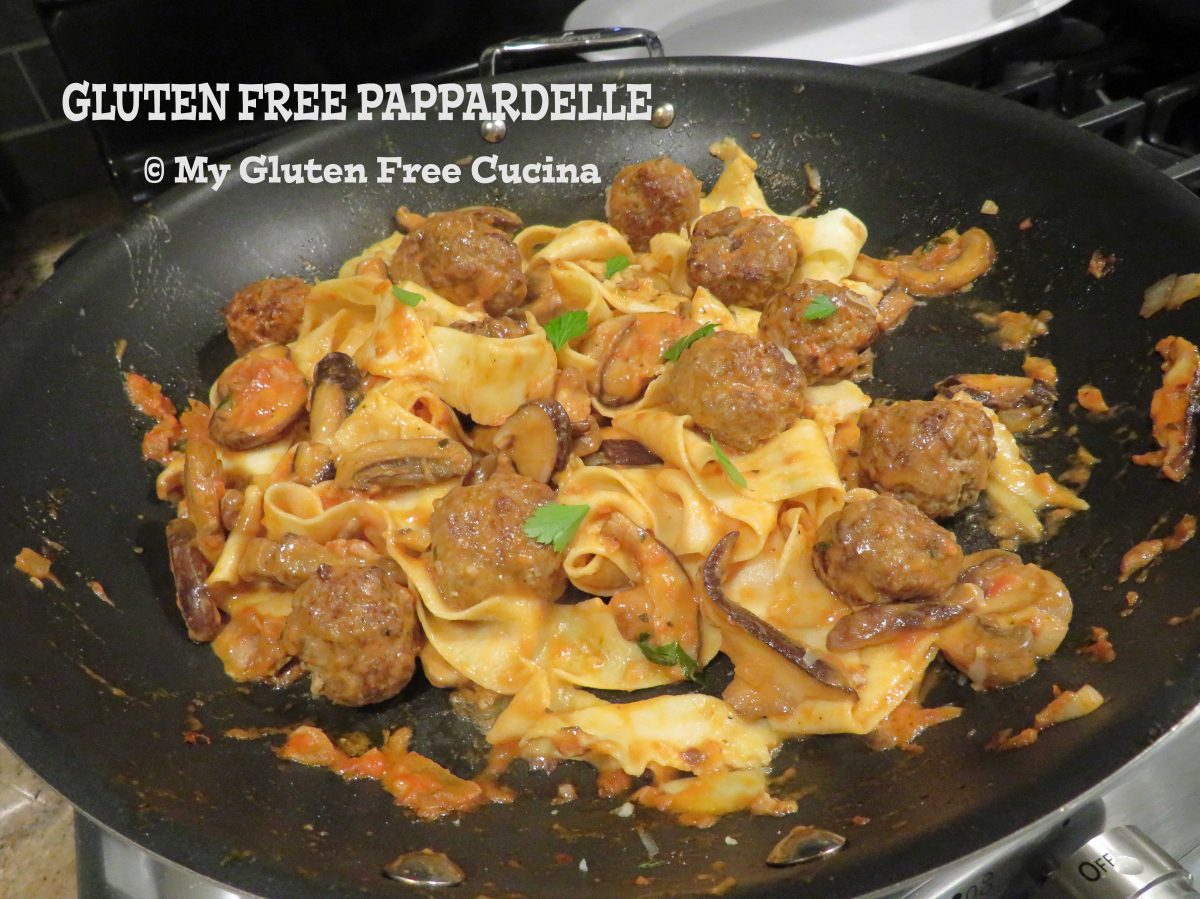
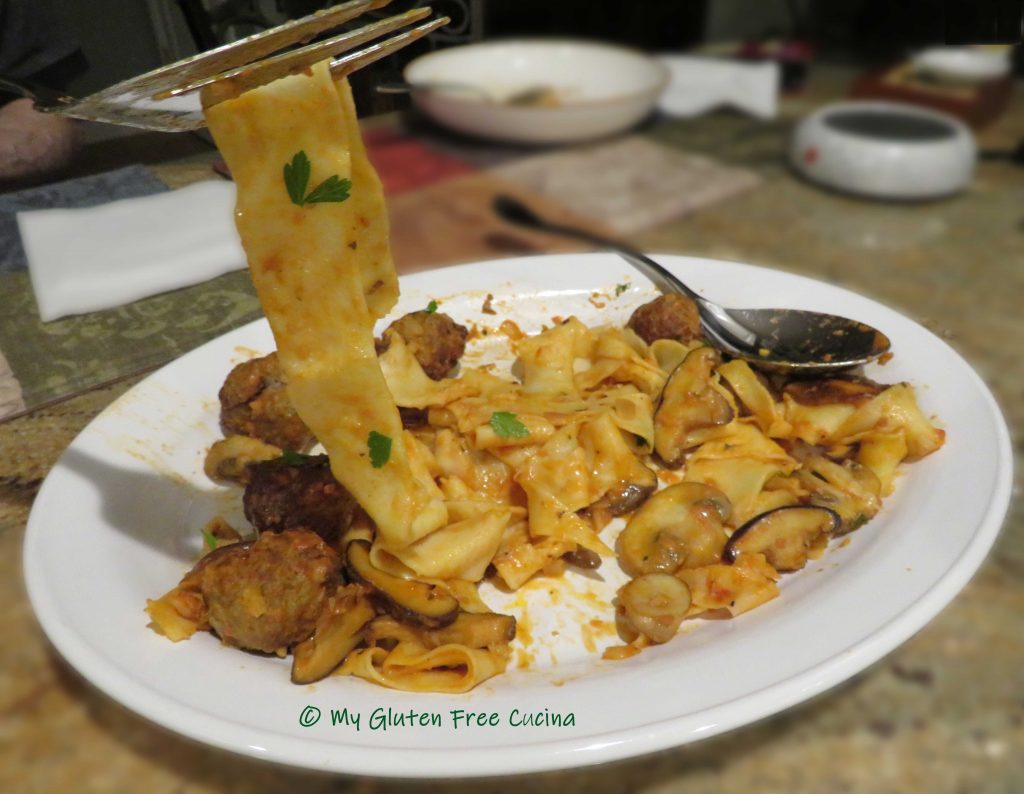
Gluten Free Pappardelle with Mushroom Cream Sauce and Veal Meatballs

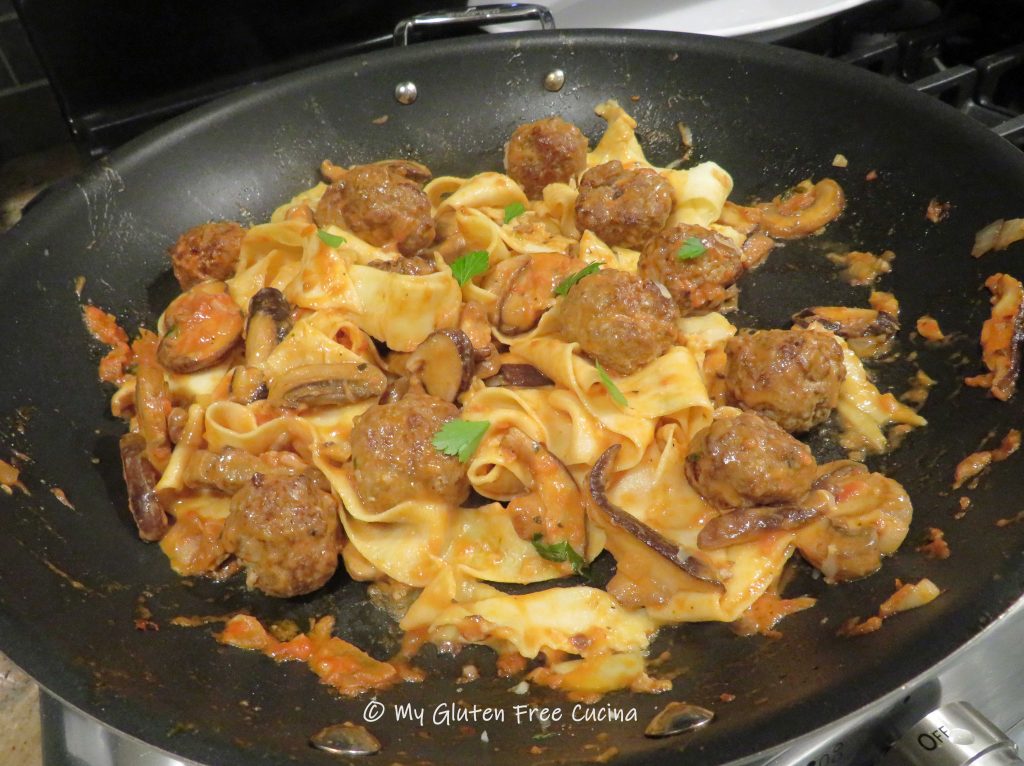
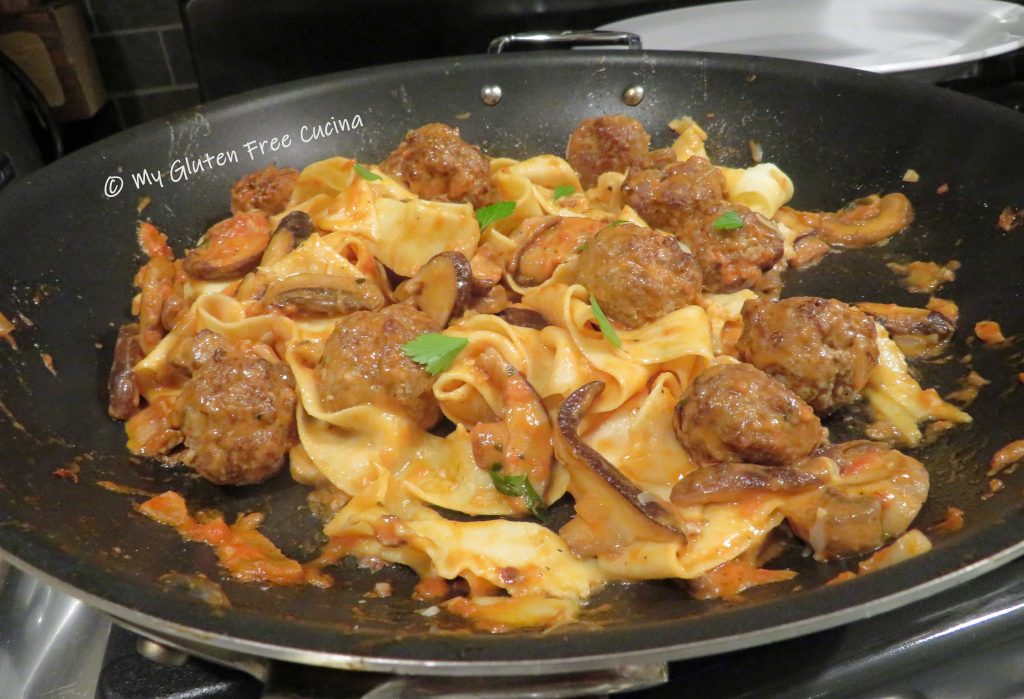
This plate full of happiness features beautiful ribbons of homemade pappardelle pasta prepared with a tomato mushroom cream sauce.  Tiny veal meatballs complete the dish.

Completely gluten free, I used my favorite, Better Batter Original All Purpose Blend to make the pasta noodles and they were just perfect!  I used my KitchenAid® to roll out the pasta dough and that definitely made the job easier.  You can do it with a rolling pin if you have patience!

This post contains affiliate links.

Dinner for 2

Ingredients:

For the pappardelle

For the Veal Meatballs

  • 1/2 lb. ground veal
  • 1 egg, beaten
  • 1 tsp. minced garlic
  • 2 tbsp. minced shallots
  • 1 tsp. fresh parsley
  • salt and pepper to taste
  • 2 tbsp. gluten free seasoned breadcrumbs
  • 2 tbsp. potato flakes
  • cooking spray

For the Sauce

  • 1 tbsp. olive oil
  • 1/8 tsp. red pepper flakes
  • 3 oz. shitake mushrooms, sliced
  • 5 oz. baby bella mushrooms, sliced
  • 2 tbsp. minced shallots
  • 1/4 tsp. salt
  • 1/4 tsp. pepper
  • 1/8 tsp. garlic powder
  • 1/8 tsp. onion powder
  • 1/8 tsp. paprika
  • 2 tsp. garlic, minced
  • 1 tbsp. fresh Italian parsley, chopped
  • 1/4 cup white wine
  • 2 tbsp. heavy cream
  • 2/3 cup tomato sauce
  • 2 tsp. butter
  • 2 tbsp. grated parmesan

Preparation:

To make the pappardelle, combine 70g. flour with remaining ingredients in the bowl of a stand mixer and beat with the paddle attachment for 5 minutes to form a soft dough.
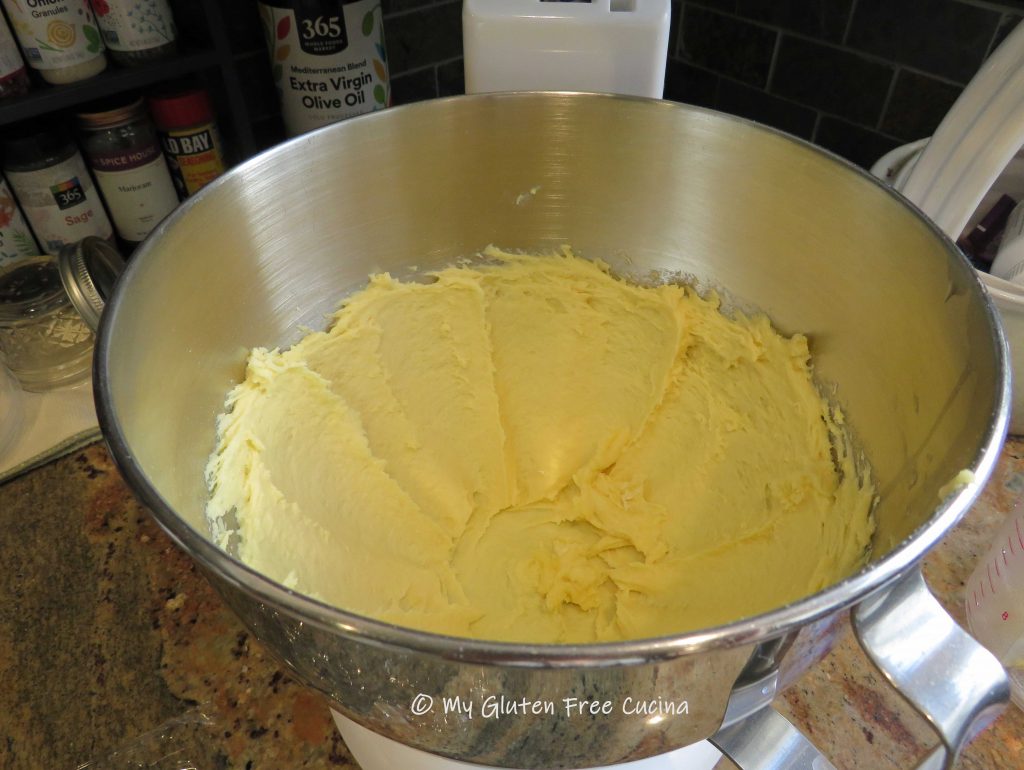
Bring the dough together and sprinkle with more flour, then wrap in plastic wrap.  Let the dough rest for 15 minutes.

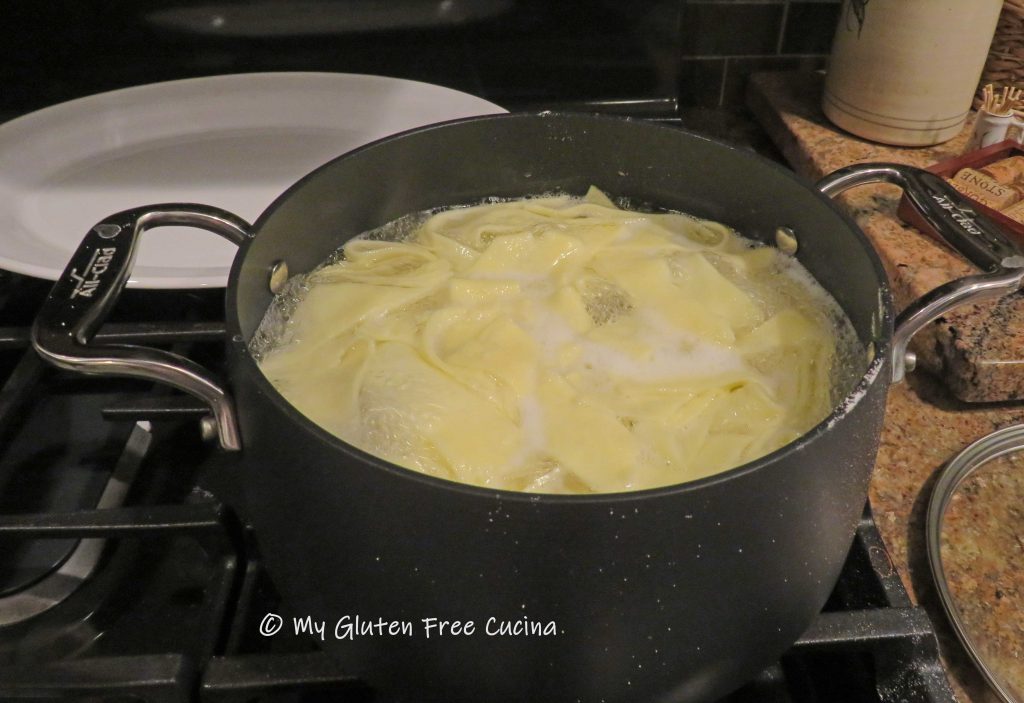
Divide the dough into 4 sections and work with one piece at a time.  Begin feeding it through the pasta roller, starting with the thickest setting.  Pass it through several times, then begin increasing the roller setting each time until you have a sheet that is thin without tearing the dough.  For pappardelle, this would be setting 3 or 4 on a KitchenAid pasta roller attachment.  Repeat with each section and lay the sheets on floured wax paper.
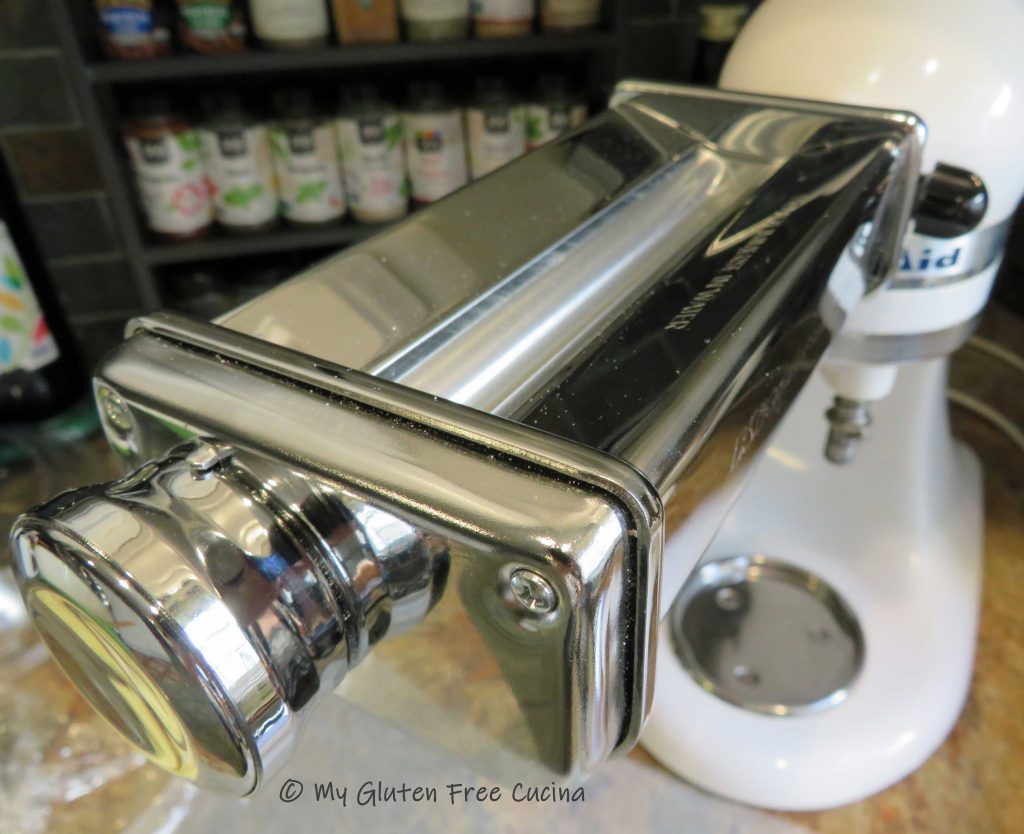
Note: For a full tutorial on how to make pappardelle refer to this post!

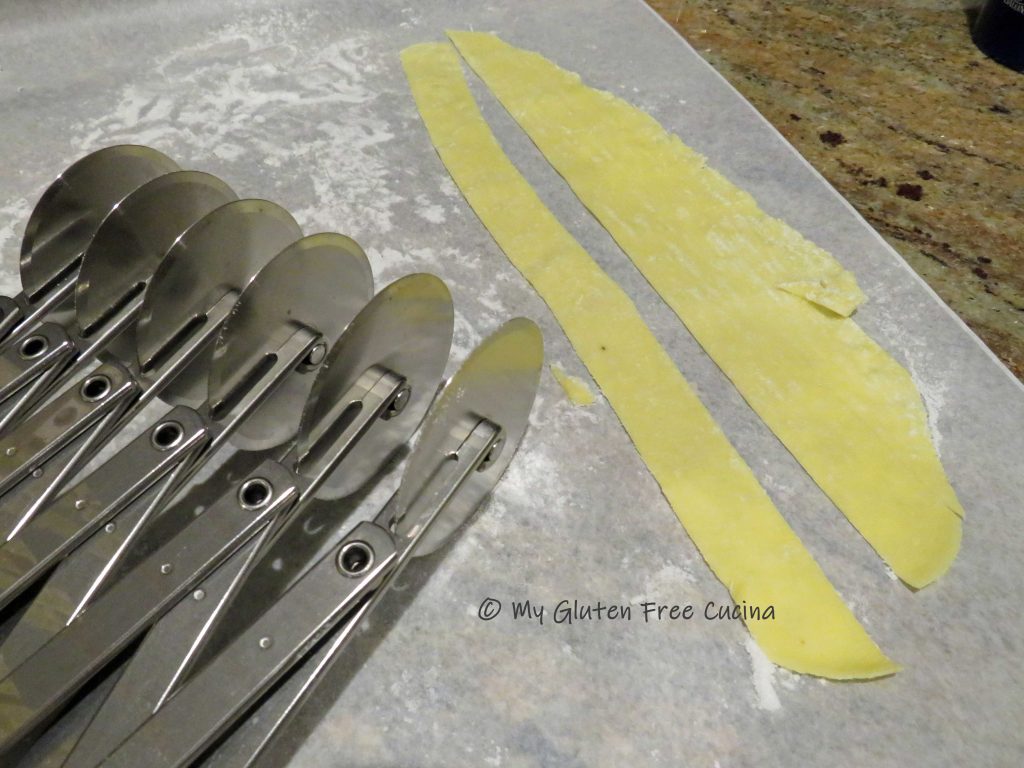
When you have completed rolling the 4 sheets, cut them into 3/4″ ribbons.   Hang them up to dry on a pasta drying rack.

To make the meatballs, combine all ingredients in a bowl and mix well with your hands.

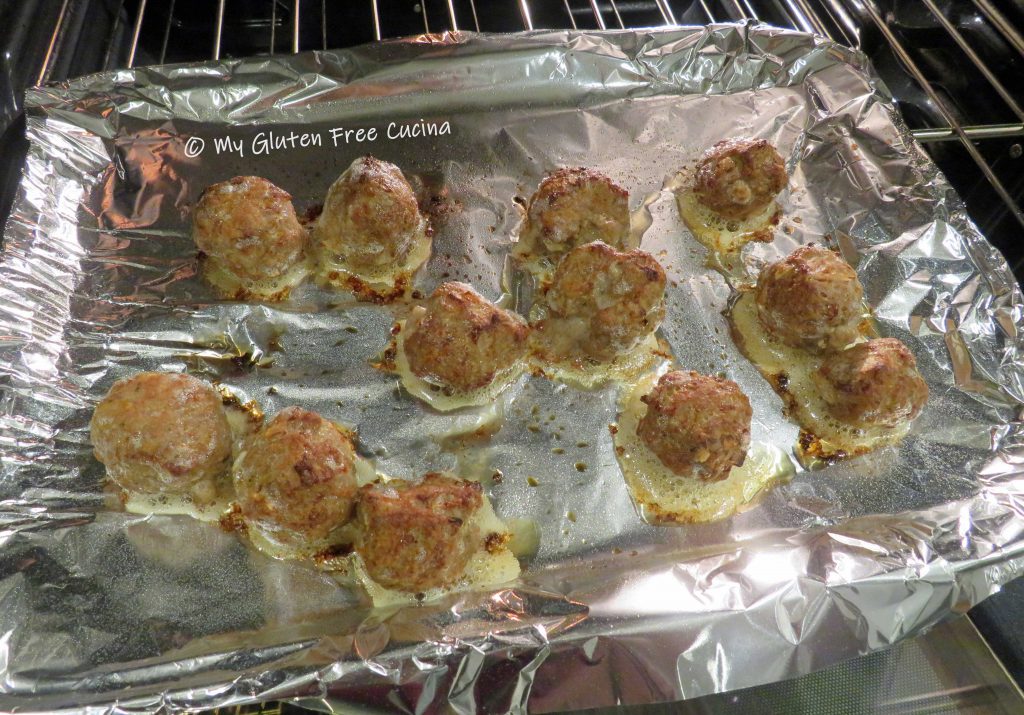
Line a baking sheet with foil and mist with cooking spray.  Form 12 small meatballs and arrange on the baking sheet, leaving space in between.
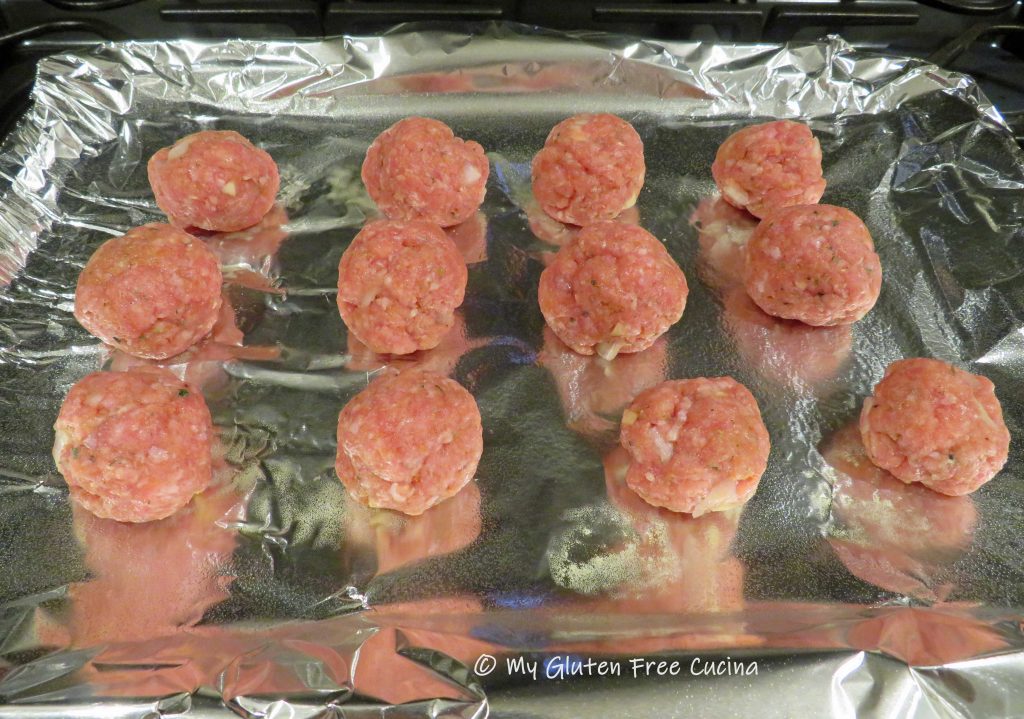
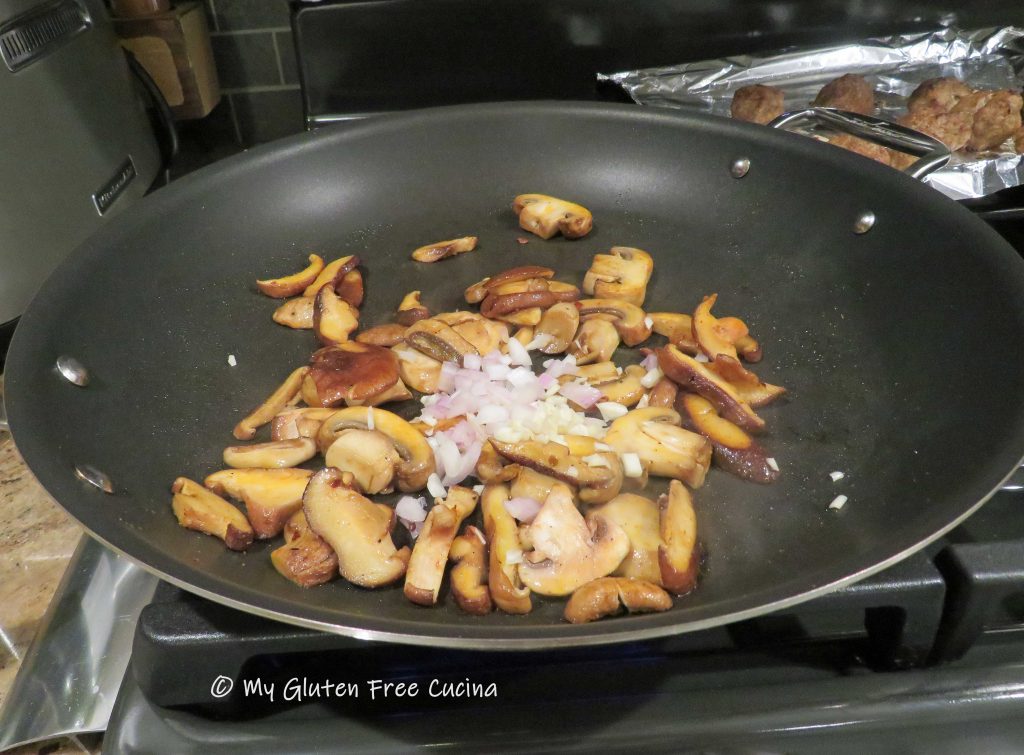
Broil 4 minutes per side, 8 minutes total.  Remove from the oven and set aside.  Set up a pot of salted water for the pasta and bring to a rolling boil.

Now, to put it all together make the sauce.  In a large nonstick skillet over medium low heat, add the olive oil and red pepper flakes.  Add the mushrooms and shallots, season and stir frequently until they begin to release their liquid.

Add the garlic and parsley then add the white wine.

Allow the wine to reduce for 2 minutes then stir in heavy cream.

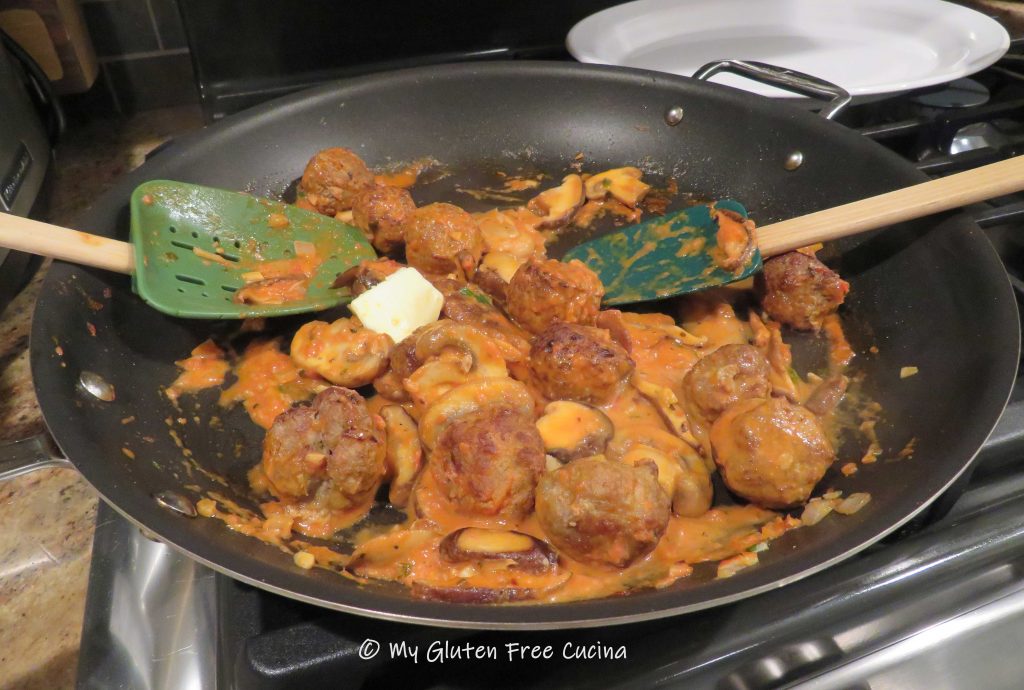
Finally add the tomato sauce and the veal meatballs with 2 tsp. butter.

Add the pasta to the boiling water and cook for 3 minutes.  You can add a ladle of the pasta water to the sauce if it appears dry.

Use tongs to carefully remove the pappardelle from the water and add to the sauce.  Add another pat of butter and stir in the parmesan cheese.

Carefully fold everything together until cheese is completely melted.

Transfer to a serving platter and garnish with Italian parsley.

Notes ♪♫ Gluten free dough can be so temperamental.  It does tend to stick and tear.  For best results keep the dough and the roller lightly dusted with flour as you work.  I was thrilled to get my pasta sheets to setting #4 on my KitchenAid®, this was an ideal thickness for the pappardelle noodles.  Try to get to at least the third setting, and don’t worry if you have a few tears and odd shaped noodles, they will still be delicious!

Print This Post Print This Post

Skillet Farfalle with Diced Ham

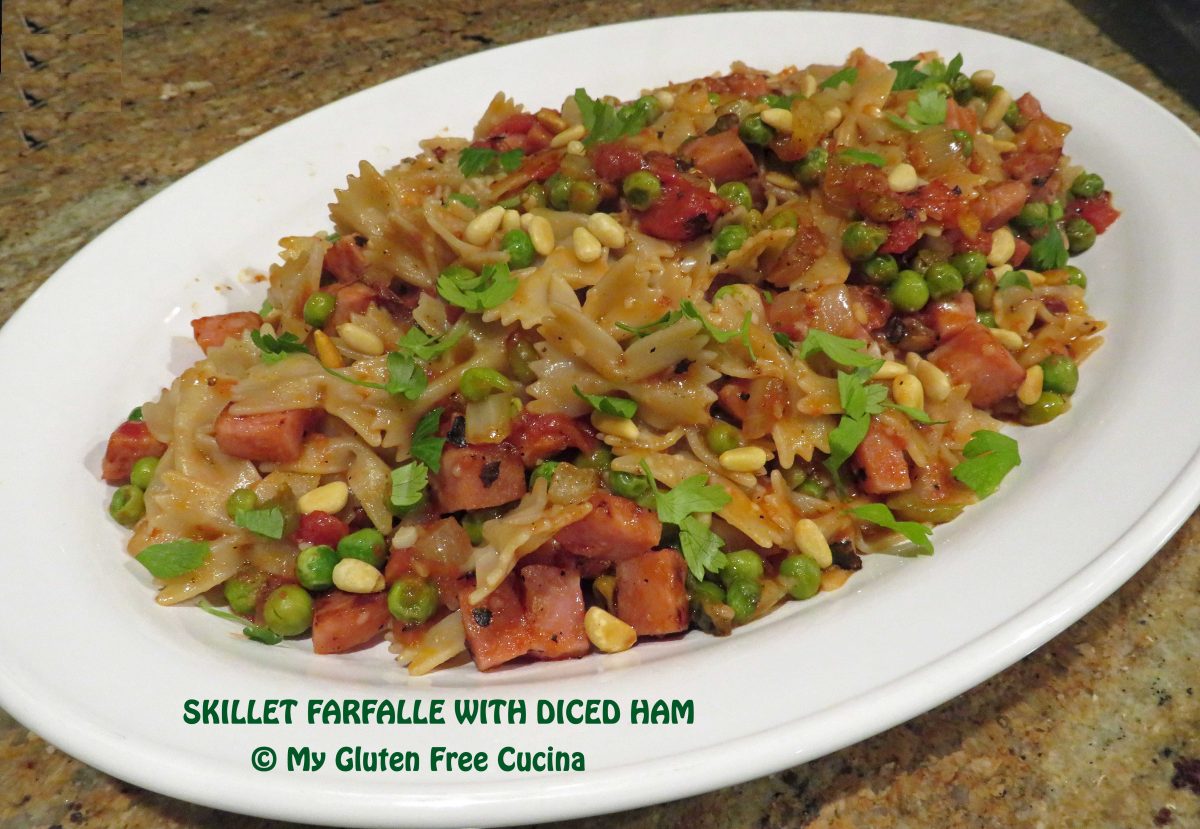
I love easy skillet dinners like this one for busy weeknights!  You can make the whole meal beginning to end in about 30 minutes.  Honestly, if you prep the veggies the night before it can be ready in less time than that.  It’s a great way to use leftover ham, or you can purchase a ham steak which is what I did here.  Don’t forget those little finishing touches that can make a meal special, in this case it’s a sprinkle of toasted Pignoli (pine nuts), a favorite at our house!

3-4 Servings

This post contains affiliate links.

Ingredients:

  • 8 oz. boneless ham steak, cut into small cubes
  • 4 oz. gluten free pasta
  • 1 cup sweet onion, diced
  • 1 tbsp. garlic, minced
  • 1 cup frozen peas, thawed
  • 1 can (14.5 oz.) diced tomatoes
  • 1/2 tsp. gluten free Italian seasoning
  • salt and pepper to taste
  • Olive oil
  • 1 tbsp. pignoli (pine nuts), toasted
  • 1/2 tsp. Italian seasoning
  • fresh Italian parsley, for garnish
  • grated Parmesan, for serving

Preparation:

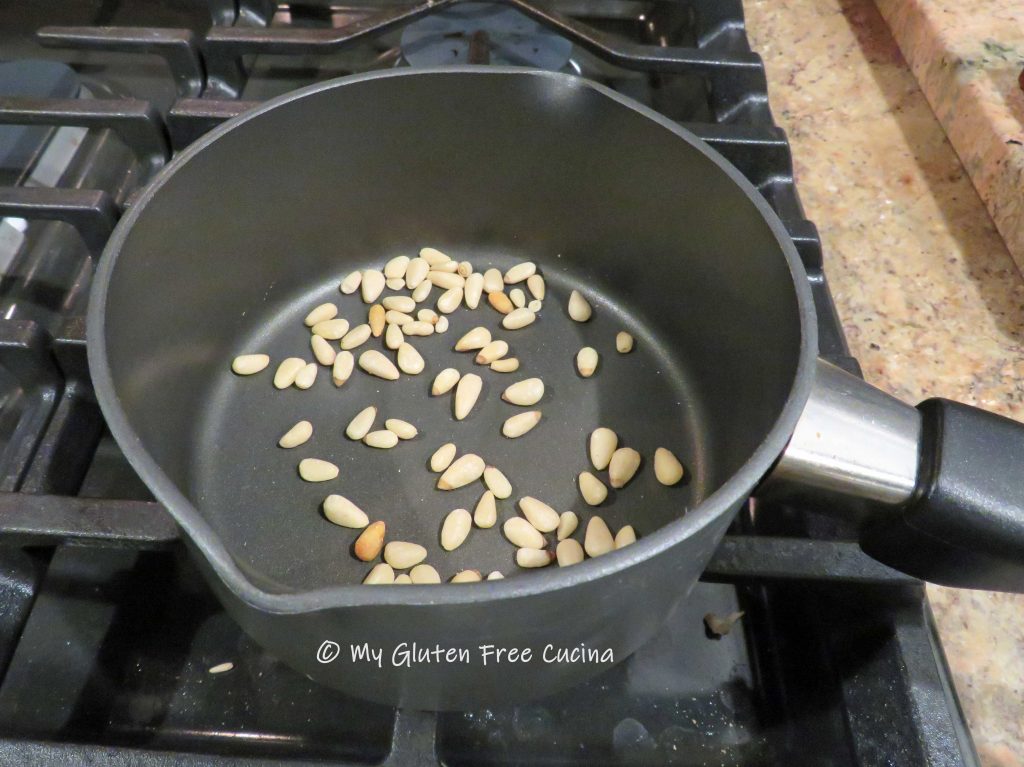
Toast the pignoli until lightly browned and fragrant.  I like to use a small saucepan, so they don’t jump all over the place.  Set aside for garnish.

Cook the pasta to 1 minute less than package directions, drain and set aside.  While the pasta cooks, heat a large, nonstick skillet with 1 tbsp. olive oil and cook the ham 3 minutes.  Remove and set aside.

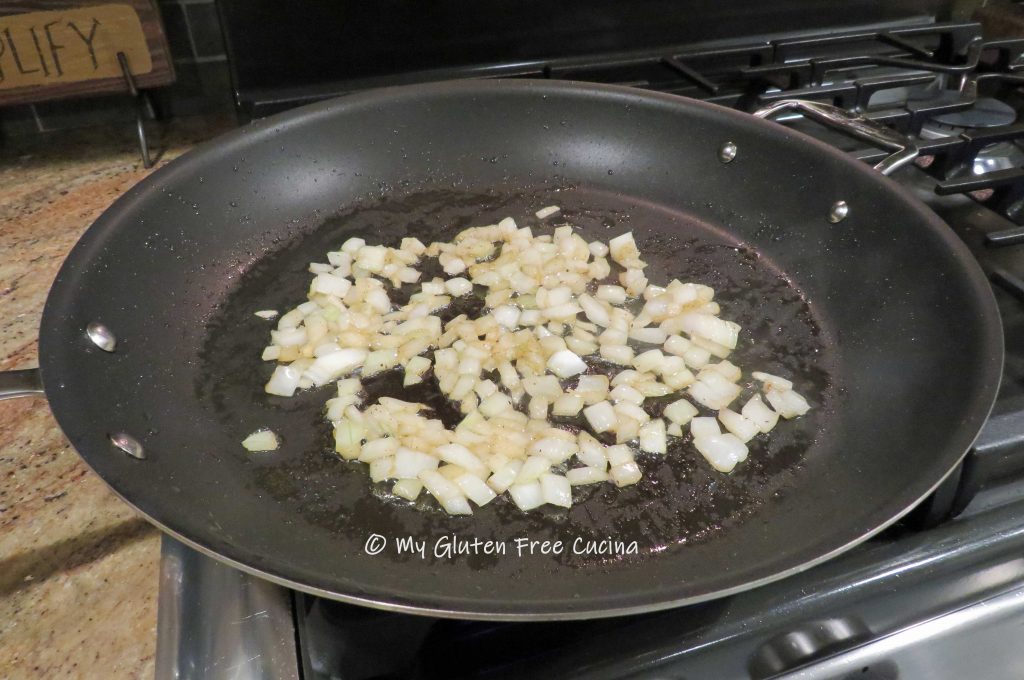
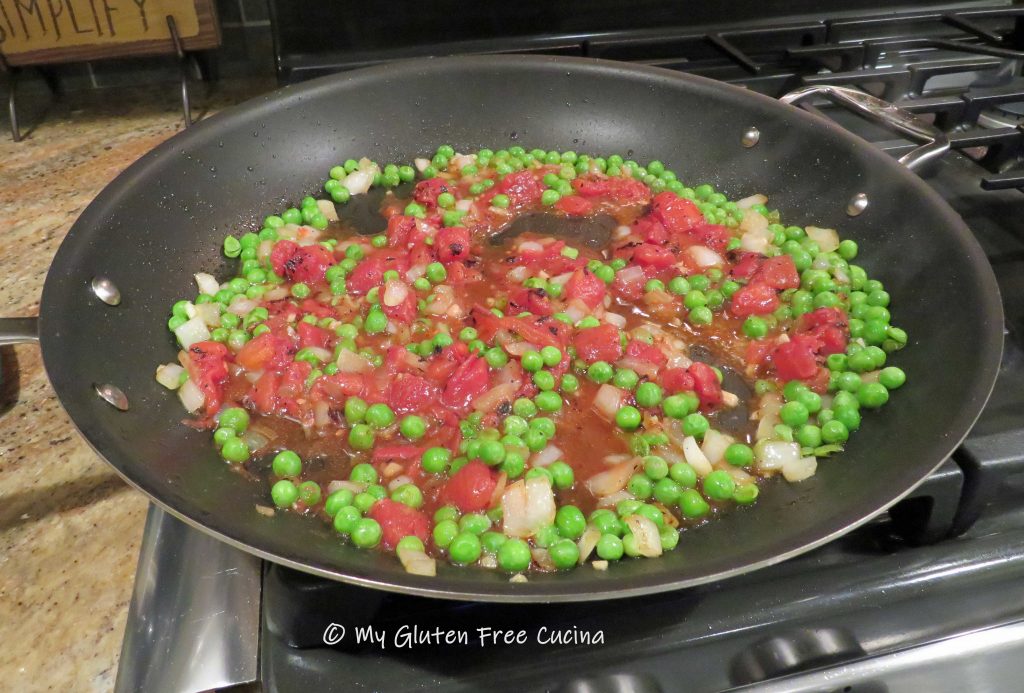
Add a little more olive oil and cook the onions until just beginning to brown, about 3 minutes.  Add the garlic and peas, cook 2 minutes more stirring frequently.  Season with salt and pepper.

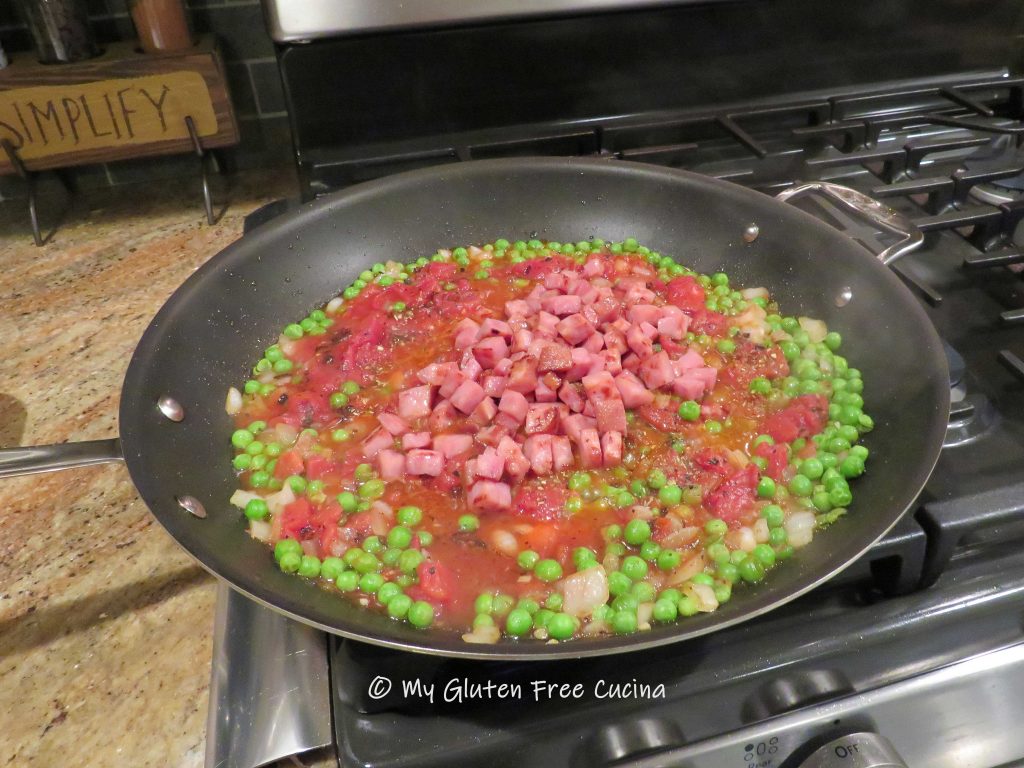
Add the tomatoes with their liquid, toss well to combine and cook until liquid almost evaporates.  If the pan is too dry add a ladle of pasta water.  Sprinkle with Italian seasoning.

Add back the ham.

Next add back the drained pasta and toss well.  Drizzle with olive oil, stir and toss to finish cooking the pasta, 1 minute more.  Sprinkle grated cheese.

Transfer to a serving dish, garnish with parsley and toasted pignoli, and serve with grated cheese.

Notes ♪♫ I used Jovial gluten free farfalle (bowtie pasta) in this recipe.  One of my favorites, it has great taste and chew.  The Smithfield ham steak was labeled gluten free.  Always check ingredient labels for hidden gluten, especially in processed foods and seasoning blends.

Originally published 5/16/2020        Updated 12/10/2022

Print This Post Print This Post

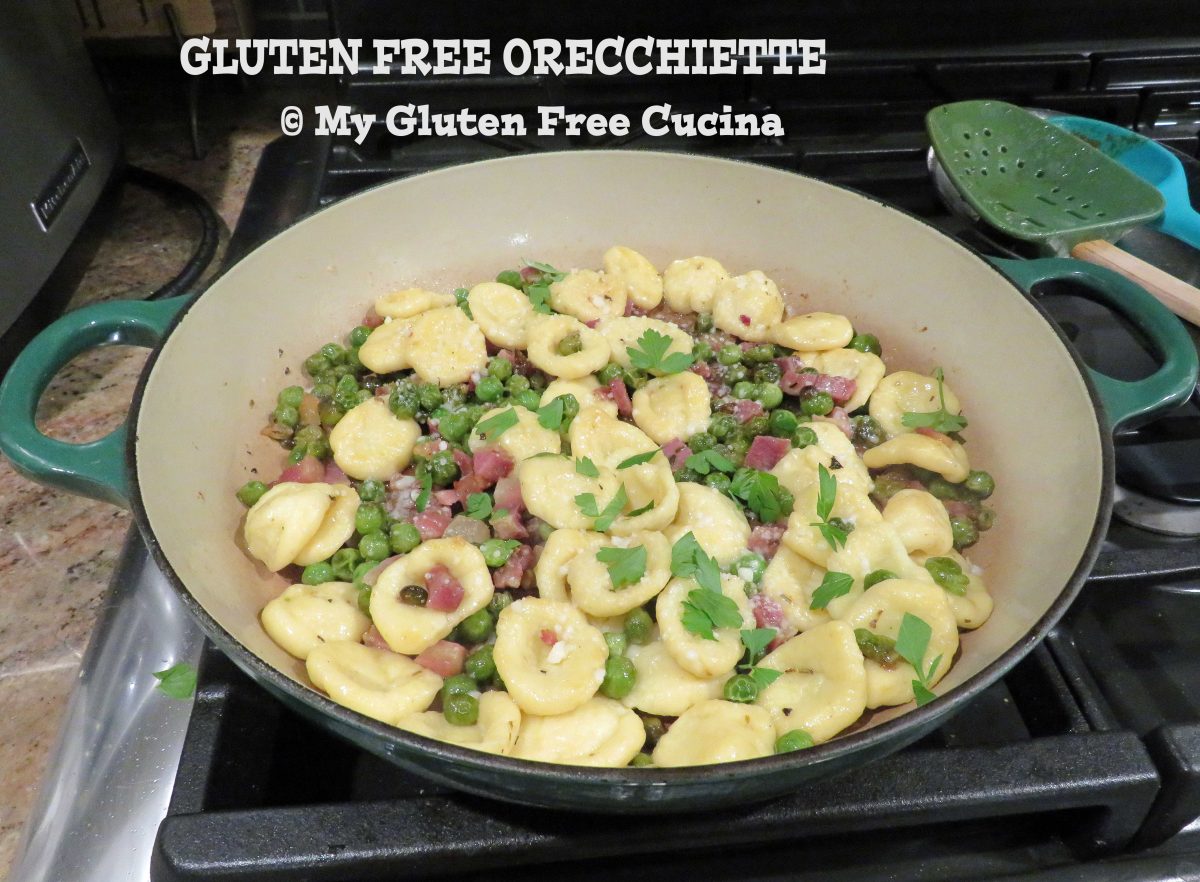
Gluten Free Orecchiette with Pancetta and Peas

What are Orecchiette?

One of my favorite pasta shapes, orecchiette are a small, cup shaped pasta said to originate in the Puglia region of southern Italy.  Orecchiette means “little ears” in Italian.  You can see why!

Forming this rustic pasta is easy and kid friendly, everyone will enjoy making it as much as they love to eat it.

A little dough goes a long way!  This recipe was more than enough for the two of us, with a little left over.  You can double or triple the ingredients as needed.  Follow the easy steps, showing you just how to make this pasta along with the classic pairing of pancetta and peas!

Ingredients:

For the pasta

Shop Better Batter and use my code MGFC30 at checkout to receive 30% off any non-sale item!

To finish

Preparation:

Whisk the egg, egg yolk and olive oil in the bowl of a stand mixer.  Add the flour and salt and beat with the paddle attachment to form a soft dough.

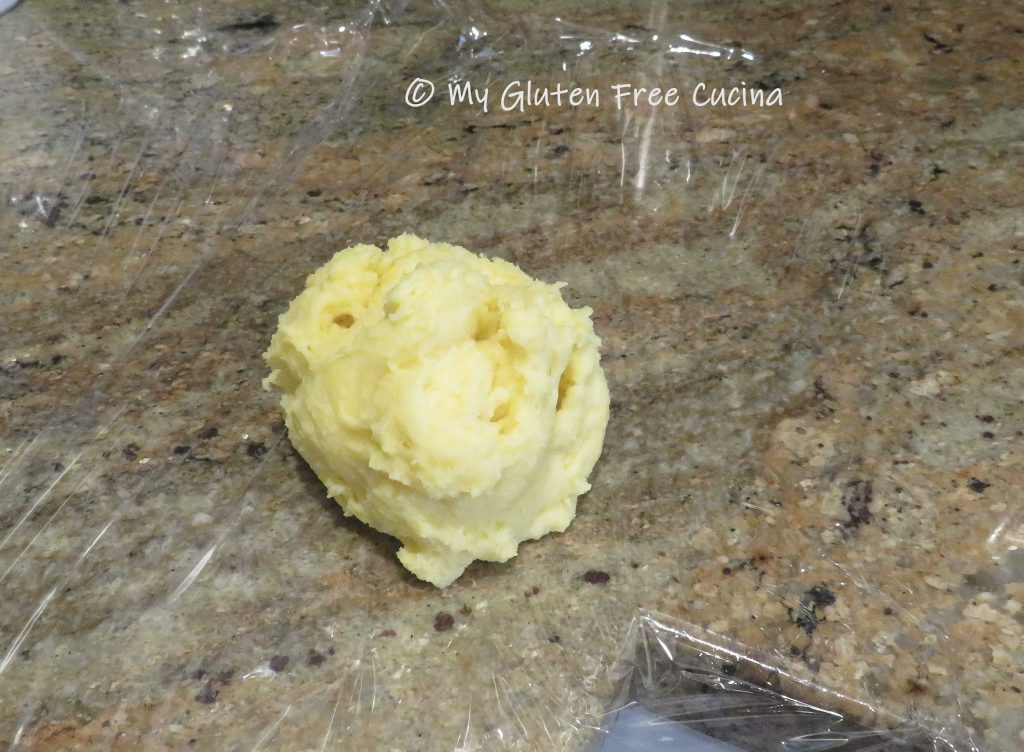
Bring the dough together and wrap it in plastic wrap.  Rest at room temperature for 10-15 minutes.

Divide the dough into 4 sections.  Work with one section at a time, and keep the remaining dough covered so it doesn’t dry out.

Lightly flour a cutting board and roll each section of dough into a rope, 3/4″ thick.  Use a bench knife to cut the ropes into 1/2″ pieces.

Roll each piece between your palms to form round, marble sized balls.

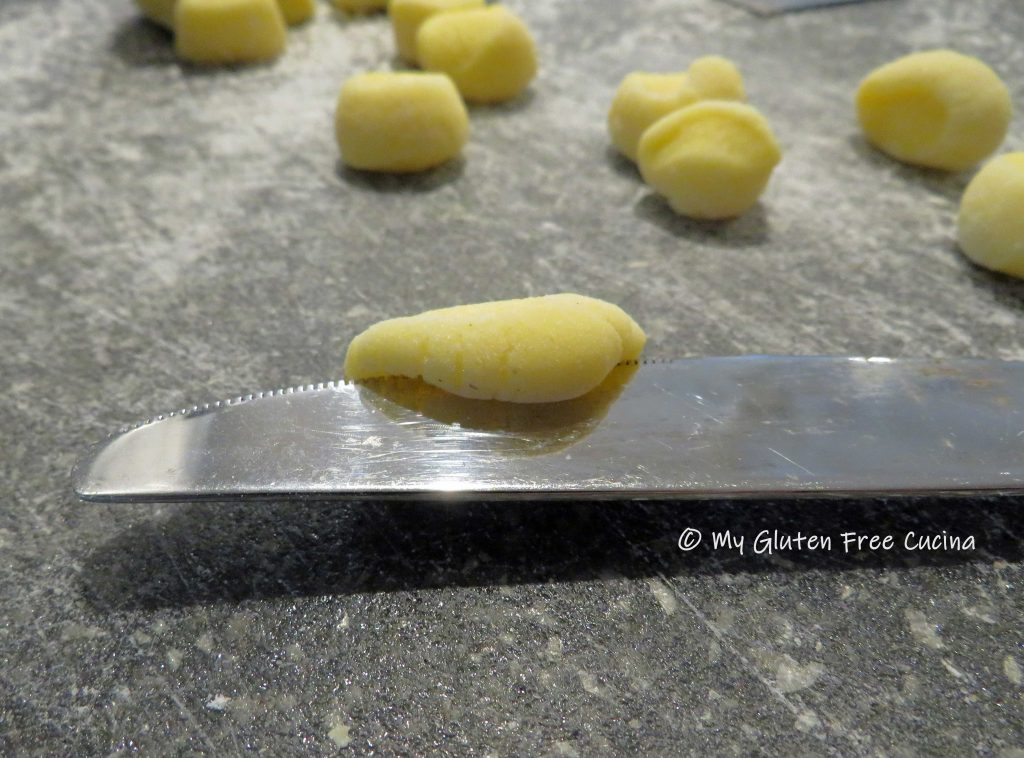
For the final shaping, use a knife to pull the dough ball toward you, like this.

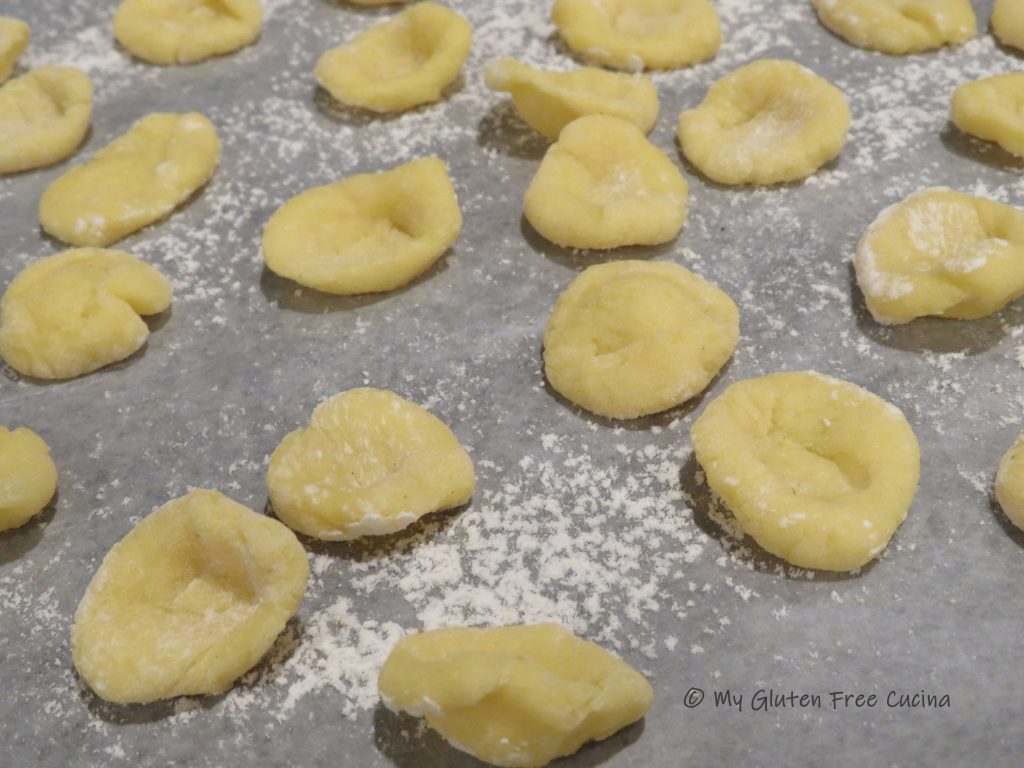
Then place it over your thumb or fingertip, gently inverting it to form the “ear” shape.
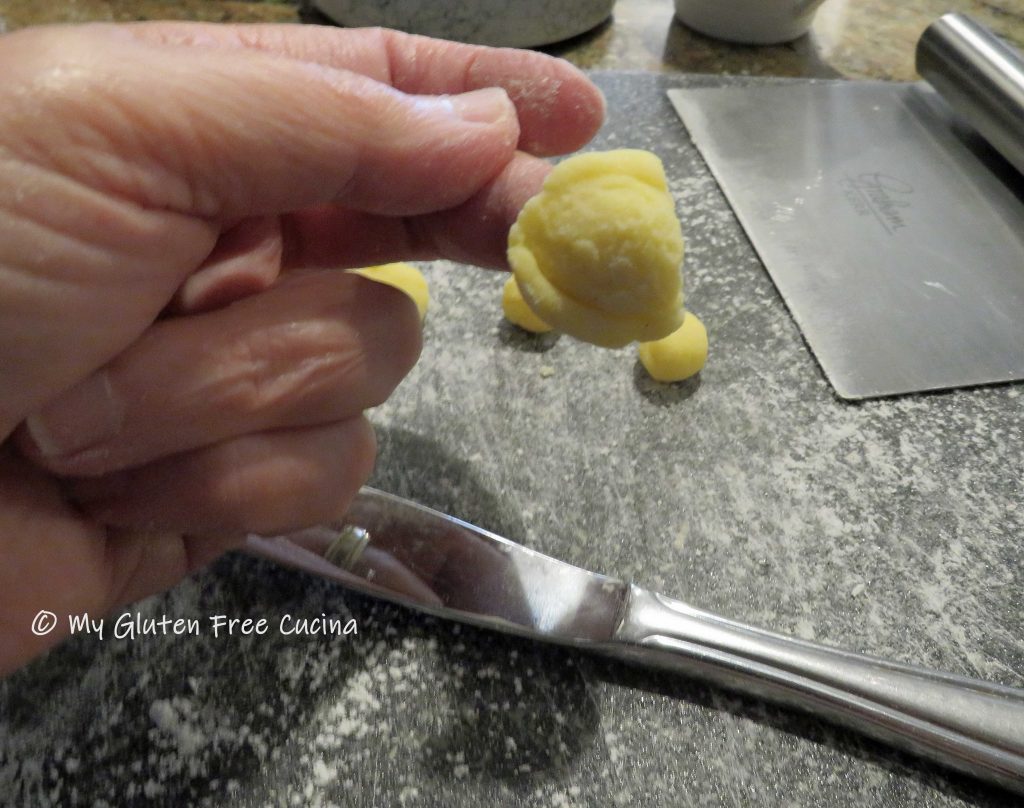
Line a baking sheet with parchment or waxed paper, and dust lightly with flour.  Place the finished Orecchiette on the baking sheet.  Cover with plastic wrap and refrigerate if not cooking immediately.

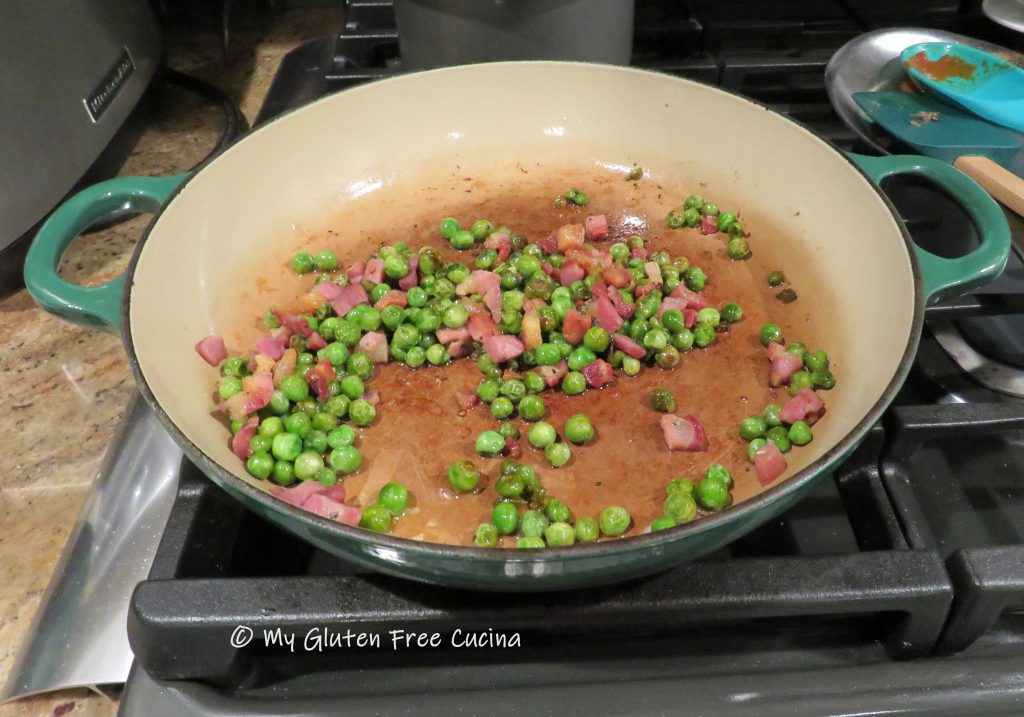
To finish the dish, render the pancetta in 2 tbsp. olive oil for about 5 minutes.  Add the peas, sprinkle with Italian seasoning and cook 5 minutes longer.

Bring a large pot of salted water to a rolling boil.  Lift the waxed paper and slide the pasta into the water.  Cook the Orecchiette 2-3 minutes, they are done when they float to the top.
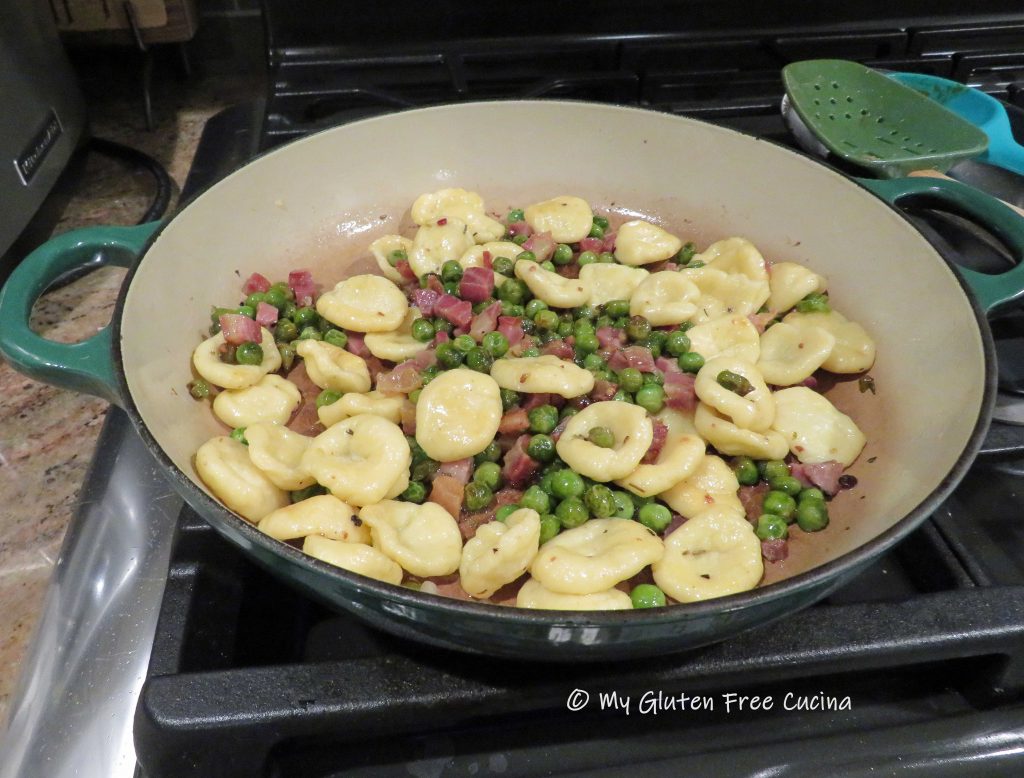
Remove the orecchiette with a slotted strainer and toss with the pancetta and peas.  Add a ladle of pasta water if needed.

Drizzle with more olive oil, sprinkle with grated cheese and garnish with fresh Italian parsley.

Notes ♪♫ This simple dish is made extra special with fresh, homemade pasta.  A wonderful project for a Sunday afternoon, it was a great way to end the weekend!

Print This Post Print This Post

Sweet Potato Gnocchi with Turkey Meatballs

A word of Caution- This recipe contains oats.

A recent statement from Gluten Free Watchdog states that they cannot currently recommend ANY brand of gluten free oats.

Whether or not you continue to consume oats is a personal choice.  As we await more information, I will preface any recipes that include oats with a link to this important statement from Gluten Free Watchdog, an independent, subscriber-driven gluten-testing organization.  About | Gluten Free Watchdog

***

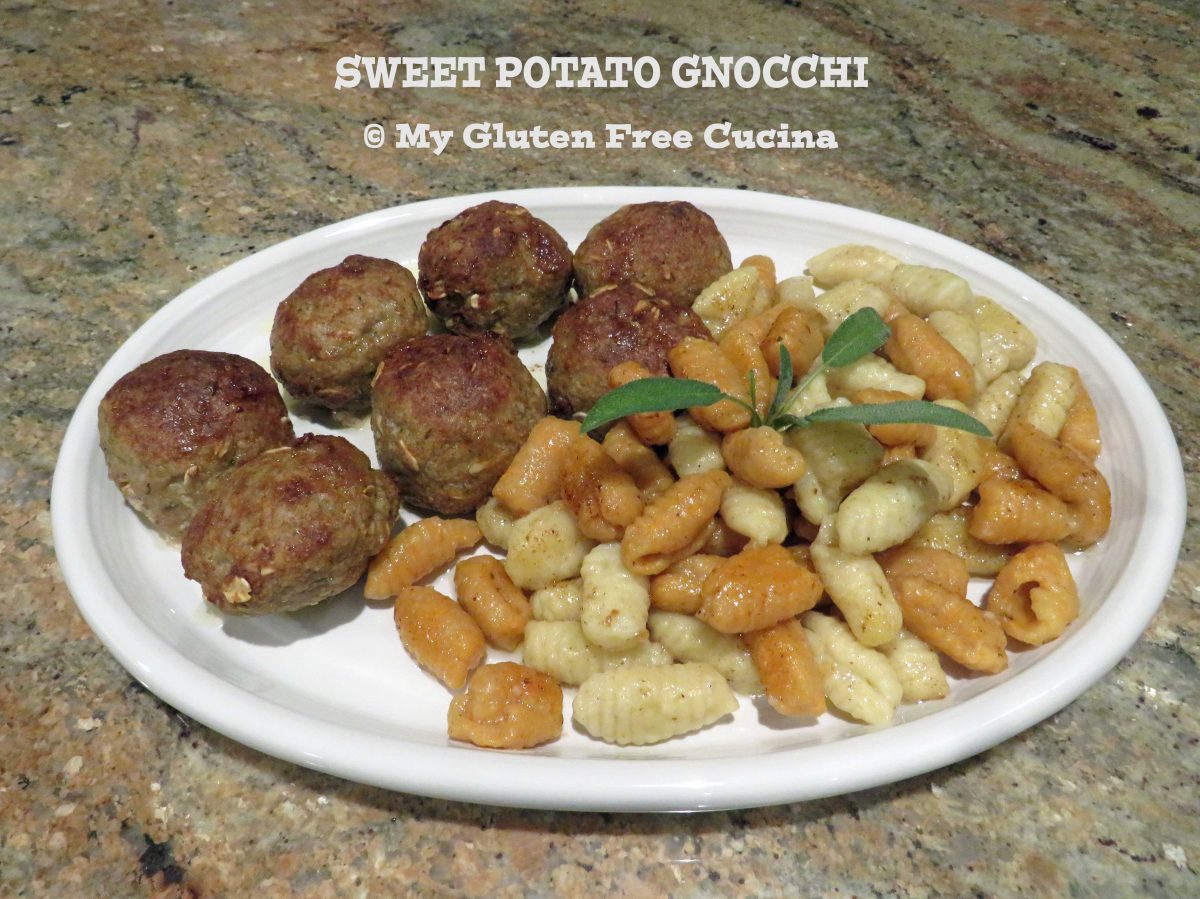
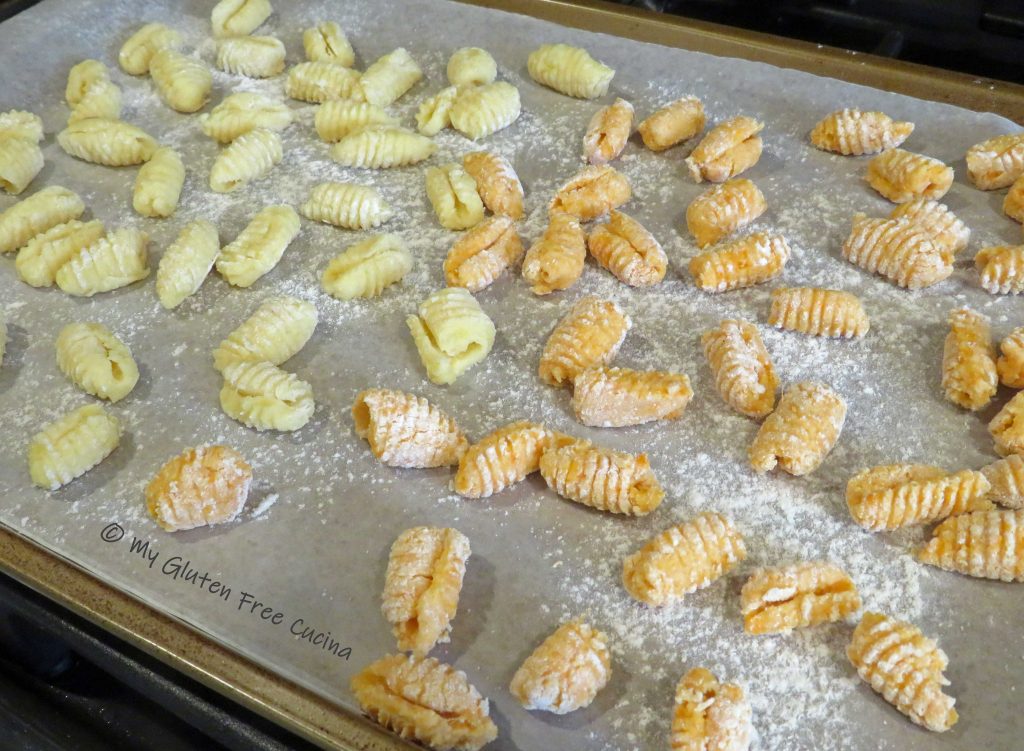
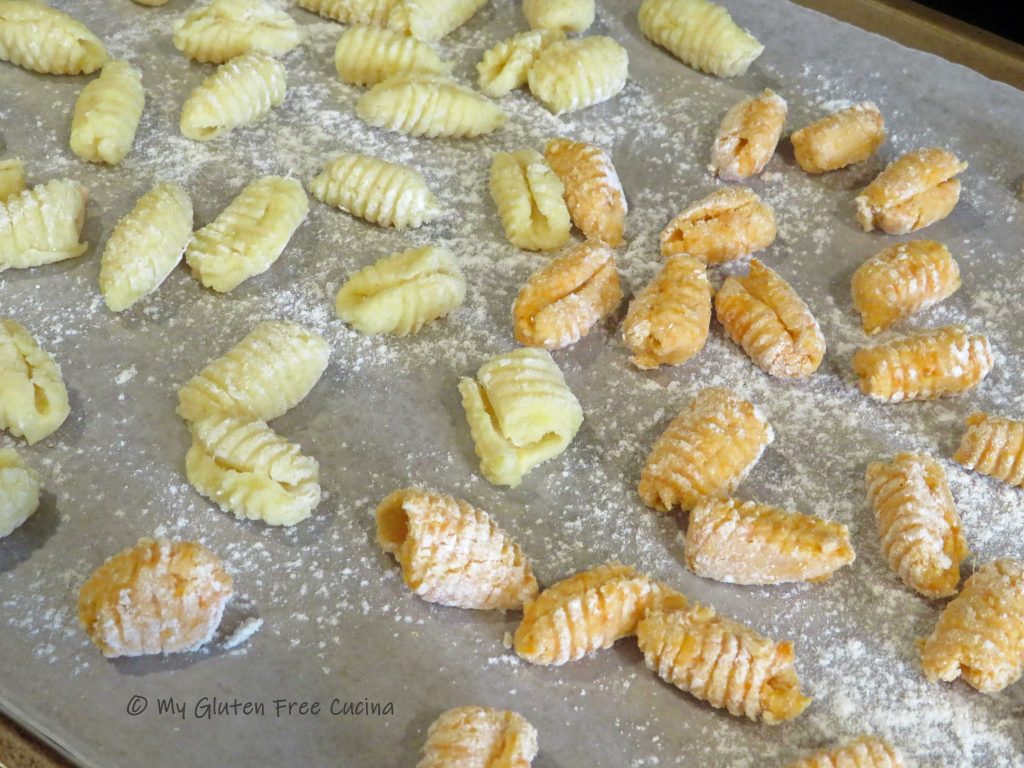
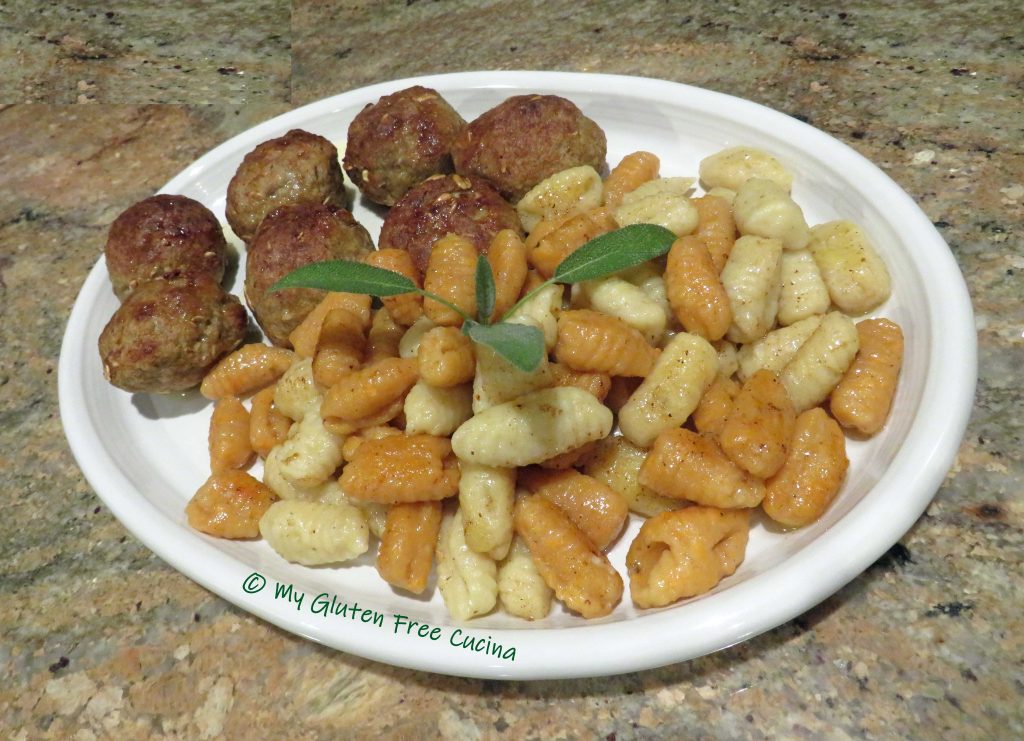
This rustic pasta dinner was perfect for an autumn afternoon.  Making the two-color gnocchi was a fun experiment as well as a learning experience.  I found the whole process relaxing and enjoyable.  The end result was a delicious dinner for two!

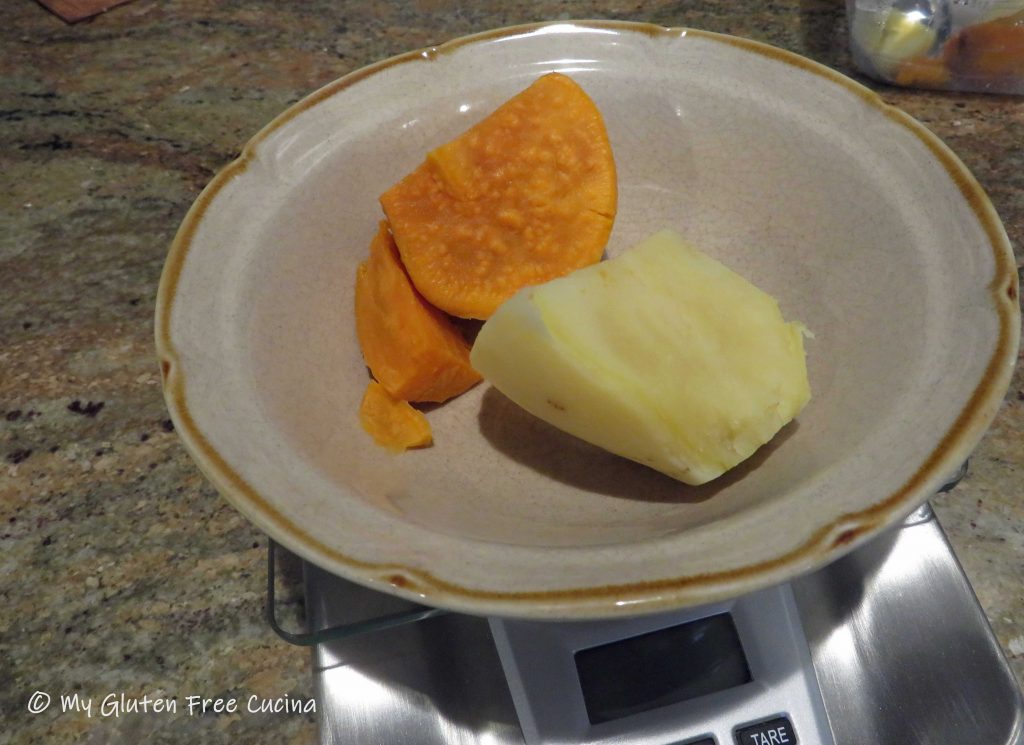
I have made potato gnocchi before, using Hannah (white) Sweet Potatoes, and they were fabulous.  My idea was to make a half batch with white sweet potato and replicate another half batch with traditional orange sweet potato.

The biggest takeaway from this was that not all potatoes are created equal in terms of moisture content.  The orange potato held many times more moisture than the white sweet potato.  So, the amount of flour needed for each batch was quite different.  In the end, I lost track of the measurements and just gradually incorporated more flour until the right consistency was achieved.

Note that this was a very small batch.  Enough for the two of us with just a bit leftover.  Next time I will make more!  The flour is a 2.5/1 blend of cassava flour/arrowroot flour.  You can mix up a batch ahead of time, so you have enough for rolling and dusting.  I finished the gnocchi in a simple browned butter sage sauce and served with turkey meatballs.

Dinner for two (recipe can be doubled)

This post contains affiliate links.

Ingredients:

For the Gnocchi

For the Meatballs

For the Sauce

  • 1/2 stick (1/4 lb.) butter
  • 8 fresh sage leaves

Preparation:

I peeled and steamed the potatoes the day before.  I weighed 2.5 oz. of each potato and set aside the rest for another meal.

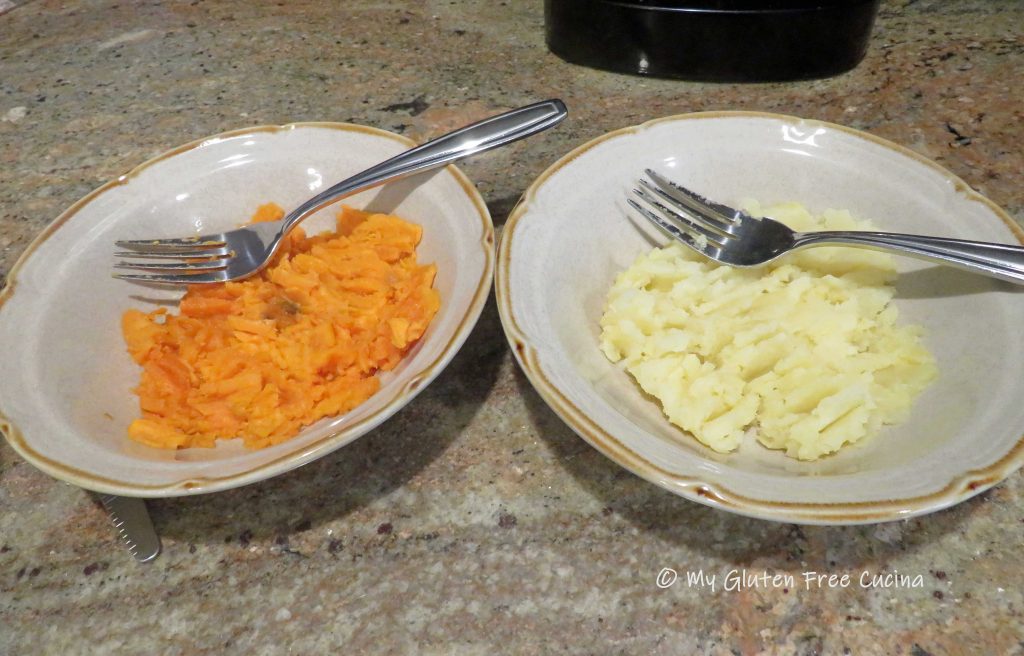
The next day I began by mixing up a batch of 1-1/4 cups cassava flour + 1/2 cup arrowroot starch.  I warmed the potato for 30 seconds in the microwave and placed in 2 separate bowls, mashing with a fork.

I whisked the egg, salt, xanthan gum, then added 2.5 tbsp. of the flour mixture.  I divided this mixture between the two bowls of potato.

I then gradually added more flour to each bowl and worked it in until I could roll the dough into a ball.  I covered each in plastic wrap and rested 15 minutes.

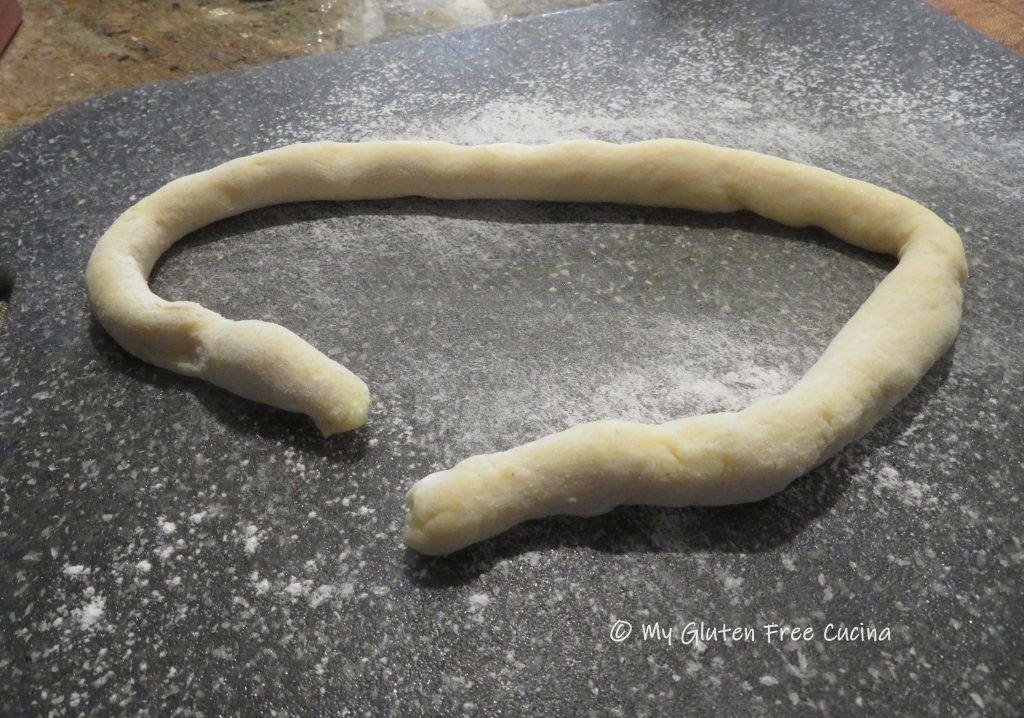
I liberally floured a cutting board and started with the white sweet potato, gradually incorporating more flour until I could roll the dough into a long smooth rope, like this.

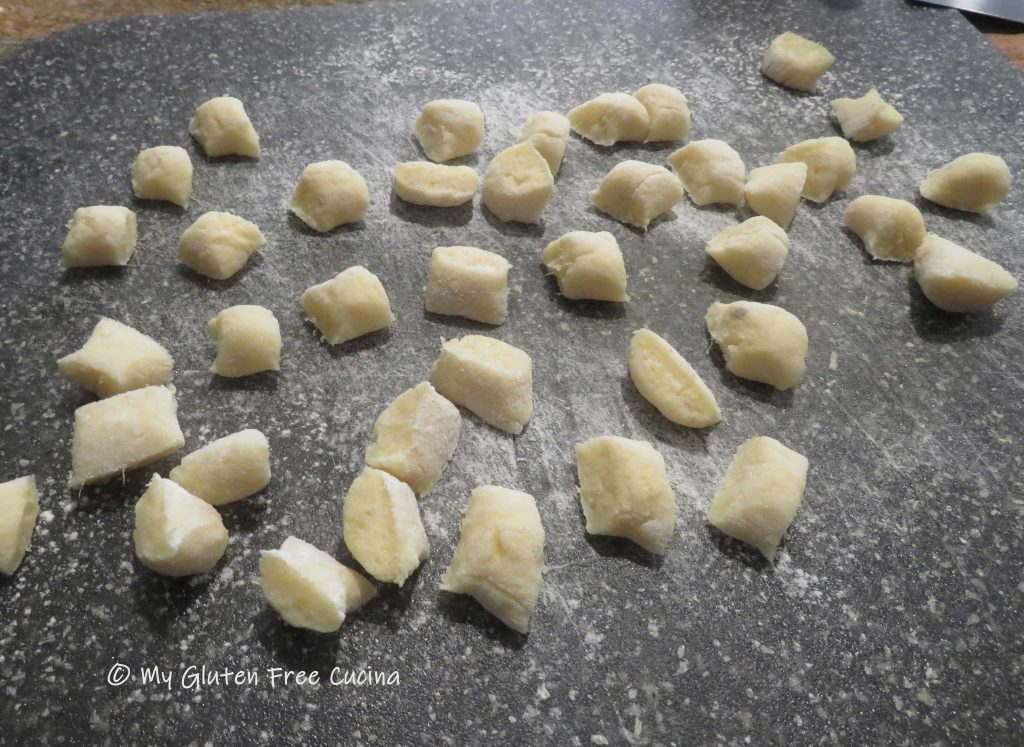
I used a bench knife to cut the rope into 1/2″ pieces.

I repeated the same process with the orange sweet potato, and here is where I lost track of the flour measurements.  The orange sweet potato dough had absorbed all of the flour and was still very wet.  It required quite a bit more flour to achieve the right consistency.  All in all, I would say I used 3-4 times more flour for the orange potato dough as was needed for the white potato.
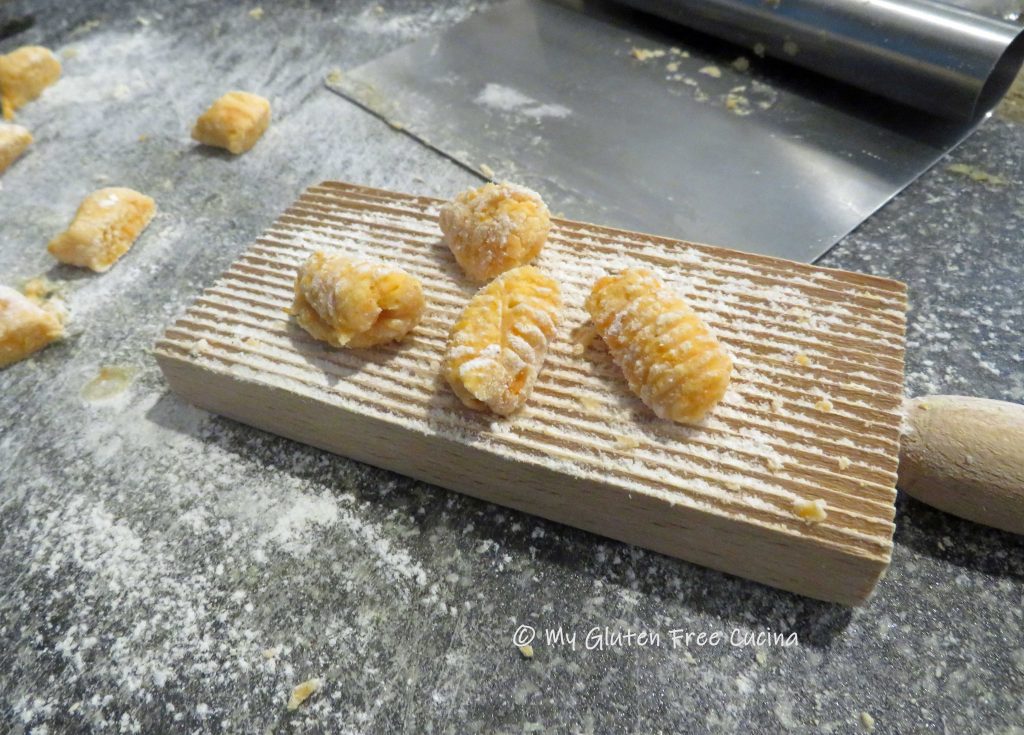
For the final step I rolled each piece of dough over a floured gnocchi board.

I placed the formed gnocchi on a baking sheet lined with waxed paper and dusted with flour.  I recommend refrigerating for at least 1 hour before cooking for firmer texture.

Here’s how to finish the meal.

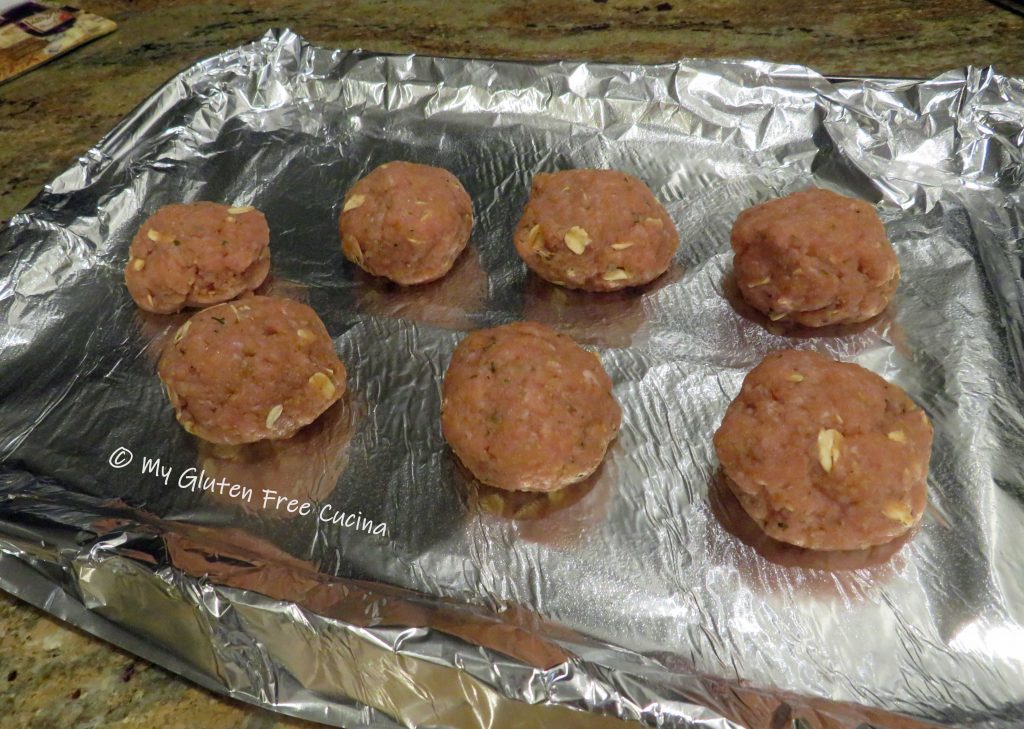
Combine all of the meatball ingredients and form 6-7 meatballs.  Line a baking sheet with foil and mist with cooking spray.

Place the meatballs on the baking sheet, and broil 5 minutes per side on high.  Keep warm.
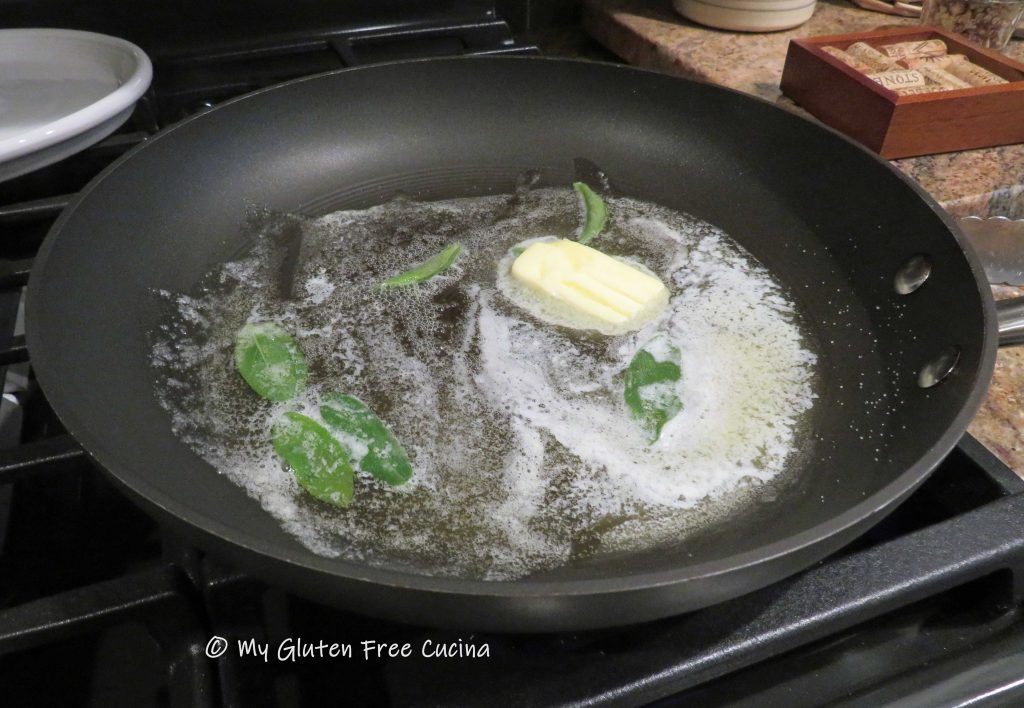
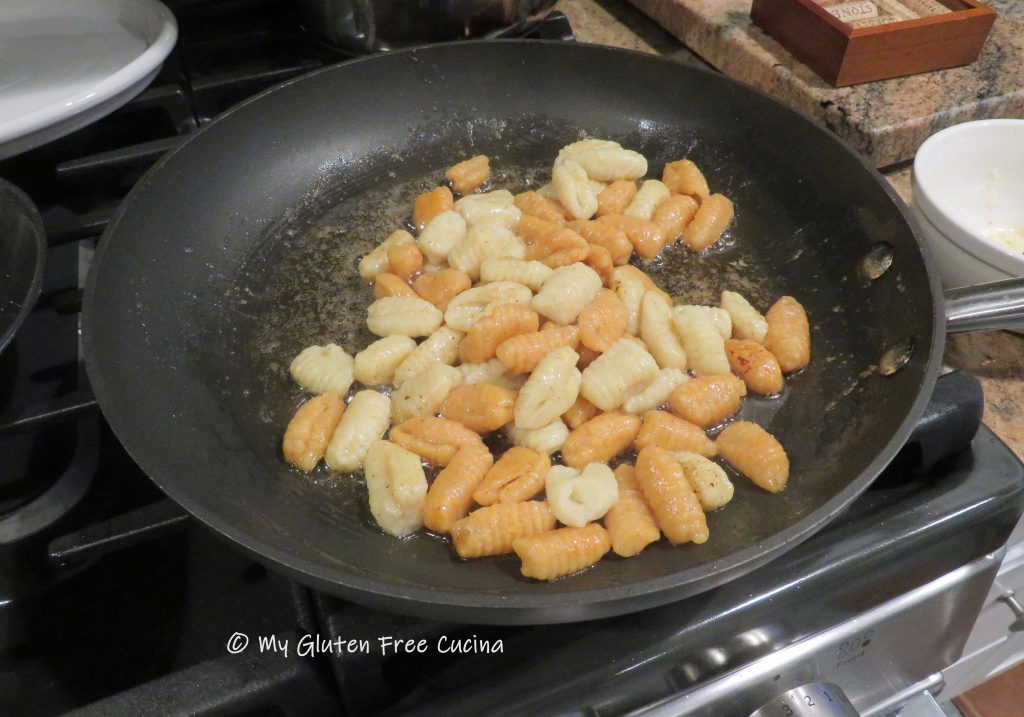
Boil salted water for the pasta.  In a nonstick skillet melt the butter, and as soon as the butter begins to foam, add the sage leaves.  When the white solids begin to separate, use a slotted spoon or spatula to push them to one side of the pan, skimming off as much as possible.  Remove from the heat when the butter is just beginning to turn brown.

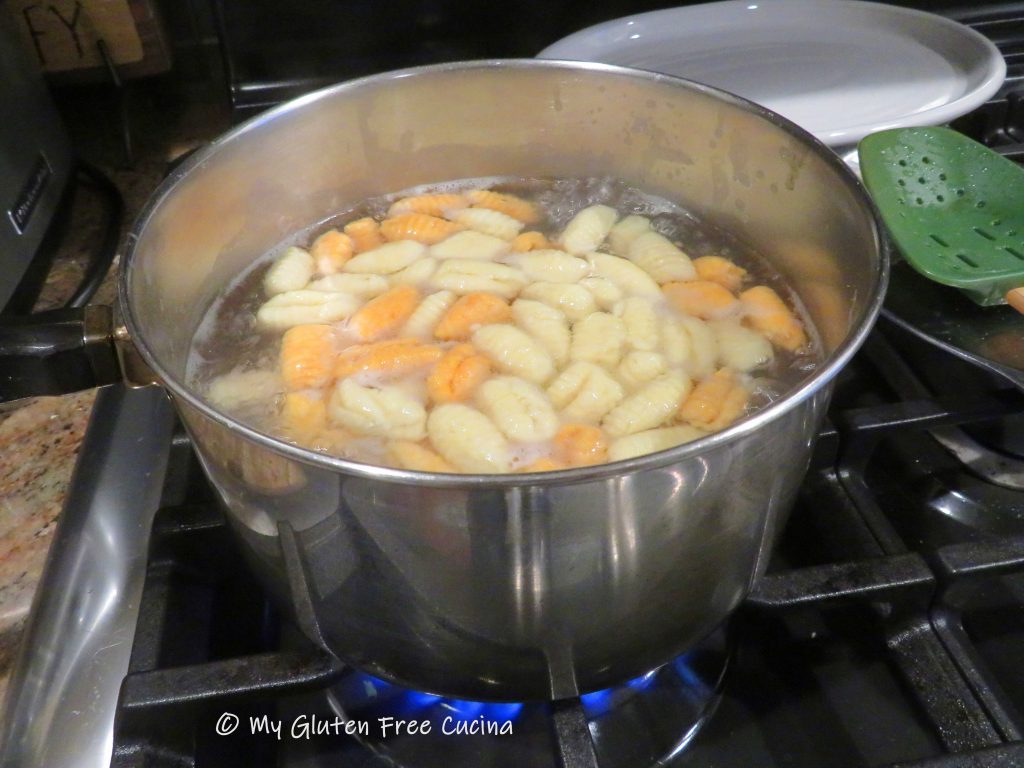
With water at a rolling boil, add the gnocchi and cook 3-4 minutes.

Remove the cooked gnocchi with a slotted spoon and add to the browned butter.  Cook for 1-2 minutes longer.

Transfer to a serving platter along with the meatballs and drizzle with any remaining browned butter sauce.  Garnish with fresh sage.

Notes ♪♫ I love making pasta from scratch!  Check out this earlier recipe, for Gluten Free Potato Gnocchi with Cassava Flour that was the springboard for this meal.  You may also like this Trofie Pasta, or this one for Gluten Free Garganelli, one of my first posts.  Thanks for stopping by today and I welcome all your comments!

Print This Post Print This Post